App List Administration For Canvas
Prerequisites
The guide Integrating with an LTI Application has been completed first
The Shared App Lists feature must be enabled (see: Shared App Lists)
The exam availability functionality requires the exam add-on feature to also be enabled
At least one course must be created within the LMS and those you wish to link to App Lists must have SIS IDs set
The logins the Canvas course administrator are using should be configured with SIS IDs containing their LDAP directory usernames
The LDAP directory used for lookup is taken from the LTI application configured in AppsAnywhere
The corresponding directory user must also been given access to AppsAnywhere (see: Importing directory entities)
Once this is complete, you can proceed to setup.
Setup
Associating an App List
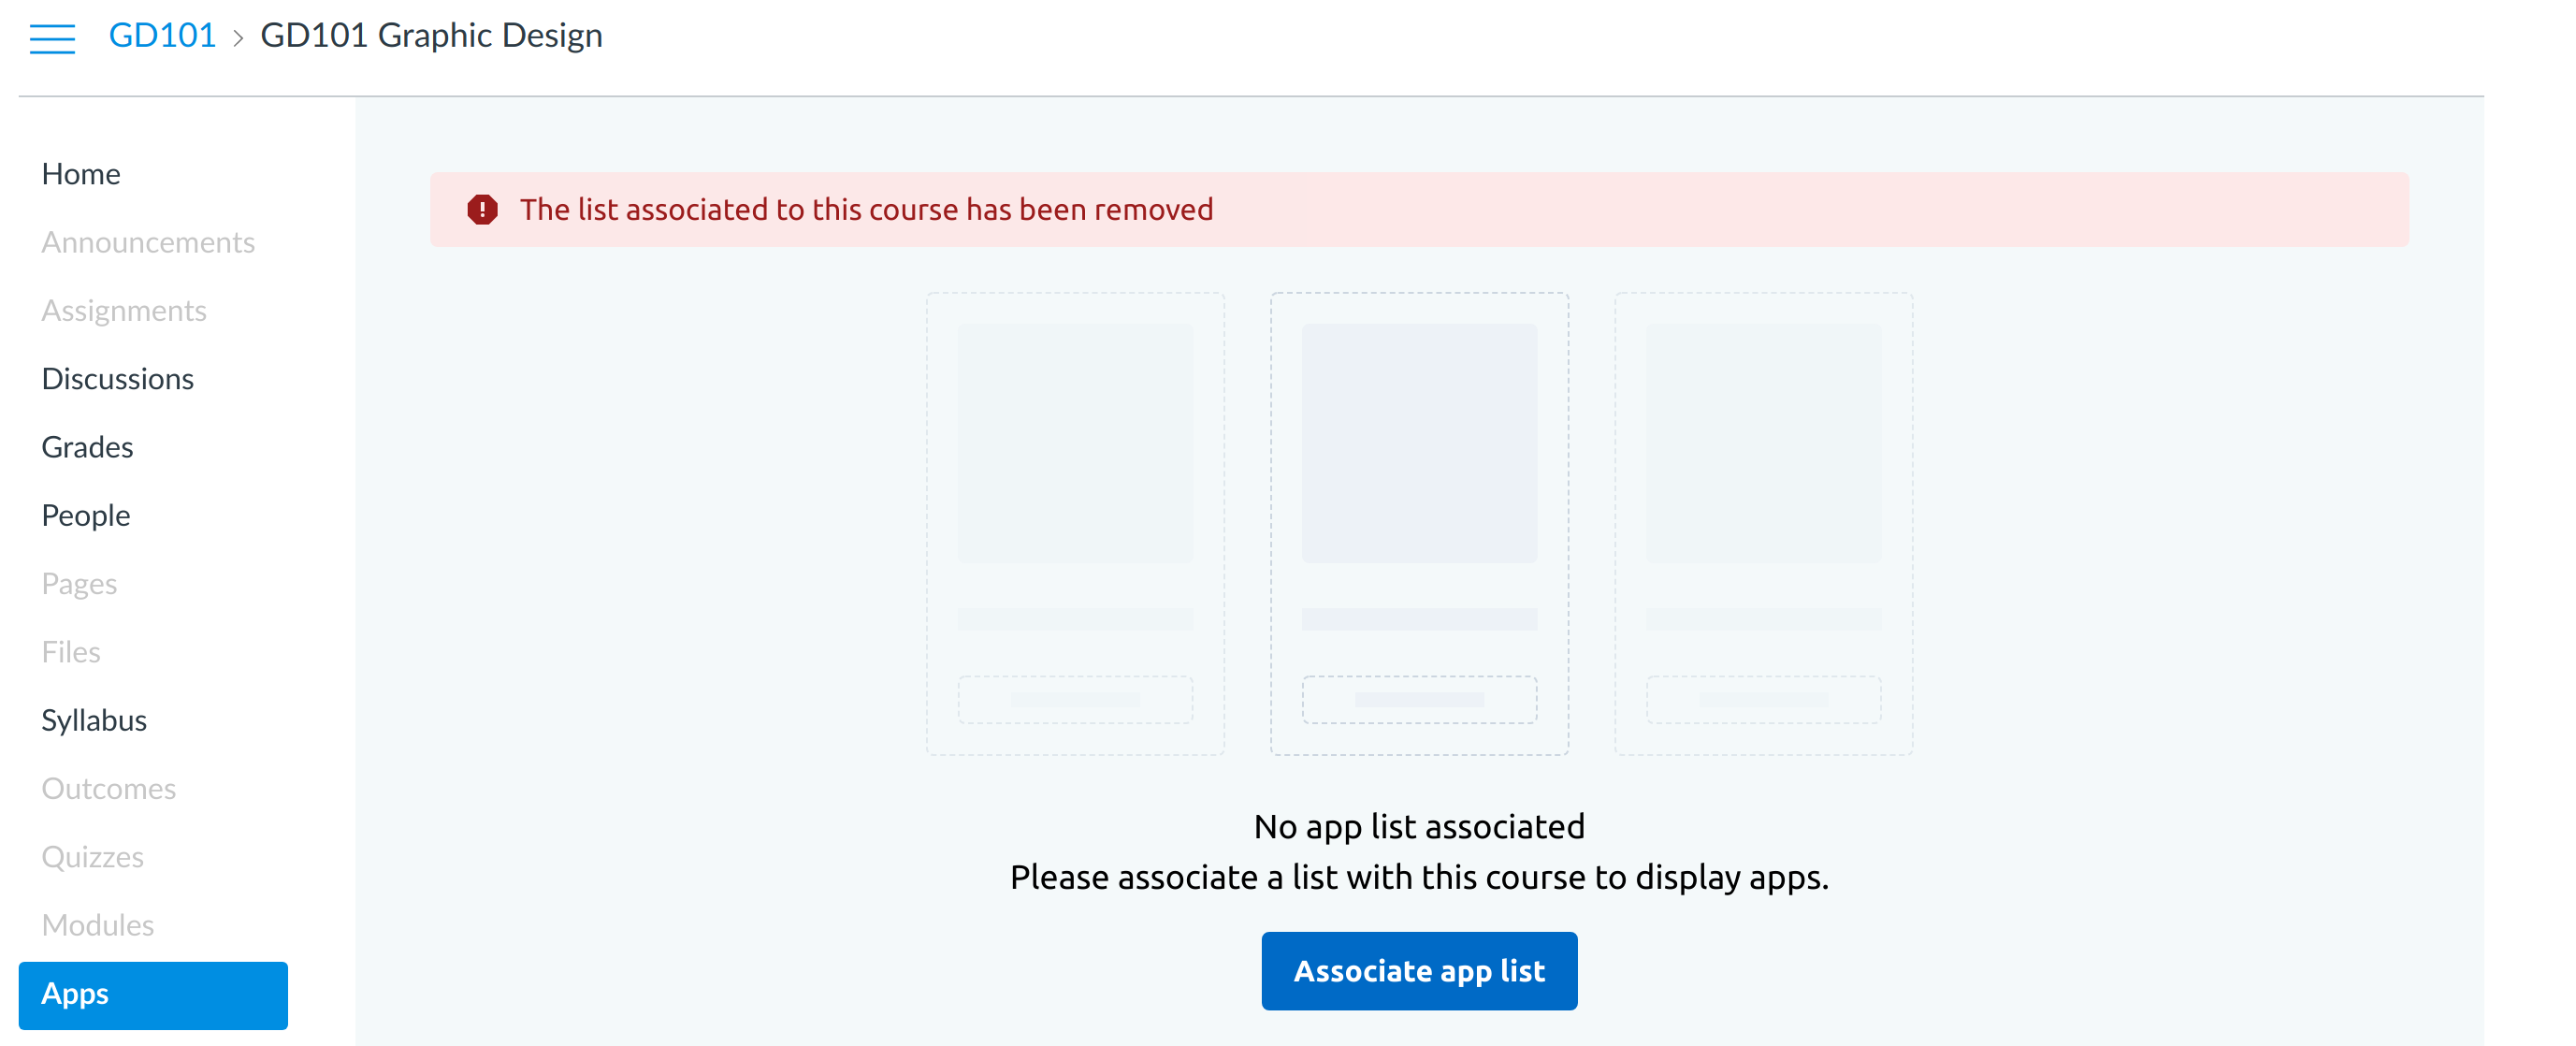
Navigate to the AppsAnywhere LTI application in Canvas; this will be the same name as the LTI application in AppsAnywhere.
You should now see something like the image below
Click the Associate app list button, this will display App Lists for you to associate with your LTI application
Select the desired App List you wish to use for this course
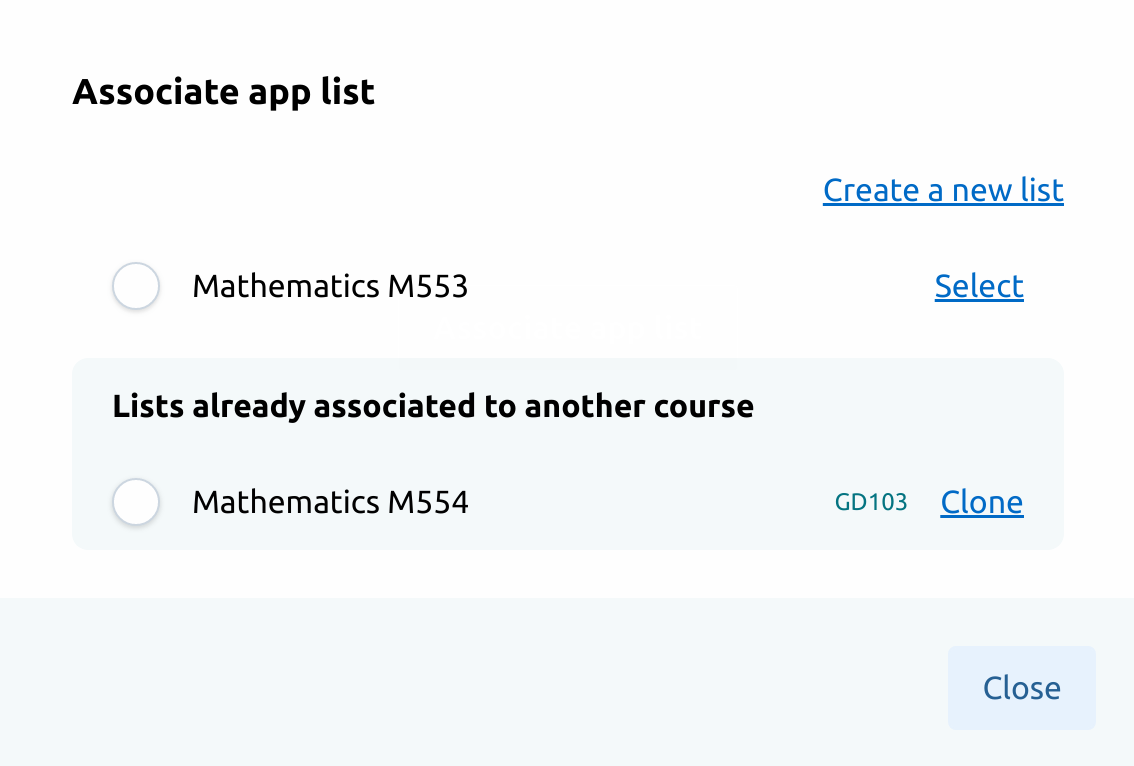
Selecting an app list that is already associated to another course will clone that list and allow you to give that new list a name
The applications selected as part of the App List will then be displayed if they have been provisioned correctly

If the apps within the App List have not been provisioned correctly, they will not be displayed to some users
Creating an App List
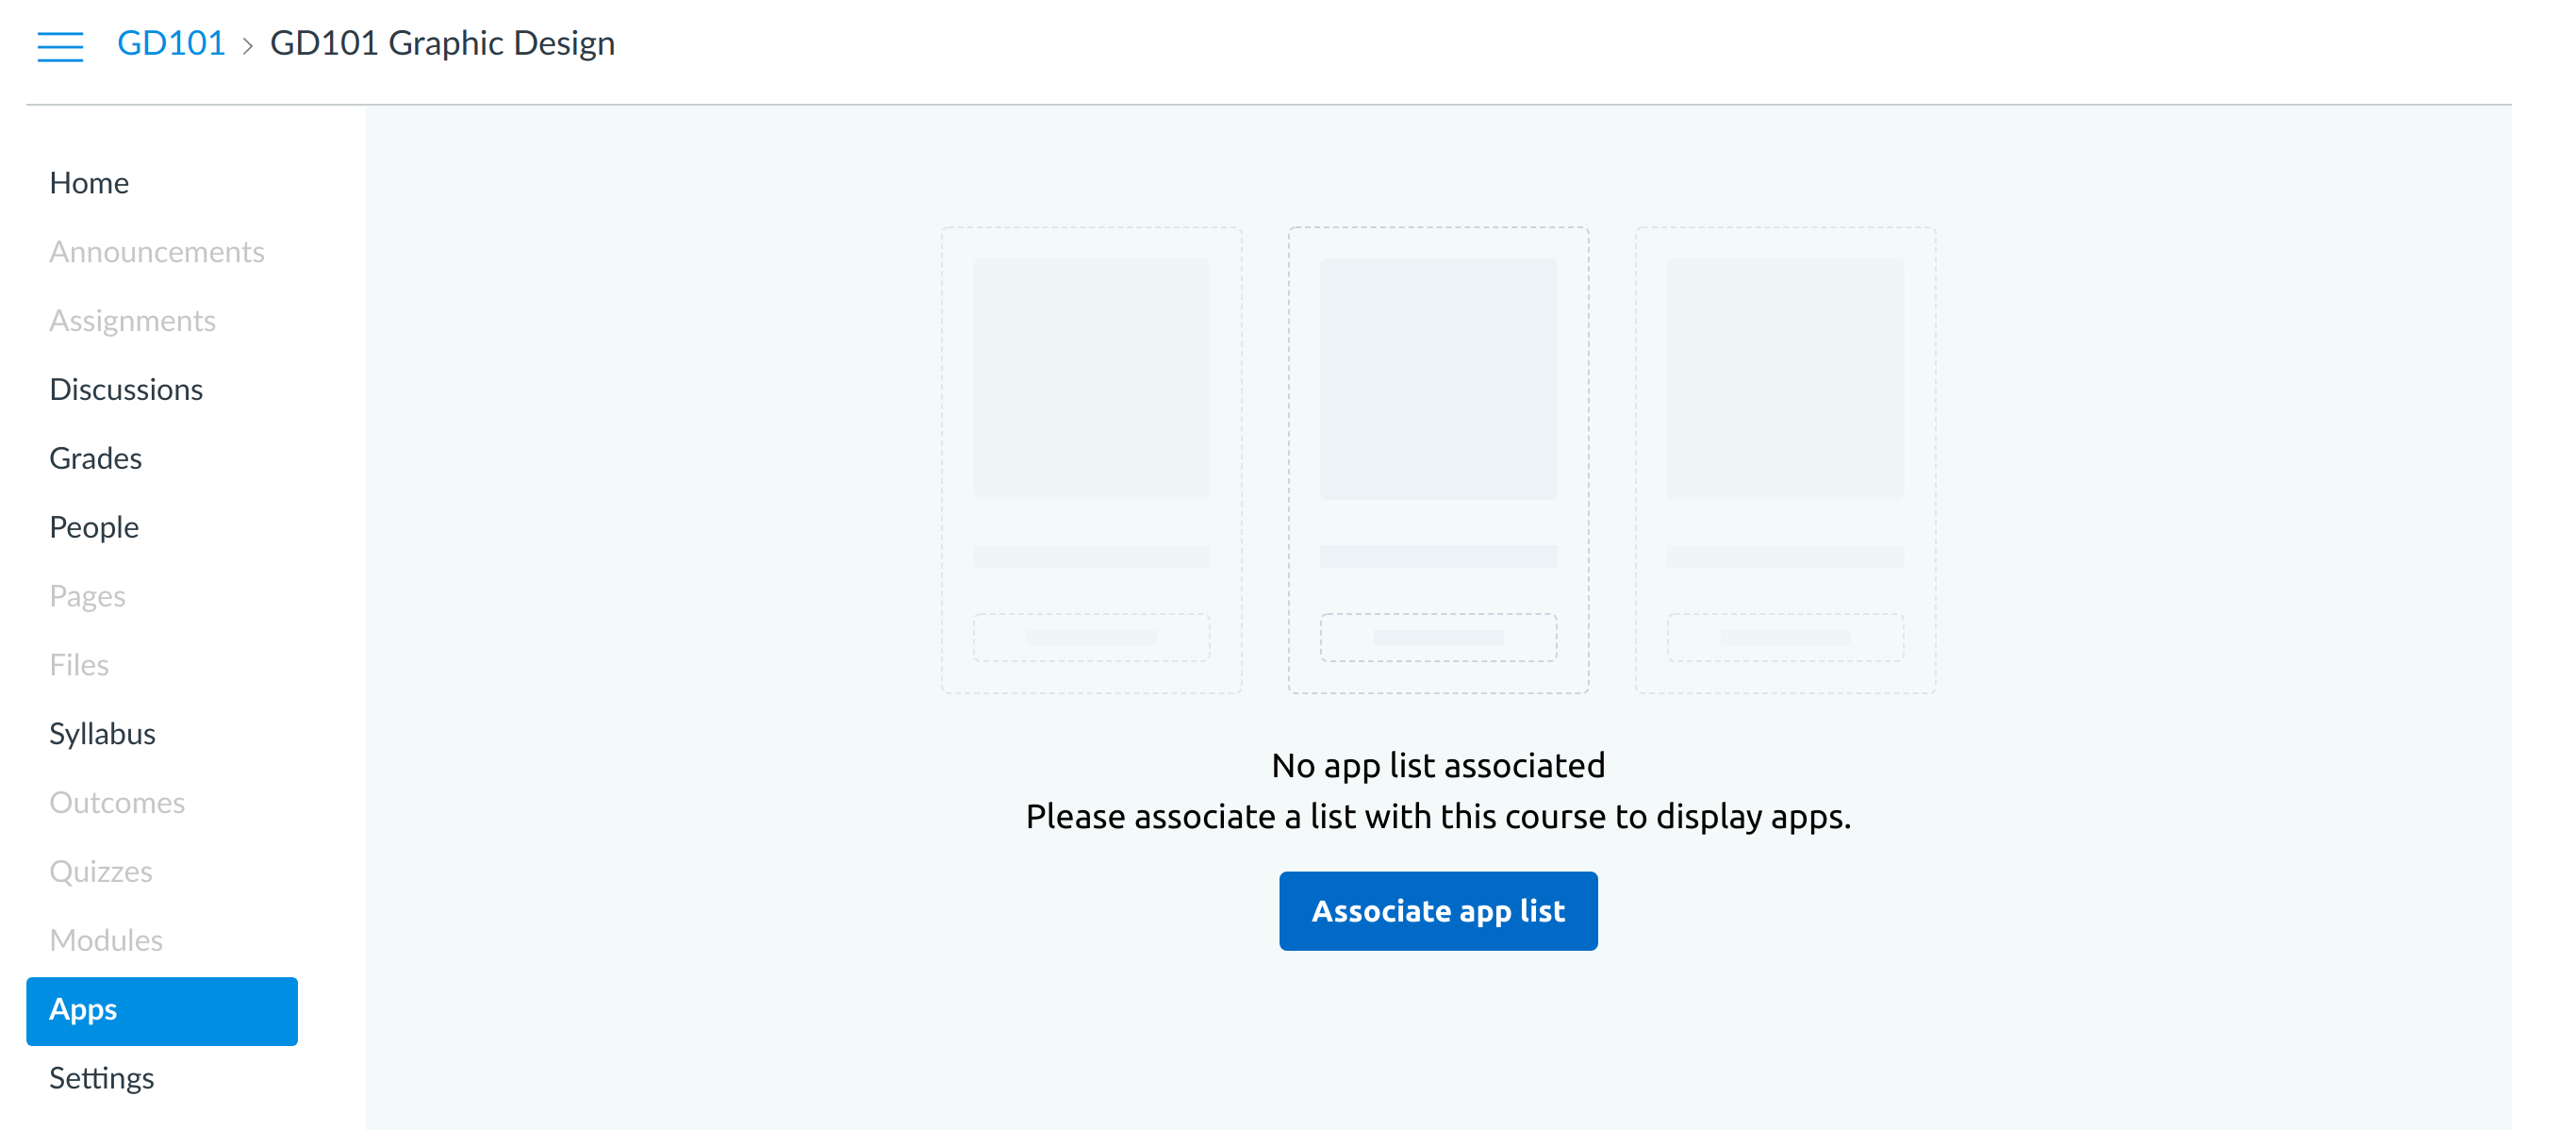
Navigate to the AppsAnywhere LTI application in Canvas; this will be the same name as the LTI application in AppsAnywhere
Click the Associate app list button if no list has been associated, or Associate a different app list if one is already linked. The App Lists will then be displayed for you to associate with your LTI application
Here you can click Create a new list which will open a new tab to your AppsAnywhere instance where you can start editing the App List
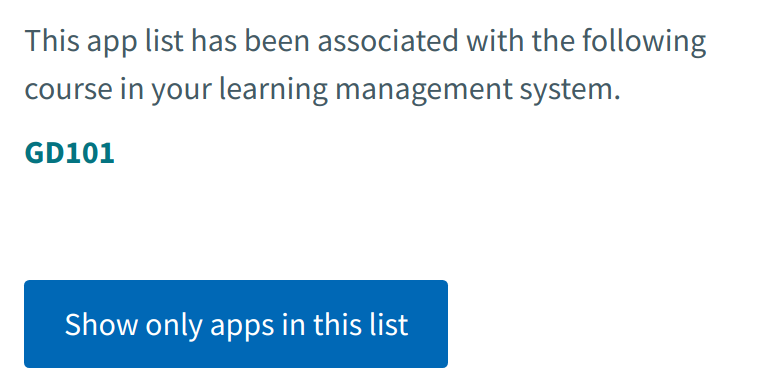
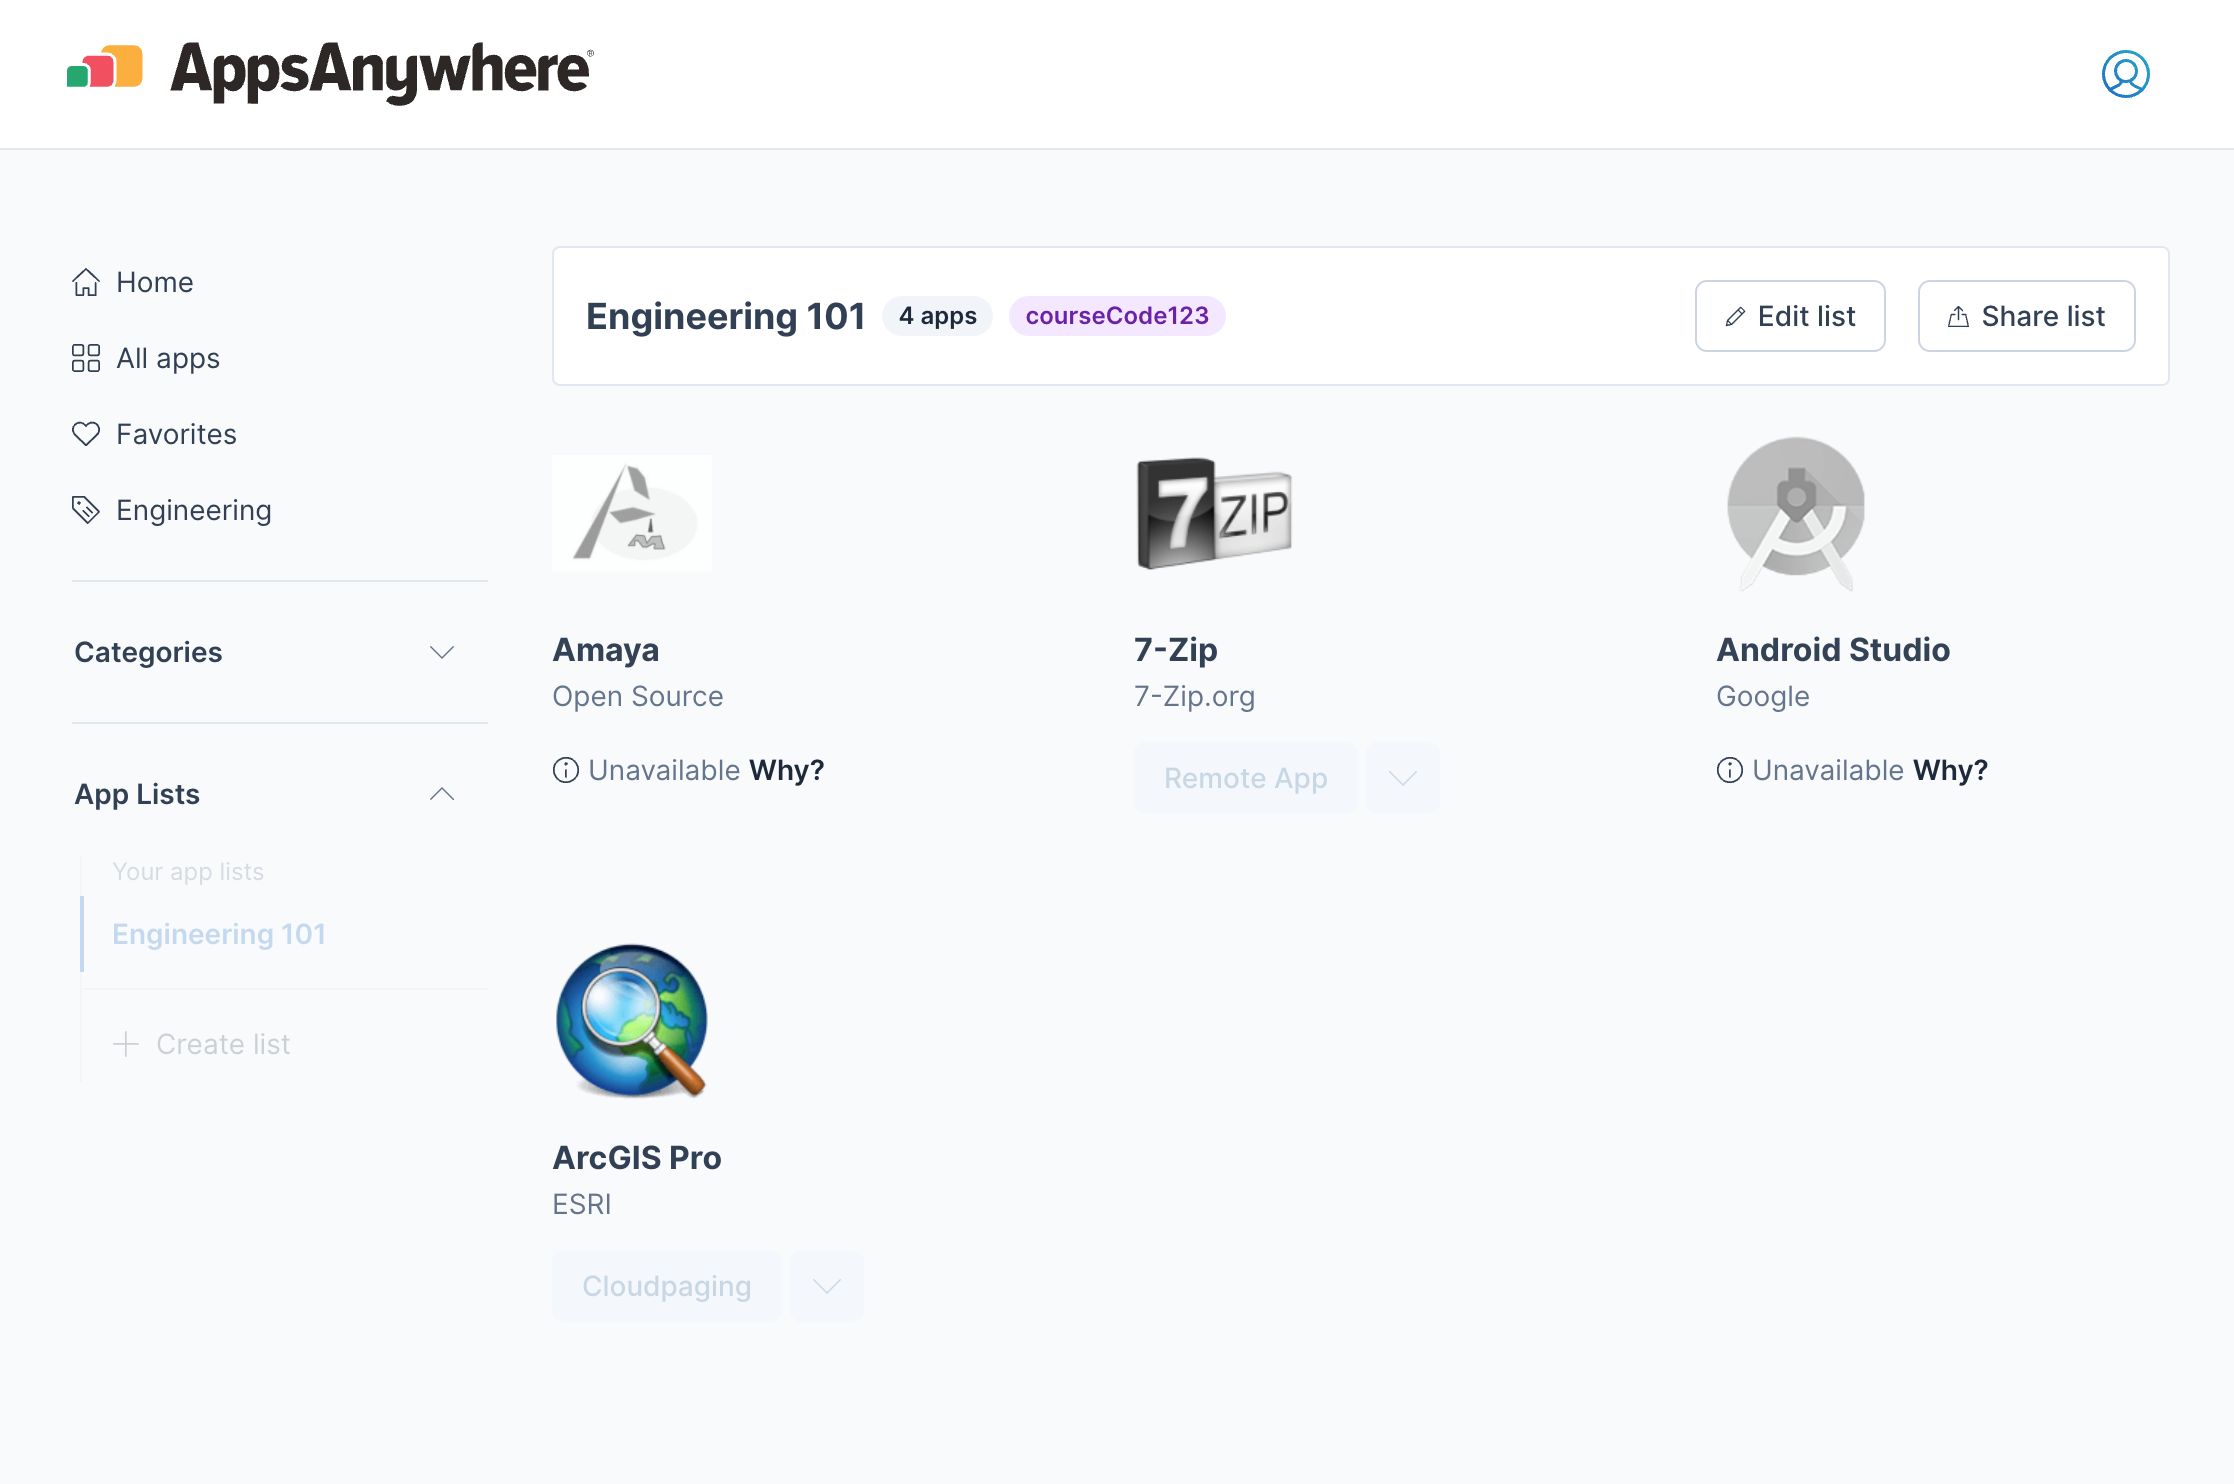
When creating a new App List you can see which course it is linked to on the left of the page, as shown in the example shown below.
For information on how to configure LMS and exam availability take a look at the section Configuring applications for LMS and exam availability
Editing an App List
Navigate to the AppsAnywhere LTI application in Canvas; this will be the same name as the LTI application in AppsAnywhere.
If the App List does not contain the required apps, you can click Edit this list to add the applications yourself
This will open a new tab to your AppsAnywhere instance where you can start editing the App List
For information on how to configure LMS and exam availability take a look at the section Configuring applications for LMS and exam availability
Adding and removing applications saves the App List automatically so there's no need to worry about clicking a save button!
Configuring applications for LMS and exam availability
When editing an App List associated to a course you can configure the LMS and exam availability for each application.
Before configuring your apps for exam environments, the apps you want to enable should have at least one Cloudpaging delivery method (see: Cloudpaging delivery method).
Navigate to the AppsAnywhere LTI application in Canvas; this will be the same name as the LTI application in AppsAnywhere.
Click Edit this list, this will open a new tab to your AppsAnywhere instance with the App List displayed
You will see two checkboxes at the bottom of each app in the App List:
The LMS checkbox notates whether the app is displayed in the LMS
The Exam checkbox notates whether the app is exam ready and will be reflected in the Shared App List - Request Apps API
Click Finished.
Once this is done, you can now close the AppsAnywhere tab and navigate back to Canvas. Updates to the LMS availability will take effect immediately.
Disassociating an App List
To remove an App List, click on Edit this list button, this will open a new tab to your AppsAnywhere instance with the App List displayed
You can then click Delete, which will delete the App List and disassociate the App List from the course