
Deployment to VMware vSphere
Overview
The AppsAnywhere virtual appliance is available in multiple formats. If you are using VMware vSphere as your hypervisor then the OVA format appliance is the best one for you to use.
Pre-requisites
Make sure that you have read the Server Requirements section to ensure your virtual machine is provisioned with sufficient resources. As this is an OVA template, it will import with our recommended specifications by default.
The VMware appliance is provided in OVA format and has a VM hardware (compatibility) version of 11. In order to import the AppsAnywhere virtual appliance you will need to be running ESXi version 6.0 or later.
This article presumes that you have already downloaded the appropriate OVA file from Latest Releases within the AppsAnywhere support portal.
Importing the Appliance
To import a new appliance into your vSphere environment, start by logging into the vCenter vSphere Web Client.
Start by selecting the Datacentre, Cluster, ESXi Host, or folder object that you want to import your new appliance into, right-click and select Deploy OVF Template
The following wizard will appear:
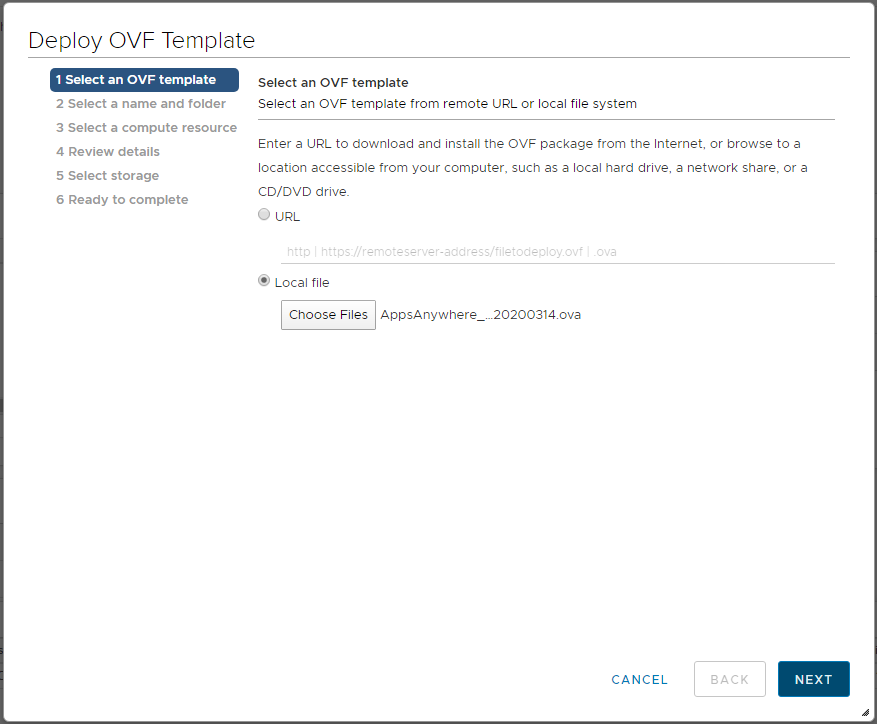
Select the Local file option and browse to the OVA file that you downloaded.
Click Next to continue

Specify a name and location for the virtual machine.
Click Next to continue.
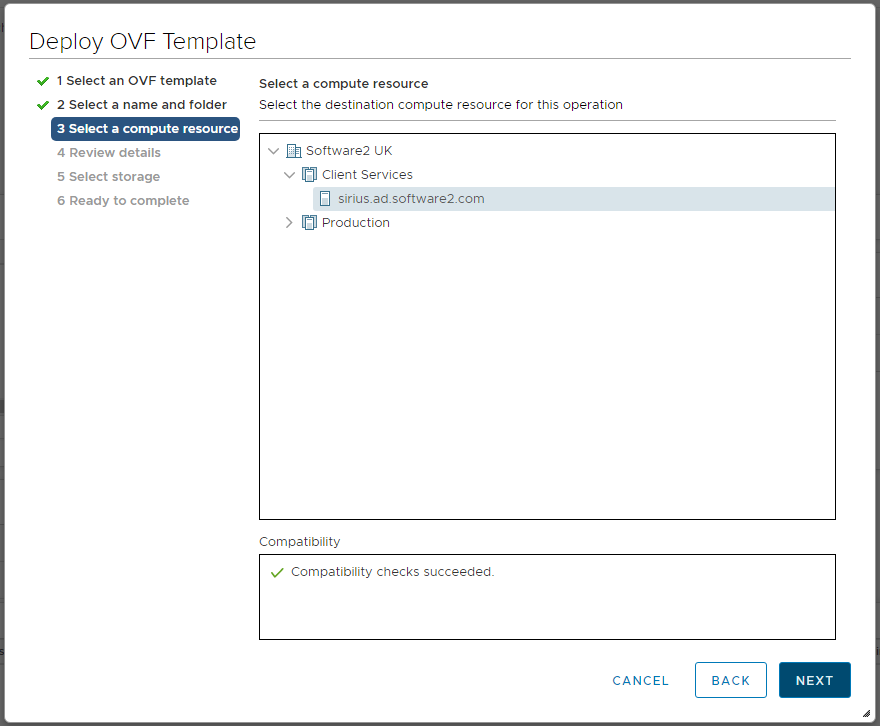
Select the compute resource (ESXi Host or Cluster object) that you want the virtual machine to run on.
Click Next to continue.
At this point the vSphere Client will validate the OVA image. This process may take some time to complete before the next step is available.
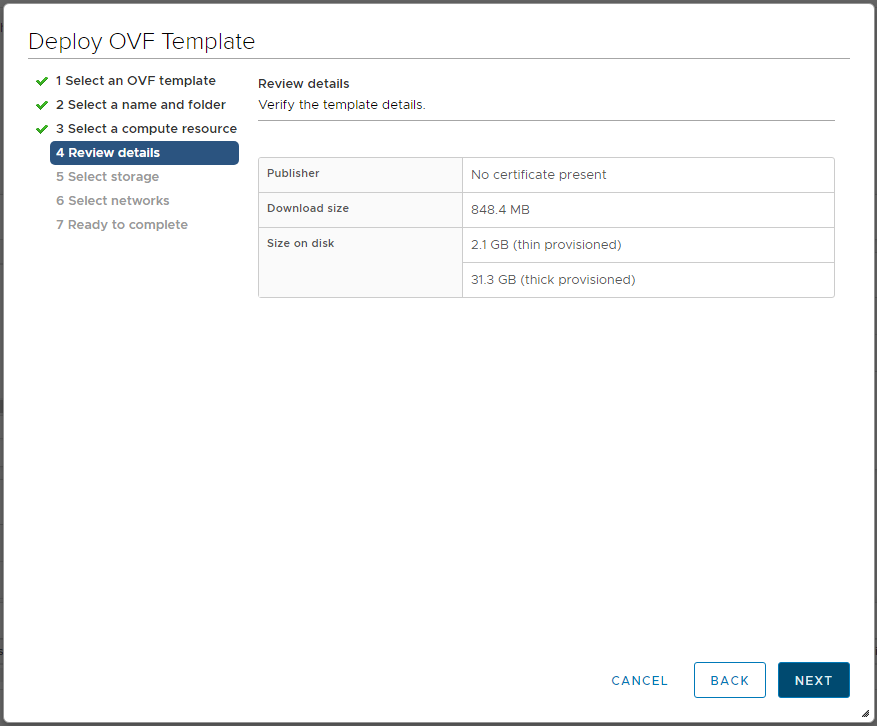
Once that process is complete, click Next to continue.
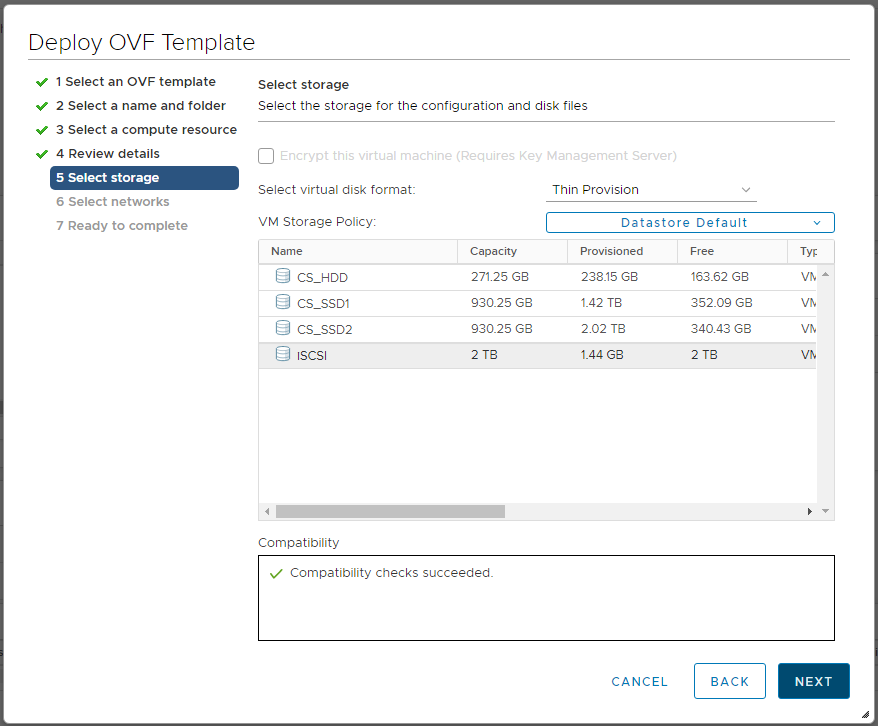
Select the preferred virtual disk format, storage policy and datastore.
Click Next to continue.
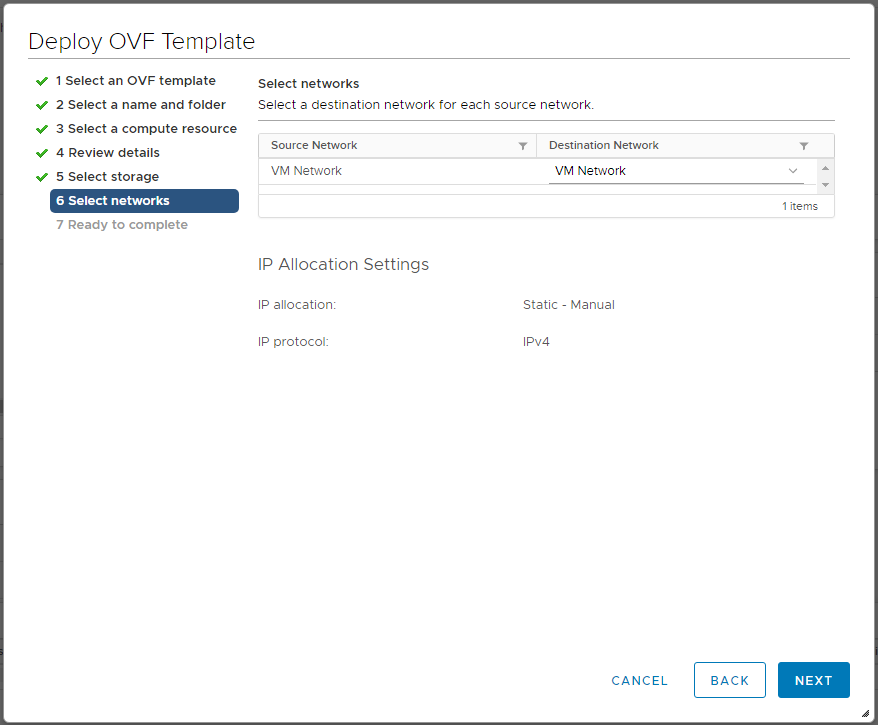
Select the relevant network from the destination network list.
Click Next to continue.
The IP Allocation Settings will state that the IP allocation is “Static – Manual” however the appliance itself can be configured for DHCP or Static network address assignment. You may wish to create a DHCP reservation to ensure that the IP of the device remains static.
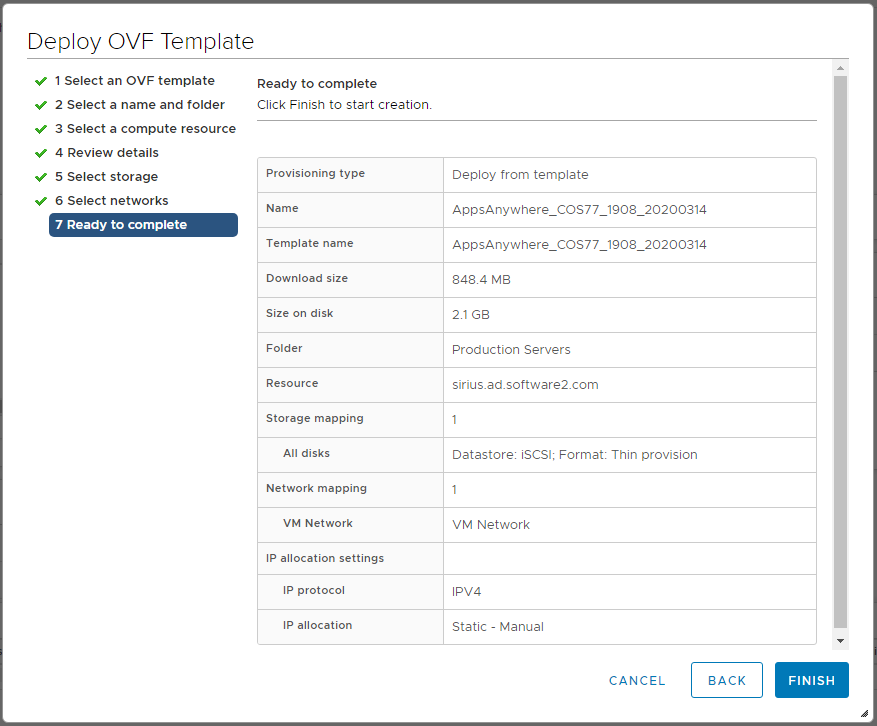
The final screen will display all of the options you selected through the process. Review the configuration settings defined and click Finish to start the deployment.
Progress of the import task can be found in the Task Console within the vSphere Client interface.
Further information regarding importing OVA/OVF templates can be found with the VMware vSphere Documentation
Next Steps
Now that you have imported your appliance, it will be available in your resource list to power on.