User Help Settings
Overview
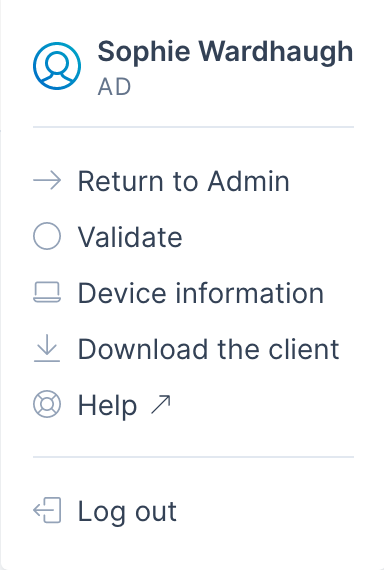
End-users can access support information provided by admins from the AppsAnywhere portal via the help icon. This can be found in the user-profile menu, in the top right of any portal screen.
The help option can serve two purposes:
Provide a direct link to an institution help page or site
Open a modal popup window containing a configurable message, and one or both of the following options:
A link to an institution help page or site.
A form for the user to complete with details of their issue.
If you choose to use the option to show your users a form that they can complete, an email containing the details they entered will be sent to an email address of your choosing when they submit the form. All of the available functionality is configured from the User Help Settings page in the admin console and is described below.
Before you start
From the AppsAnywhere admin portal, search for help, or go to Customisation > User help in the navigation menu
The contents of this page depend on the selection you make in Type of help. As mentioned above, the first thing to decide is whether you want help to link directly to a help page or site that you already host externally, or whether you want to pop up a dialog with help information and / or a form to complete to request further help.
Linking directly to support
If you decide to provide a direct link to a support page or site from the help link, select Link to support and you will see the following options:
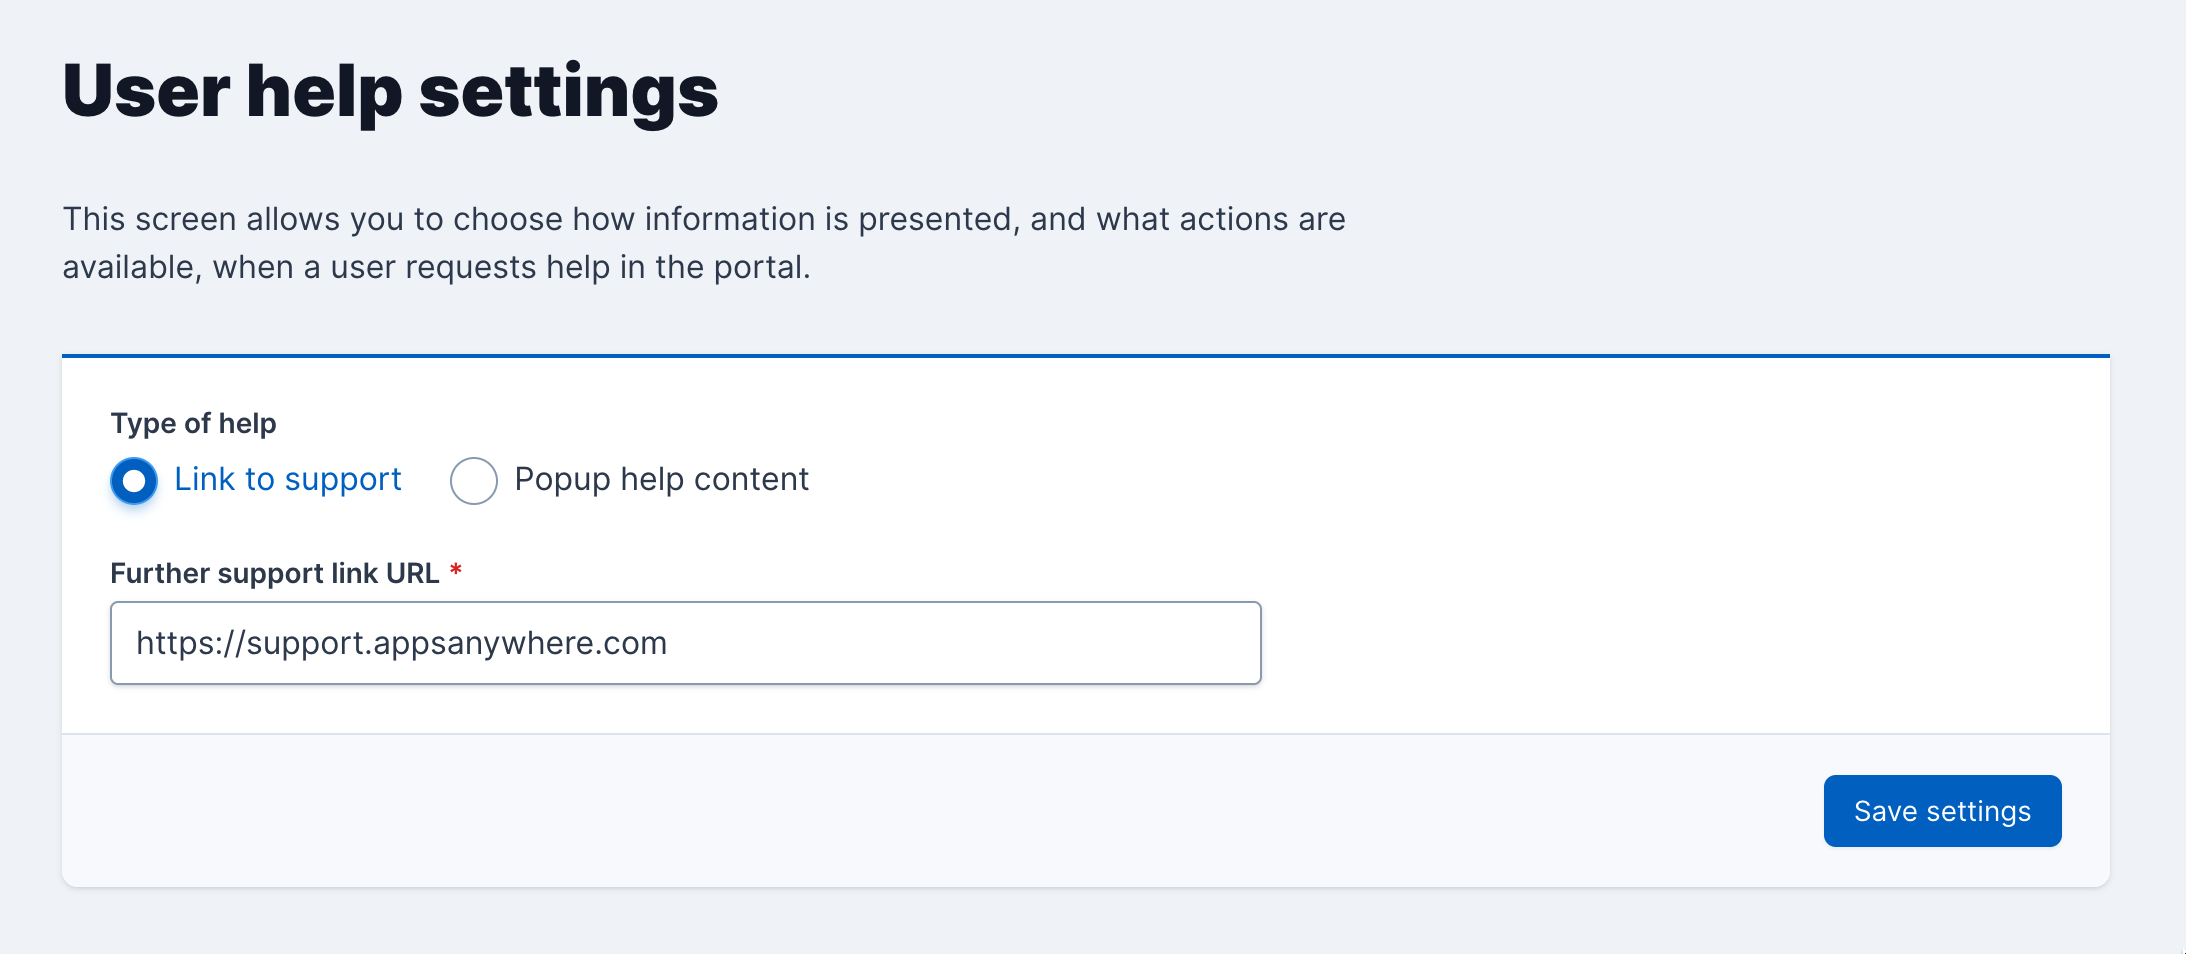
If this is your preference, then configuration is simple:
Enter the full URL you want to link to in the Further support link URL field, being sure to include http:// or https://.
Click Save settings to save changes
Test the changes by visiting the portal and accessing help from the user-profile menu.
Using the support information dialog
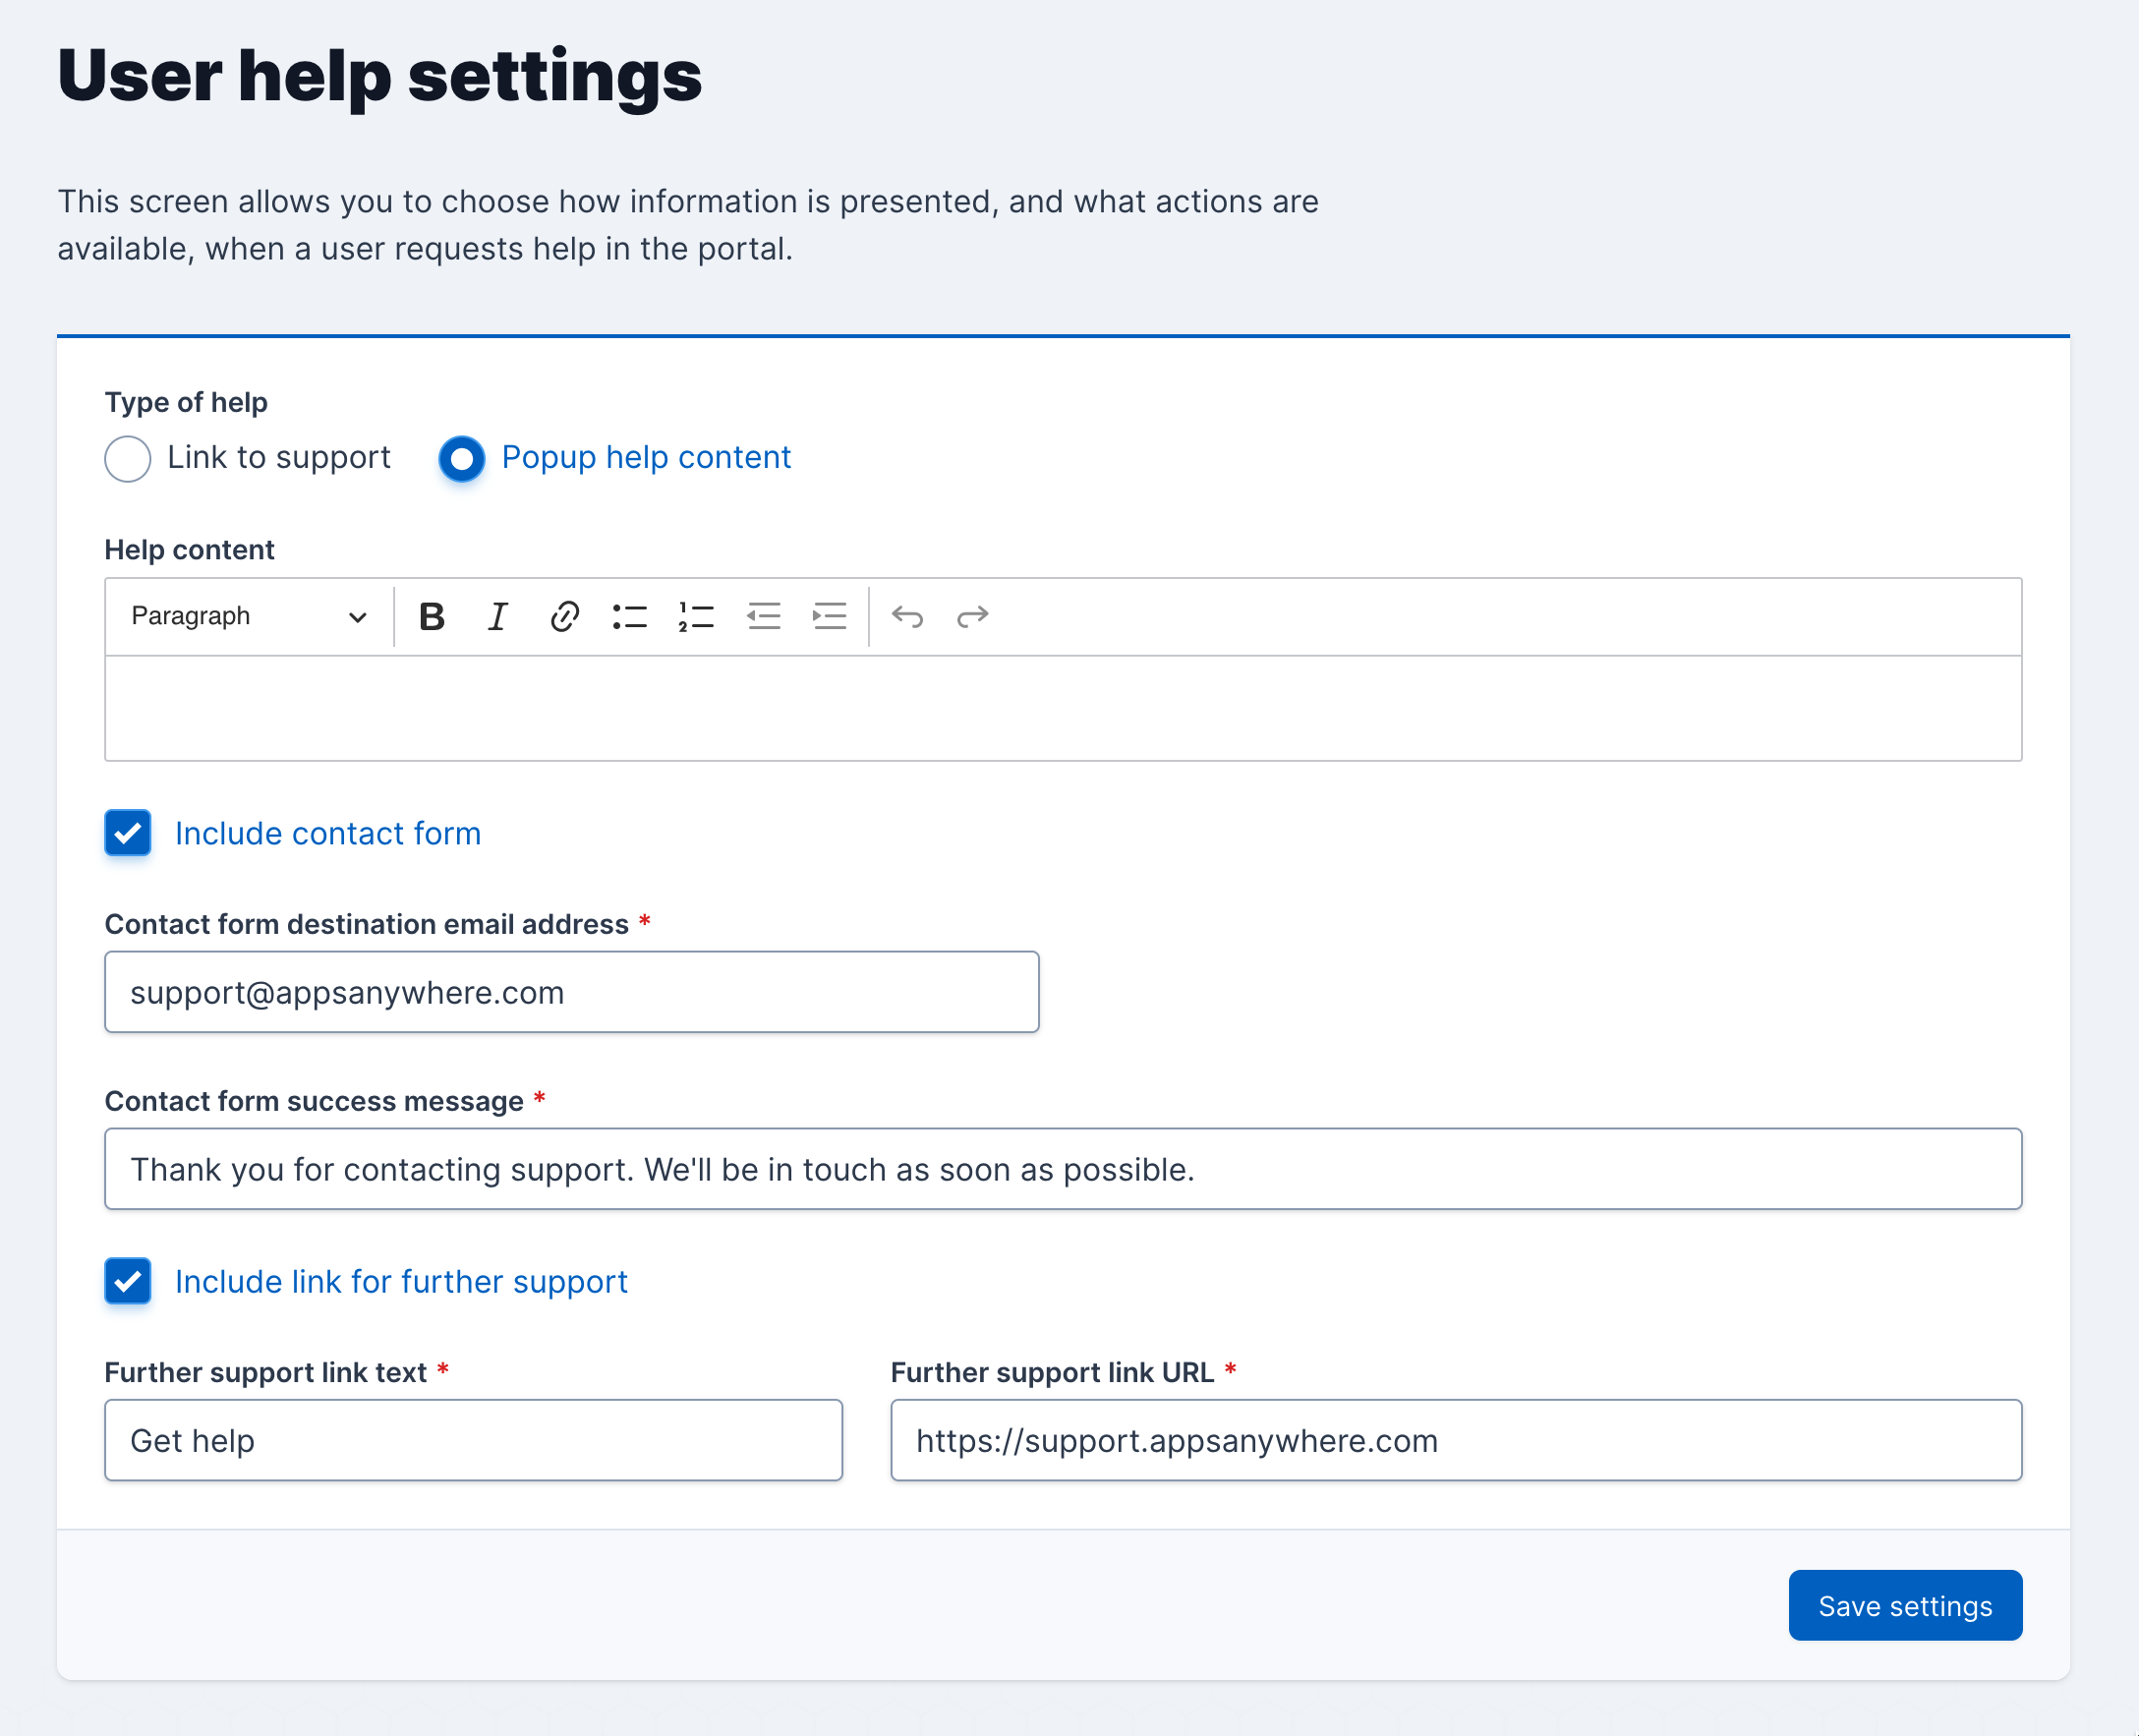
If you decide to use the pop-up dialog to provide support information instead of taking users directly to a website, select Popup help content. With this option selected, you will see more options:
When using popup help content, the user is also shown the information we know about their device (where available).
Help content allows you to specify the content that you want to appear in the pop-up dialog. We recommend using this section to detail exactly what support is available to users and how to get it. You could include details of a support email address, or physical location they can go to get help.
You can optionally add a contact form with Include contact form, which will ask for the email address that should receive emails, and a message to show to users when an email has been successfully sent. One bonus of using this feature is that both the information we know about the user’s device, and any recent errors the user has encountered while using AppsAnywhere will also be included in the email automatically.
You can also include a link for further help with the Include link for further support option, which asks for the text to show on the link, as well as the URL that the link should go to. This is useful if you want to provide information alongside your support link, rather than just having the help icon link to your page or site directly.
The following sections will describe how to configure each part of the popup help content dialog
Configuring popup window content
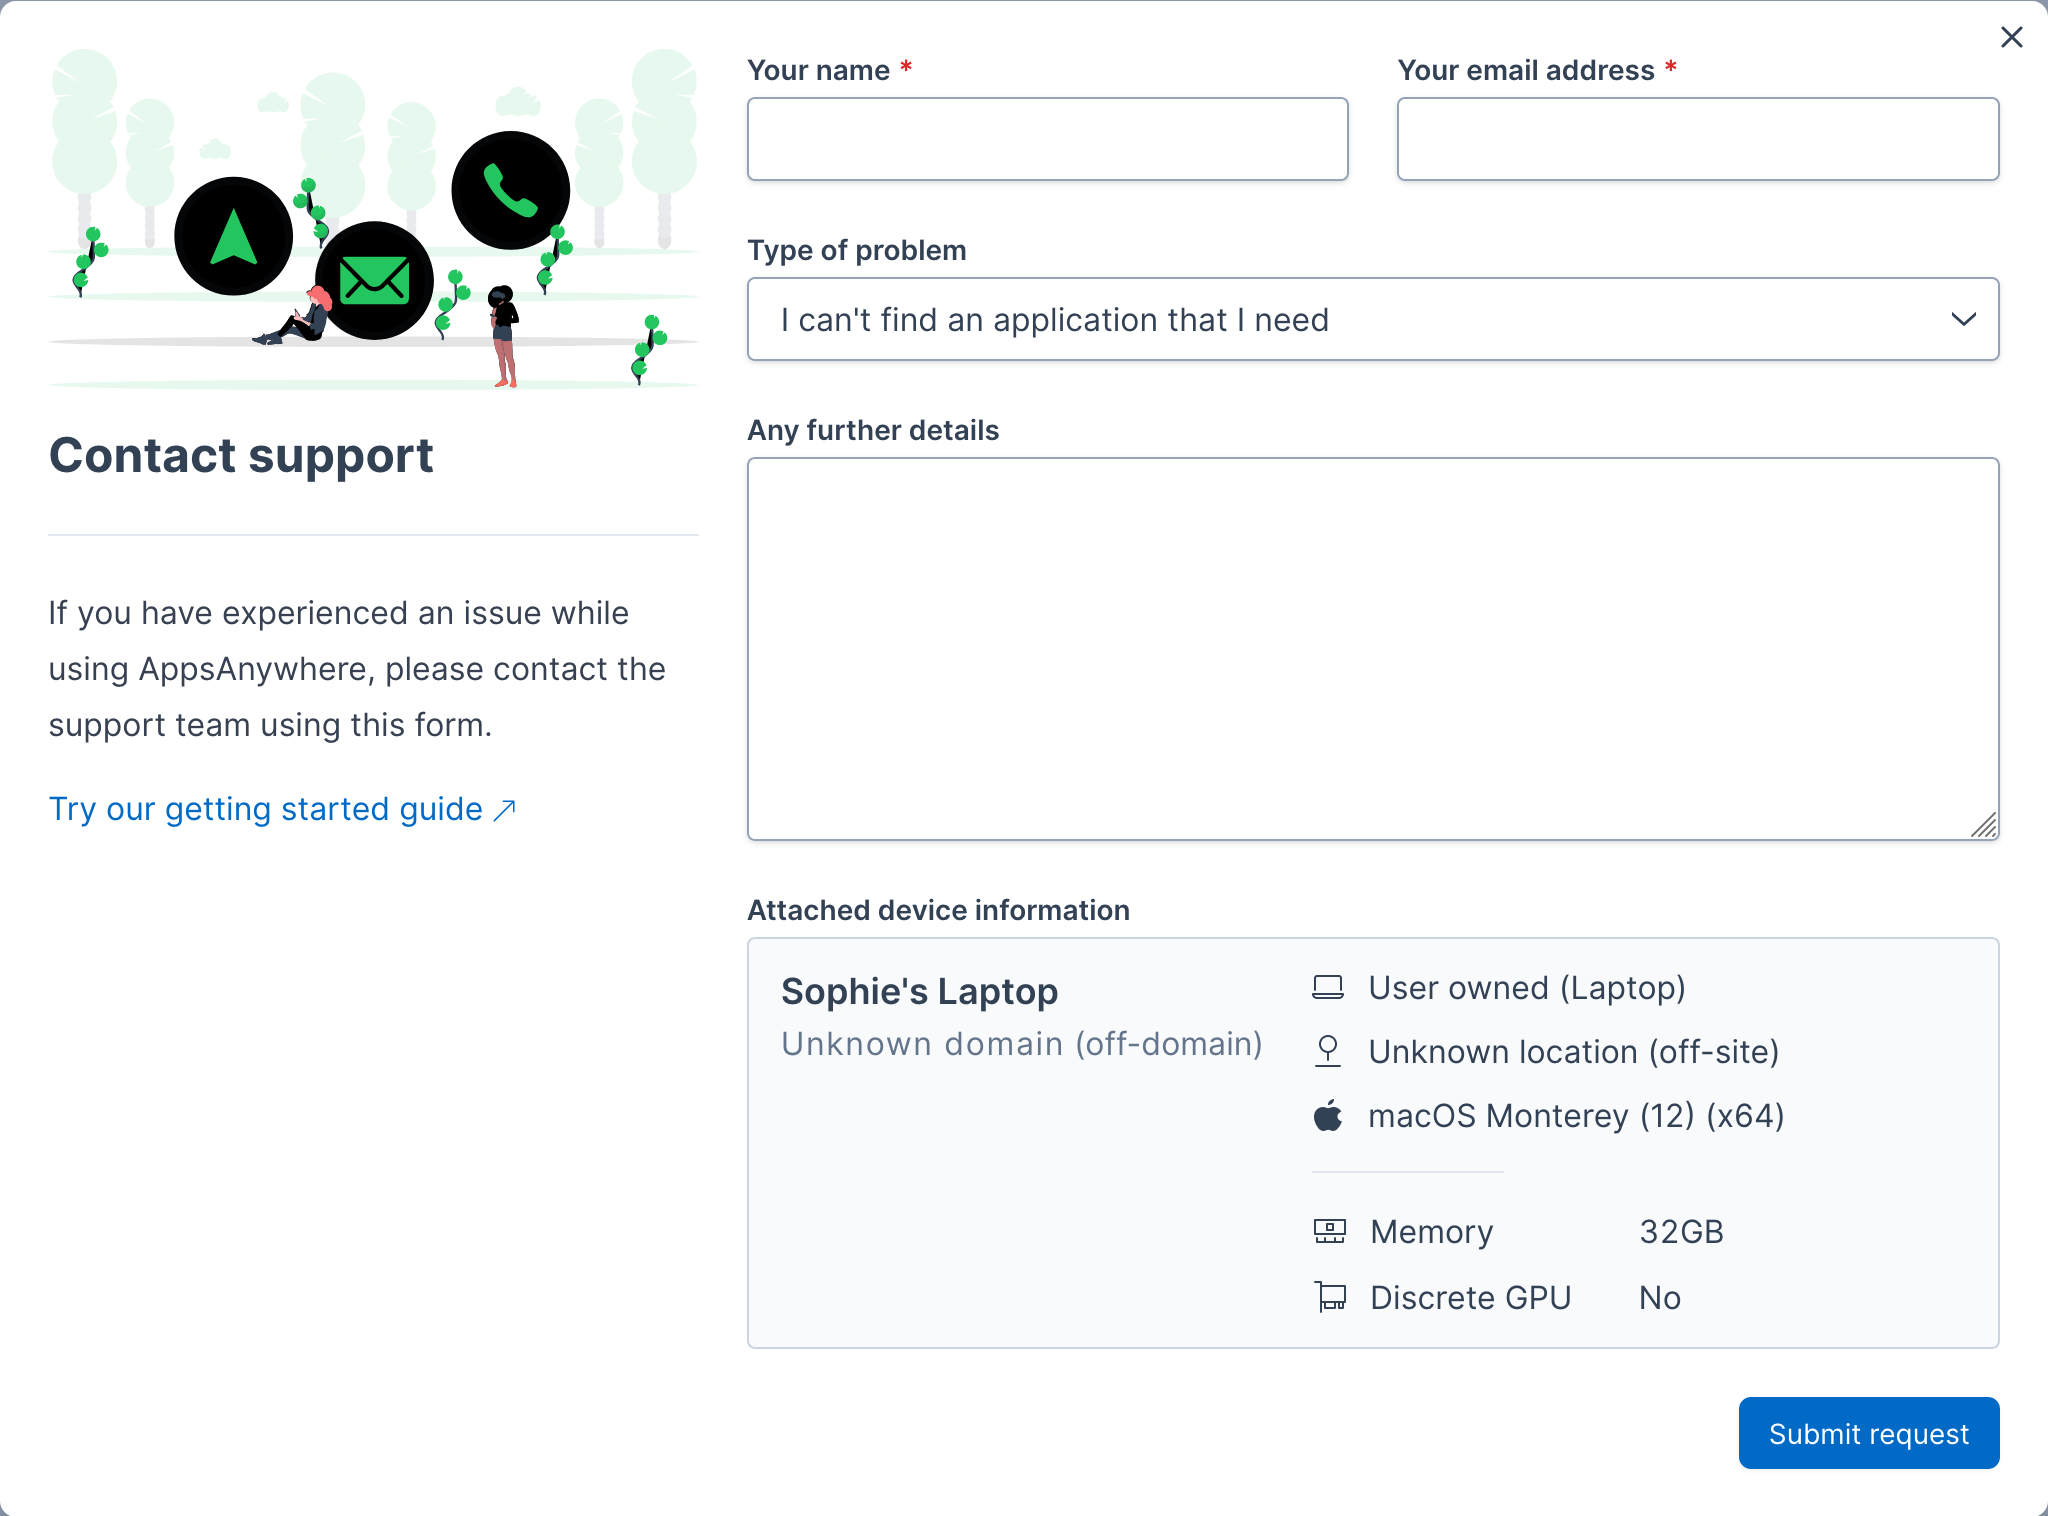
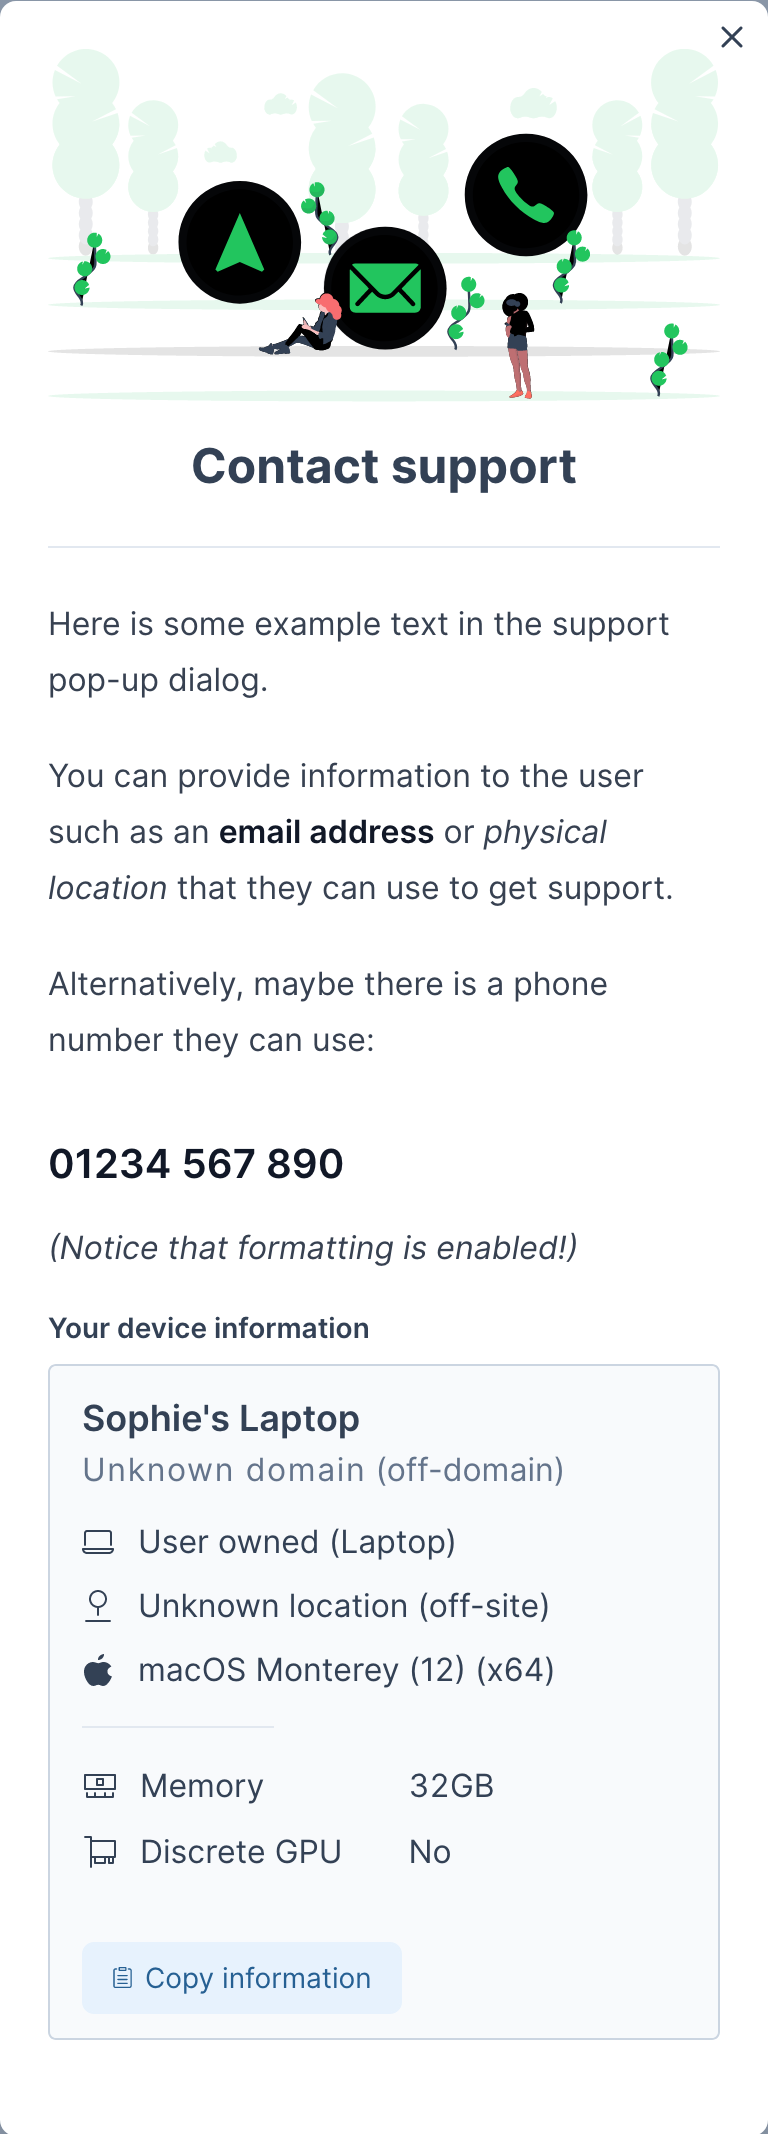
The Help content box allows you to enter custom content for the popup related to the type of support you provide and availability and access details for the user. This information will be displayed to the user when they click on the help icon. Here's an example of how that would look without any of the other options defined:
Enter the content you want to display to the user in the box provided. Basic formatting can be applied and links can be included if you need. Once you are finished, click Save settings to save the changes and test the changes by visiting the portal and accessing help from the user-profile menu.
Configuring email form options
The email form is a form the user can fill in, allowing them to enter the issue they are having, and their contact details. These details will then be sent to your desired email address for assistance to be provided. The form that is displayed is shown below and contains the following fields:
The user’s name
The user’s institution email address (so that you can contact them with a resolution or feedback)
The type of issue the user is experiencing, for which the options are:
I can’t find an application that I need
I'm having trouble launching an application
I'm having trouble validating
I have a problem with the site
I have a question
Other
A description of the issue, or the question they have

When the user submits the form, an email is generated from the details provided and sent to the e-mail address you define, automatically including the information we know about the user’s device, and any recent errors they’ve encountered while using AppsAnywhere.
The process for enabling and configuring the email form is as follows:
Ensure the Popup help content option is selected
Check the Include contact form checkbox
Enter the e-mail address that you want the form results to be sent to into the Contact form destination email address field.
Enter a message to be displayed to the user upon successful submission of the form in Contact form success message field. This is a simple (150 character) confirmation to the user that the details were submitted but we also suggest including details such as expected response times and any further actions the user can take to seek help.
Click Save settings to save changes
Once this is configued, as well as the help content you defined in the previous section, the pop-up help dialog will contain the form shown above. Don't forget to check the help dialog and fill in the form after you have made any changes to test everything works as expected.
Tip: Why not have the form submit details to your support desk address. This way, questions submitted using the form will be created as tickets in your support system and can be dealt with through your usual support process.
Configuring the support link
In addition to, or instead of, providing the form for users to provide details of an issue, you can provide a link to an external support page or site in the popup help dialog. The text and URL for this link are both configurable configurable. The process for enabling and configuring this link is as follows:
Ensure the Popup help content option is selected
Check the Include link for further support checkbox
Enter the text that you wish to appear on the help link in the Further support link text field
Enter the URL thar the user will be directed to in the Further support link URL field
Click Save settings to save your changes
The image below shows an example popup help dialog with both the contact form and support link enabled, along with some custom content to help the user find the help they need.