
Cloudpaging Server upgrade procedure
Overview
This article outlines the procedure to upgrade Cloudpaging Server and the pre-requisite components installed to the latest supported versions.
The upgrade process may require downtime resulting in service disruption. A backup of all systems should be taken prior to making any changes.
Cloudpaging server must be upgraded to 9.6.0 prior to upgrading to 9.7.0.
With the release of 9.6.0 Server, the version of Apodt OpenJDK has changed to 11 and Tomcat has changed to 9.
See Upgrading Cloudpaging Server and the Cloudpaging Server Guide for information.
Prerequisites
Review all related documentation (Upgrading Cloudpaging Server and the Cloudpaging Server Admin Guide)
Review the Cloudpaging release article and release notes in Latest Releases
Schedule a maintenance window according to Upgrading Cloudpaging Server
Raise a ticket with AppsAnywhere Support
Requesting the installation files
Check if a new license is required
Provide the maintenance window so AppsAnywhere Support can be available
In line with the Support Workflow, AppsAnywhere Support needs to be aware of any change to the infrastructure. Otherwise, the support agreement may be invalidated.
Upgrade Procedure
Place the installation files on the desktop of each Cloudpaging Server and extract the zip file
Backup folder C:\Program Files (x86)\Numecent\Application Jukebox Server\core\webapps\jukeboxserver
Ensure there is a backup of the Cloudpaging database (StreamDB)
Perform functionality tests.
Login to AppsAnywhere
Launch more than one Cloudpaging application (E.g. Audacity)
Check the Cloudpaging Player log file shows a successful connection to each online Paging server (search for "Connection Test for Remote Source")

Login to the Cloudpaging Server admin portal and confirm that all online services are running showing a green tick.

Connect to the server group 1 (1 x Admin/License server and 1 x Paging server).
Stop the Cloudpaging Server Service via services.msc on server group 1.

Perform functionality tests against server group 2 via load balancer
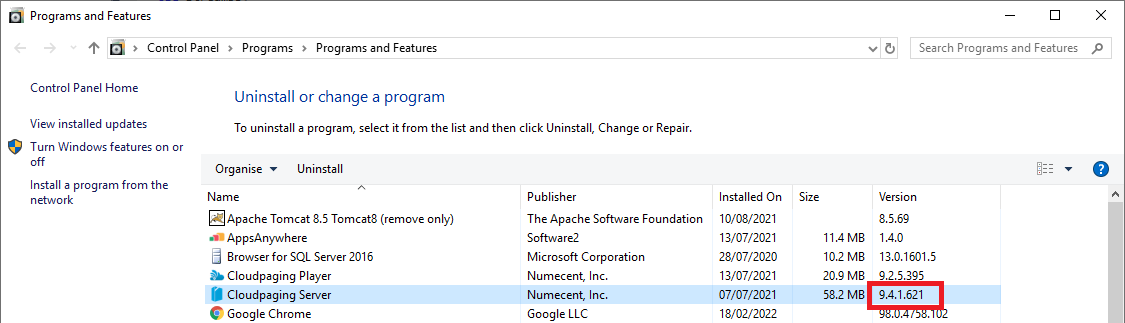
Check the current version of Cloudpaging Server in Add or Remove programs
Run the relevant database migration scripts from the latest Cloudpaging Server zip file downloaded. The scripts are saved in cloudpaging-server\<version>\Server-Windows\Database\upgrades and should be run against the StreamDB database using the dbjbuser SQL login.
A successful run will show that at least one row was affected e.g.:If upgrading from 9.4.621 to 9.5.1, run the web_9.4_to_9.5.sql.
If upgrading from 9.2.1, run the web_9.2_to_9.3.sql script, web_9.3_to_9.4.sql then web_9.4_to_9.5.sql.
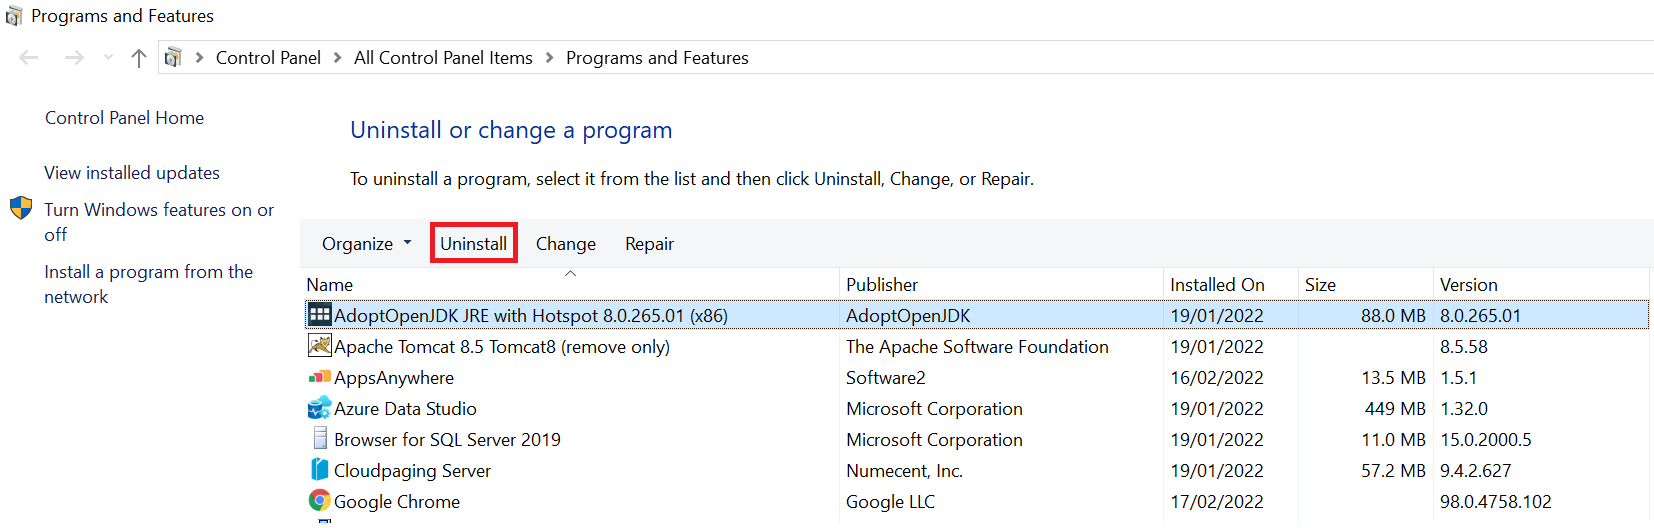
Open ''Add or Remove Programs'' and uninstall the old Java (AdoptOpenJDK JRE with Hotspot / Eclipse) component.
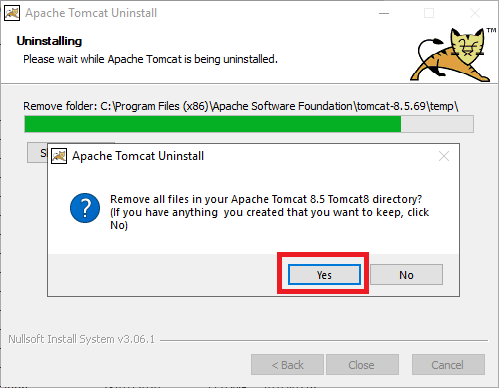
Uninstall the old Apache Tomcat version. When uninstalling Apache Tomcat 8.5, a prompt will ask if all files should be removed from the Tomcat directory, click Yes.
If upgrading from Cloudpaging <=9.7 to >=9.8, delete the Cloudpaging server.xml file, otherwise proceed to step 14
Delete
C:\Program Files (x86)\Numecent\Application Jukebox Server\core\conf\server.xmlon each server in group 1
Run Application Jukebox Server.exe from the extracted cloudpaging-server\<version>\server-windows folder and click Yes to start the upgrade.
Cloudpaging server must be upgraded to 9.6.0 prior to upgrading to 9.7.0.
With the release of 9.6.0 Server, the version of Apodt OpenJDK has changed to 11 and Tomcat has changed to 9.
Do not install Microsoft SQL Server 2016 Express RTM if prompted to do so
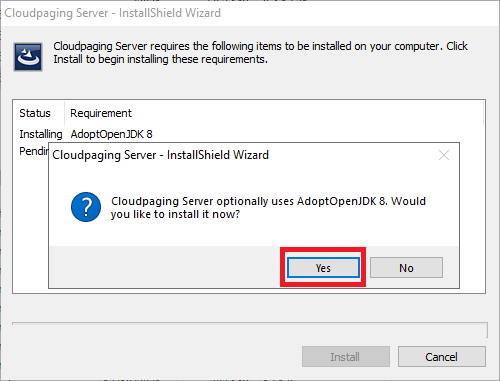
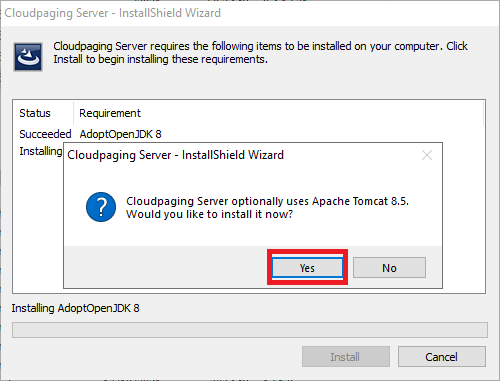
Click Yes to install AdoptOpenJDK
Click Yes to install Apache Tomcat
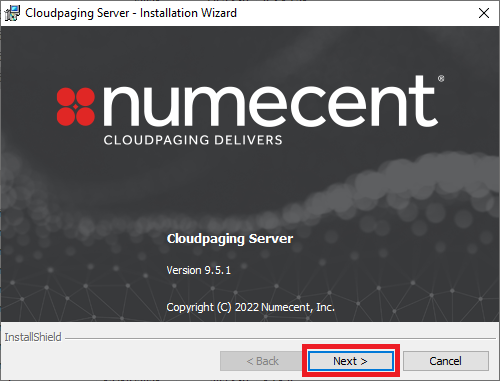
Click Next
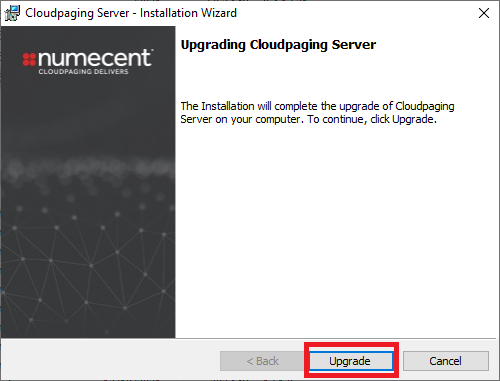
Click Upgrade
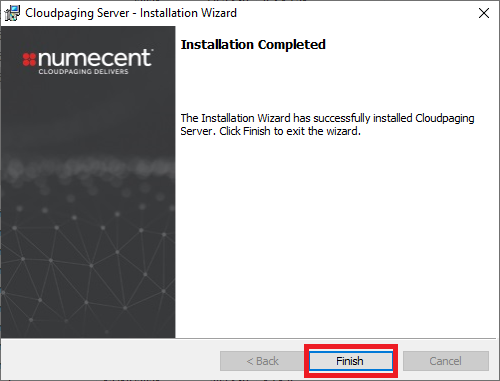
Click Finish
Once the upgrade is complete, launch the Cloudpaging Server shortcut on the desktop to verify in the footer of the login page of the Cloudpaging Server Admin Portal, Enterprise Edition matches the version installed and Database Version is on the same build.

Login to the Cloudpaging Server admin portal and confirm that all services are running, showing a green tick.
If upgrading from Cloudpaging <=9.7 to >=9.8, edit the Cloudpaging server.xml file, otherwise proceed to step 26
Open
C:\Program Files (x86)\Numecent\Application Jukebox Server\core\conf\server.xmland update the certificate attribute on one server in group 1.Edit the
keystoreFile="C:\Program Files (x86)\Numecent\Application Jukebox Server\secured.keystoreattribute replacing thesecured.keystorefilename with the Cloudpaging certificate filename e.g.cloudpaging.pfx.Immediately after that entry add the password attribute with the correct password e.g.
keystorePass="ThePassword" keystoreType="PKCS12".The server.xml file, should have the following entries for the declared connectors:
CODE<Connector connectionTimeout="20000" maxParameterCount="1000" keystoreFile="C:\Program Files (x86)\Numecent\Application Jukebox Server\cloudpaging.pfx" keystorePass="ThePassword" keystoreType="PKCS12" minSpareThreads="25" URIEncoding="UTF-8" port="443" SSLEnabled="true" scheme="https" secure="true" sslProtocol="TLS"/>CODE<Connector connectionTimeout="20000" maxParameterCount="1000" disableUploadTimeout="true" enableLookups="false" minSpareThreads="25" URIEncoding="UTF-8" port="80" />
Save the server.xml file.
Restart the Cloudpaging service on the server from step 18.
Ensure the certificate is applied and the Cloudpaging service health check returns a success response on the server from step 18.
Copy
C:\Program Files (x86)\Numecent\Application Jukebox Server\core\conf\server.xmlto the other Cloudpaging servers.Restart the Cloudpaging service on each of the other Cloudpaging servers.
Ensure the certificate is applied to each Cloudpaging Admin server via
https://<server_dns>/jukeboxserver.Use the health check to confirm that a success response is returned from each server.
Stop the Cloudpaging Server Service via services.msc on server group 2.
Perform functionality tests against server group 1 via the load balanced DNS.
Complete the upgrade steps on server group 2.
Stop the Cloudpaging Server Service via services.msc on server group 1.
Perform functionality tests against server group 2 via the load balanced DNS.
Start the Cloudpaging Server Service via services.msc on all server group 1.
Complete the upgrade steps on all remaining server groups.
Apply any new Cloudpaging Server license keys that have been provided e.g. when upgrading to 9.5 or above from an older version
Perform functionality tests against all remaining server groups via the load balanced DNS.
Start the Cloudpaging Server Service via services.msc on all server groups.
Perform functionality tests via the load balanced DNS.
Providing the functionality tests are successful, the upgrade of Cloudpaging Server is complete!