Frontend Banner Settings
Overview
Keeping your users up to date on the latest news and events is vital, to help with this, we've added the ability to display custom banners within the AppsAnywhere dashboard.
You can add as many banners as you like and they will be scrolled through automatically.
You can upload and configure your banners in the Banner Settings page, found along the settings bar.
Before you start
Log into AppsAnywhere as an admin user
Click on Return to Admin to access the AppsAnywhere admin portal.
On the settings menu at the top of the page, go to Banner Settings.
Enabling and specifying where banners should appear
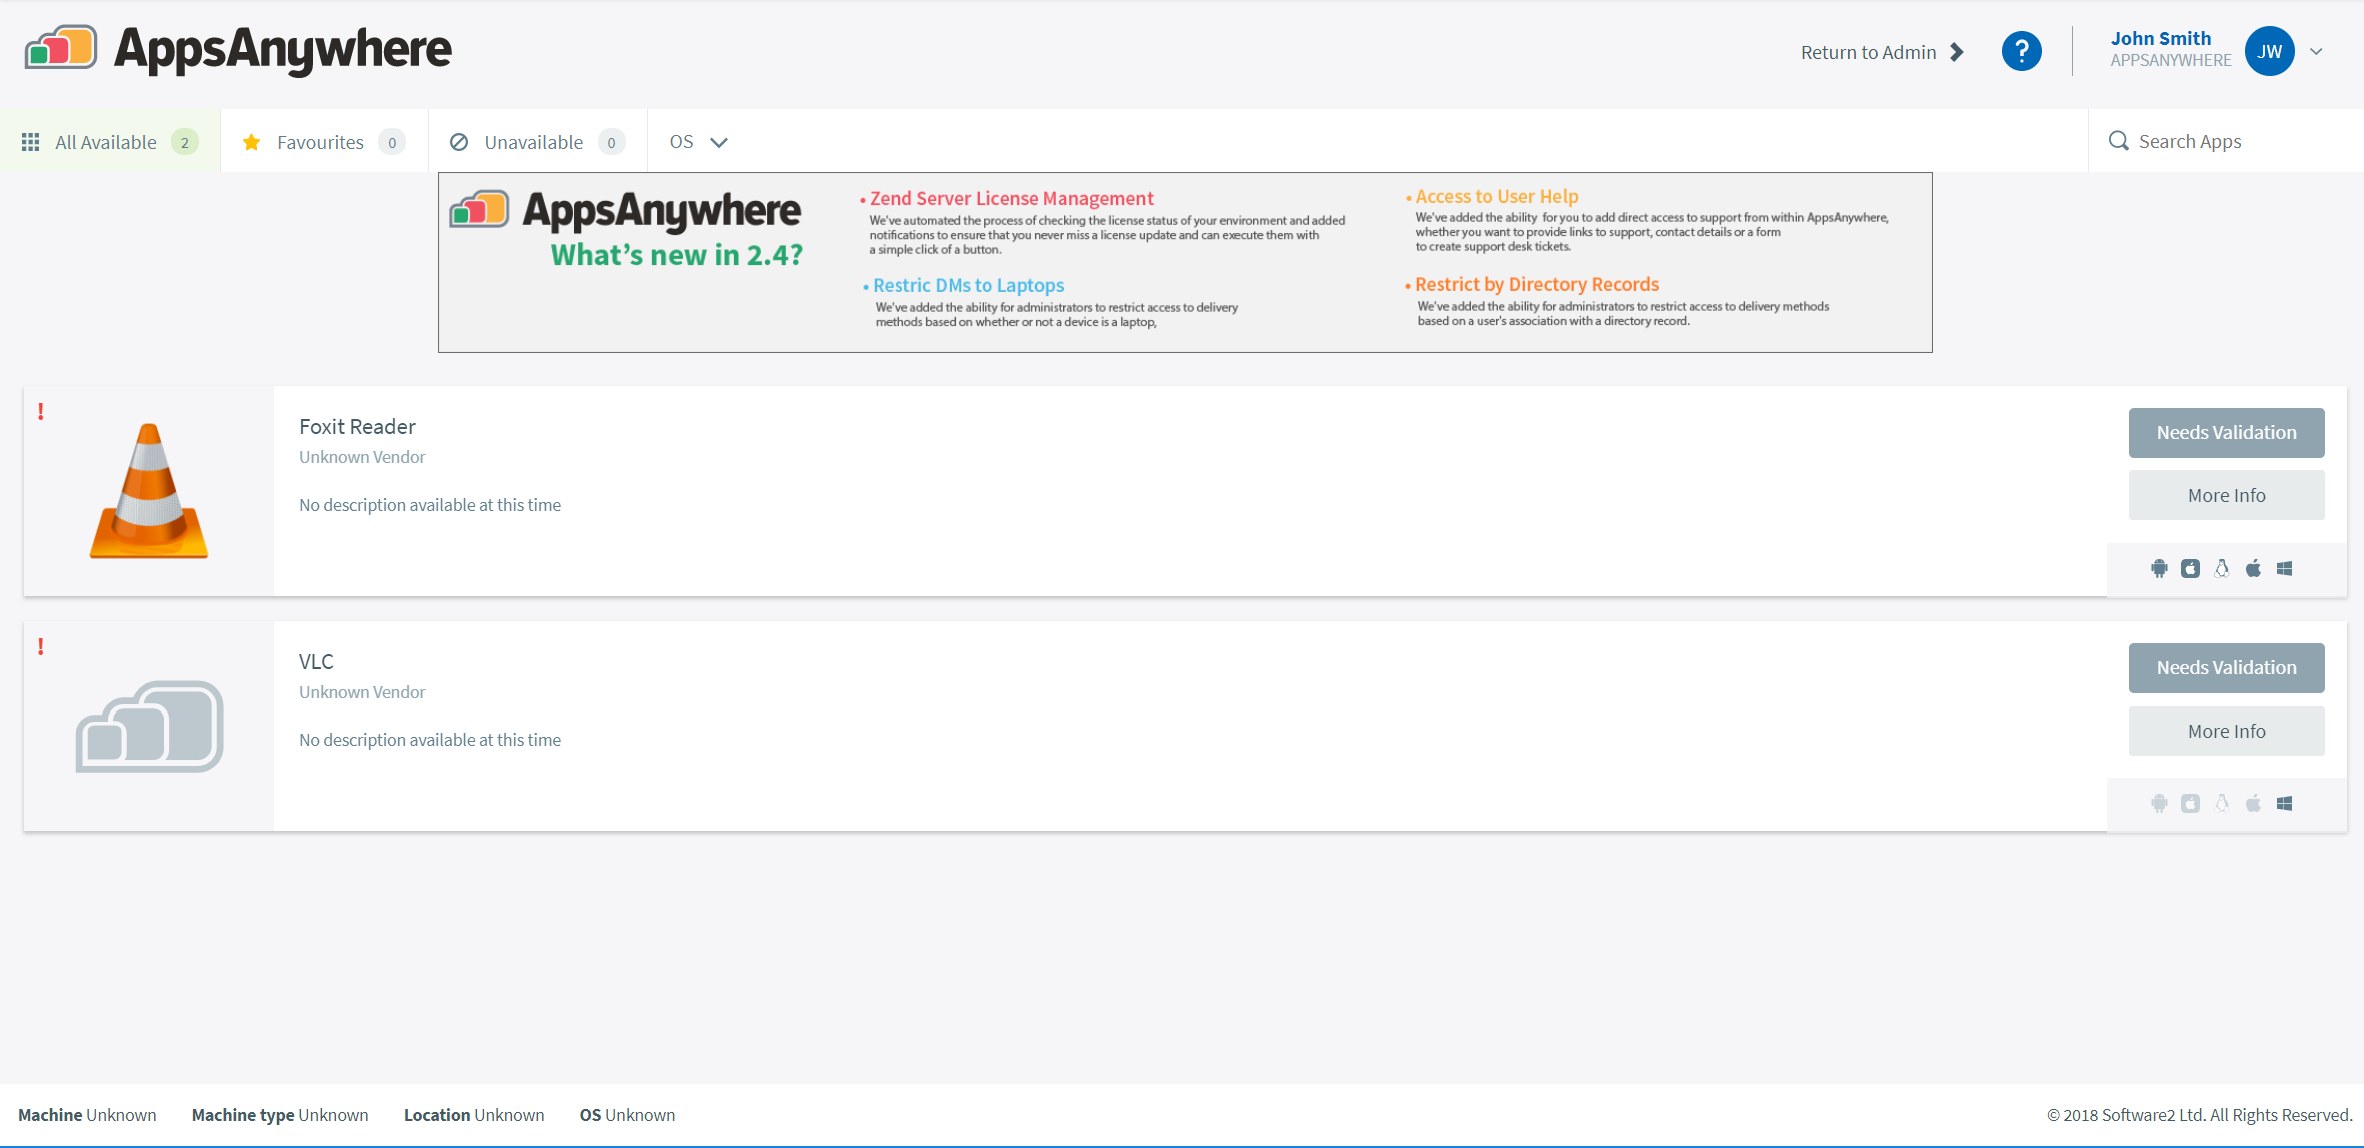
There are two areas banners can be displayed on the dashboard, landscape (along the top of the page) and portrait (as a sidebar). Each format has its own configuration tab and only one format can be displayed on the dashboard at once.
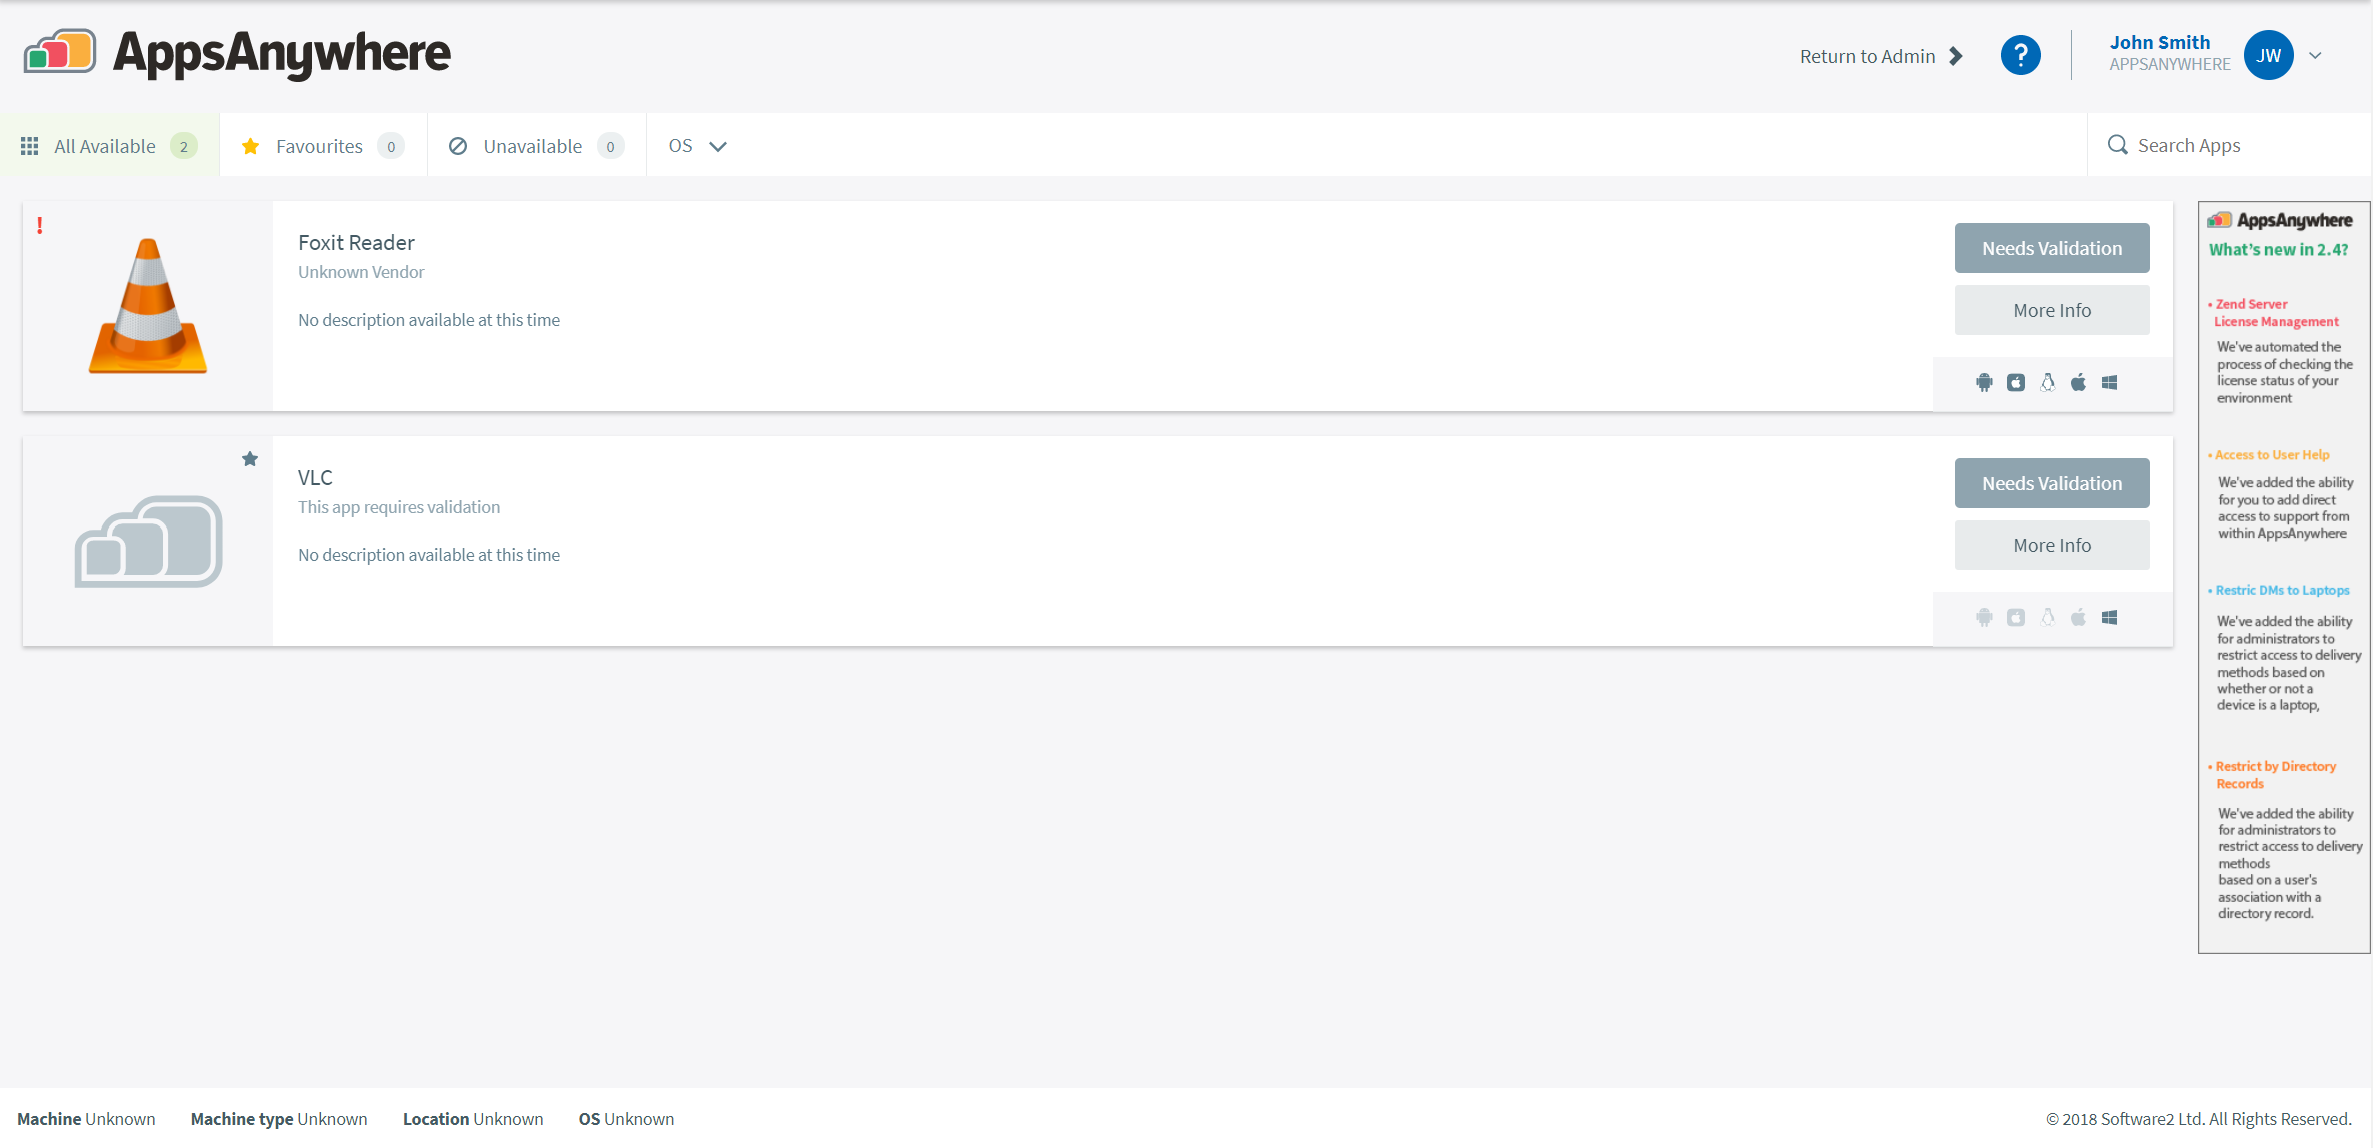
The positioning of these two banners are shown below:
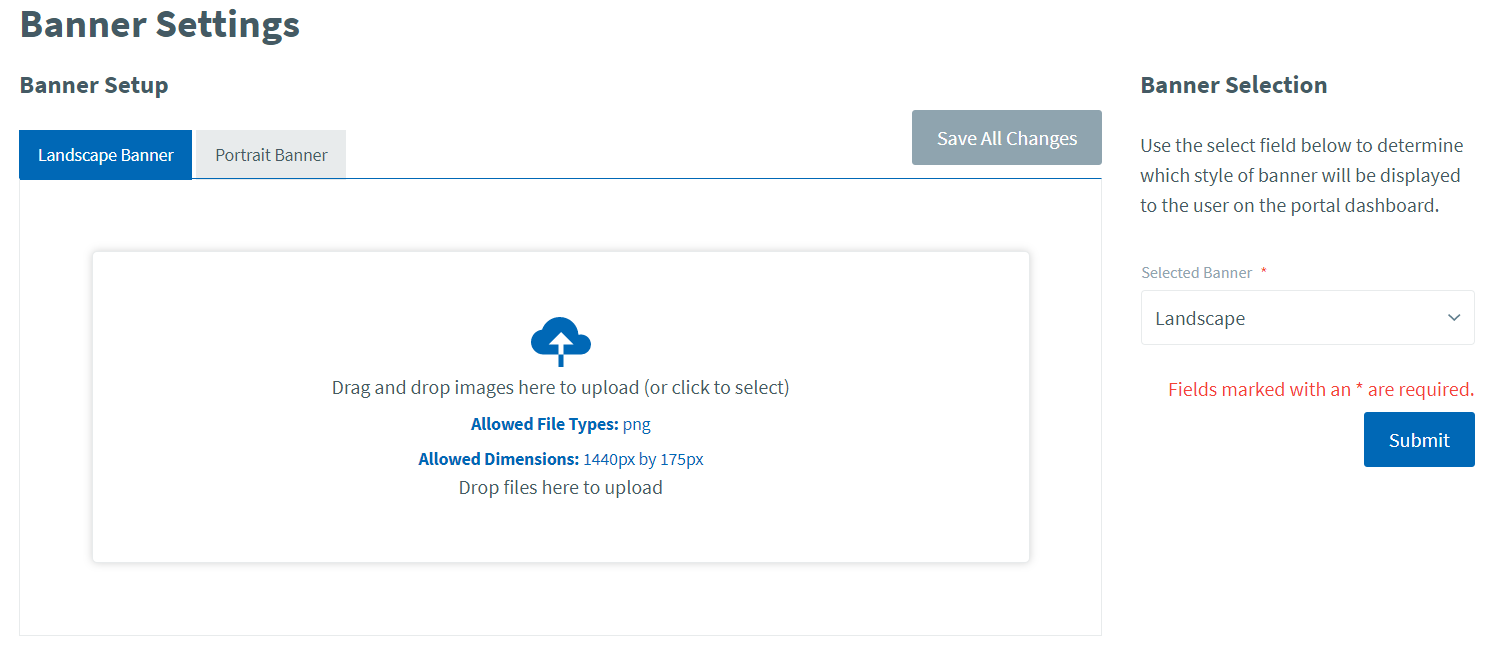
It is possible to select which banner format, if any, should appear, from the select box to the right of the screen, to save this setting, click the submit button.
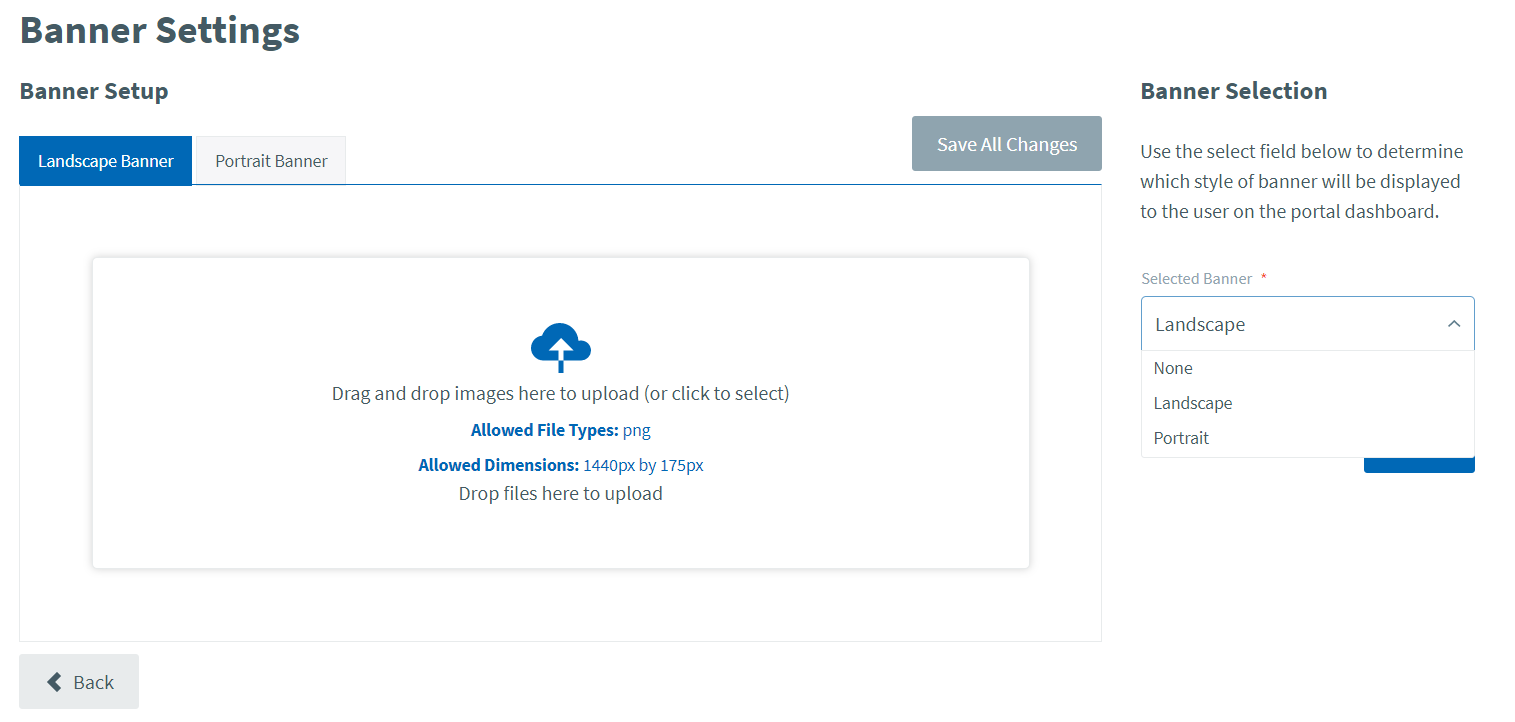
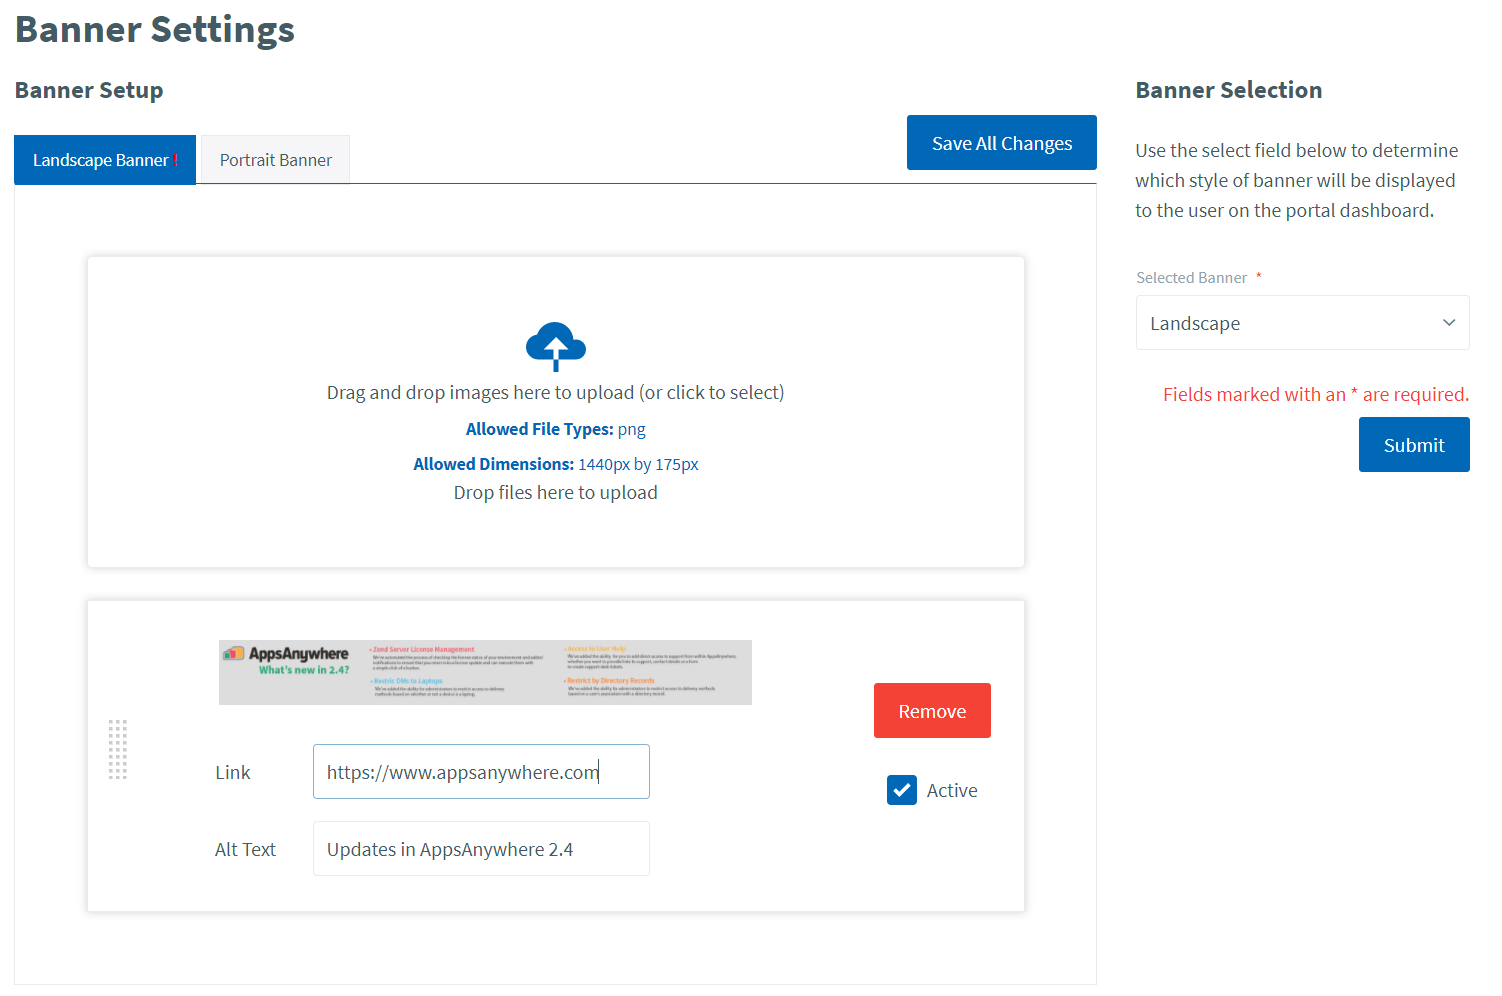
Adding a banner image
The two banner image formats have corresponding tabs, landscape and portrait.
The required dimensions for banner images are below.
Landscape: 1440px by 175px
Portrait: 150px by 650px
To add a new banner image:
Select the required tab.
Drag and drop the banner image to the upload area at the top of the banner display area.
Alternatively, it is possible to click the upload area and select the image you would like to upload.
After following these steps, the new banner image will be appended to the list.
You can upload as many images as you like, once active, the banners will appear on a rolling carousel in the dashboard.
The new banner image will not appear to users until it is set to active, the process to set a banner image to active is documented in the ‘Enabling a banner image’ section.
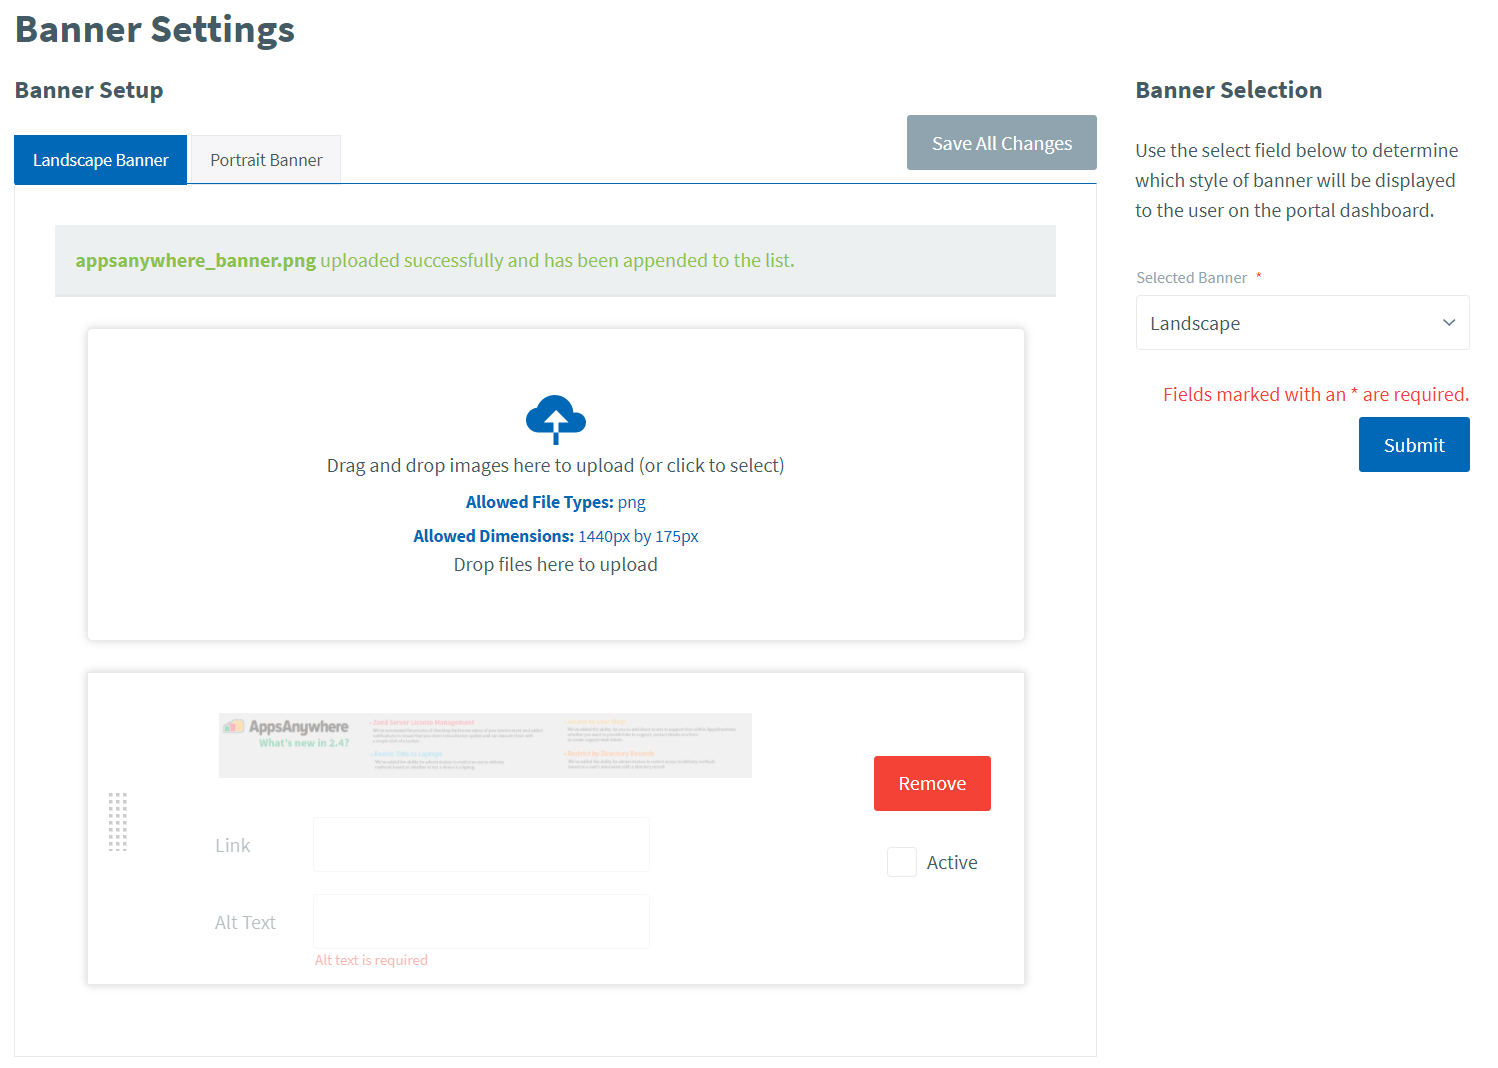
Adding alt text to a banner image
To maintain the high level of accessibility AppsAnywhere offers, we require all banner images to be given alt text; alt text appears if the image is not present for any reason and allows screen reader users to access content they would otherwise not be able to.
We've made the process of adding alt text really simple.
To add alt text to your banner image, follow these steps:
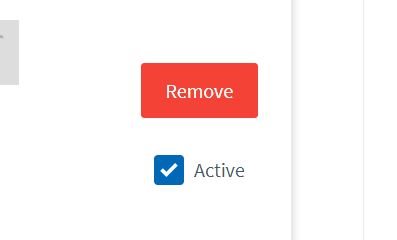
Banner must first be set to active by selecting the tick box.
Locate the alt text text field on the banner configuration and a brief description of what appears in the image.
Click the Save All Changes button at the top of the banner settings page.
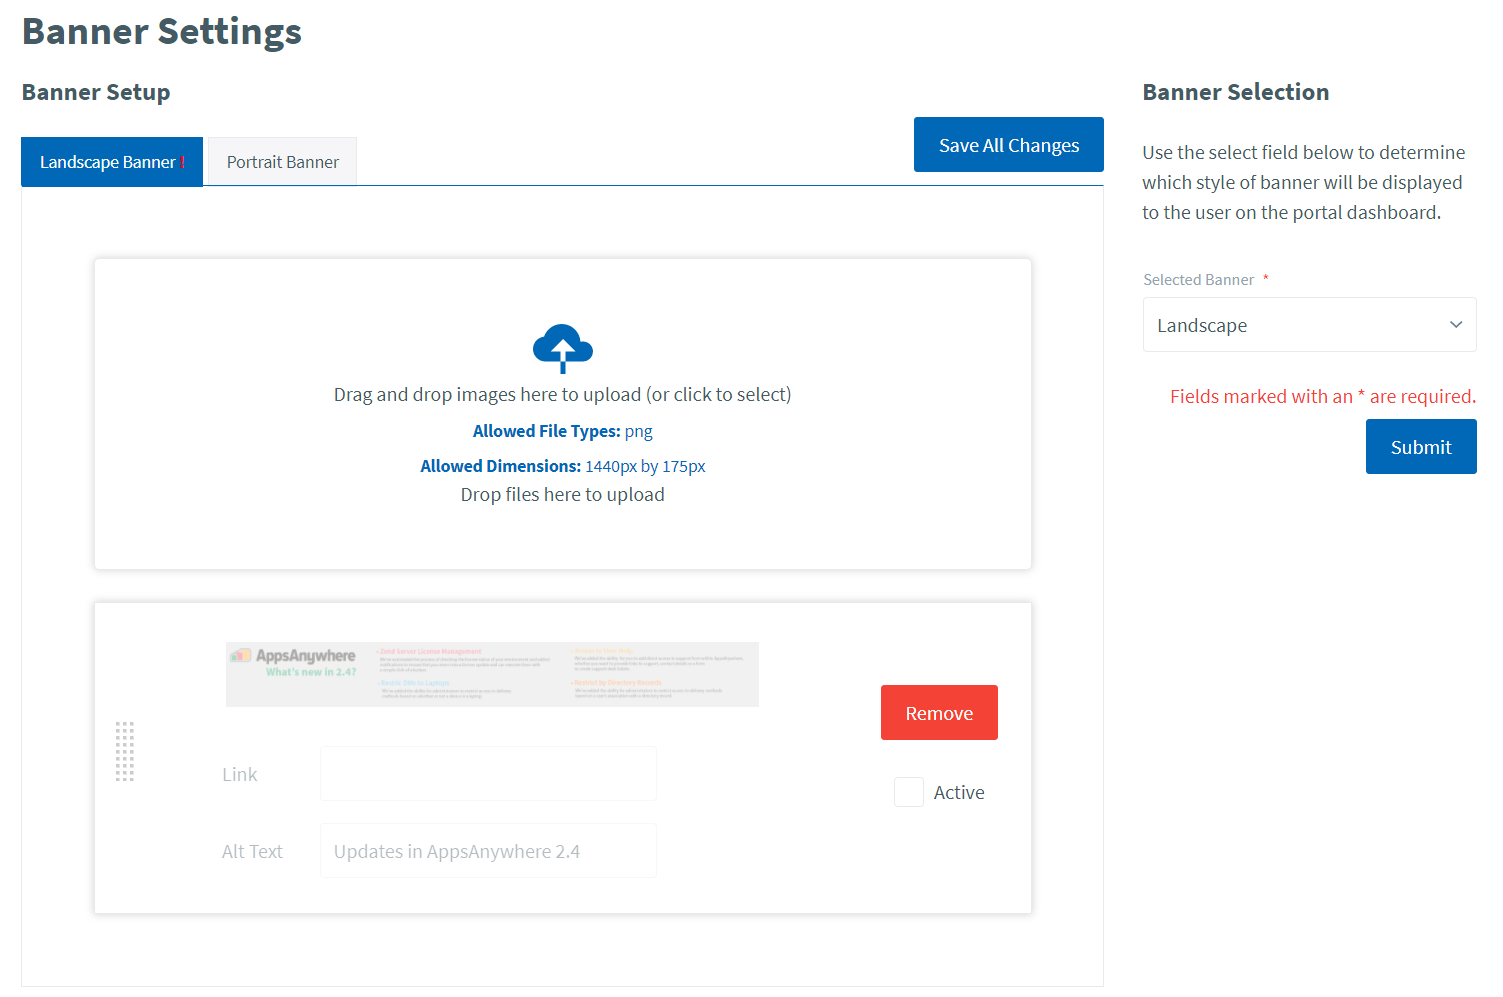
Enabling a banner image
After a banner image has been added it will be set as inactive by default. To set the image to active you must first add alt text, once alt text has been added follow these steps:
Check the active checkbox on the banner image (the banner should now no longer be grayed out).
Click the Save All Changes button at the top of the banner settings page.
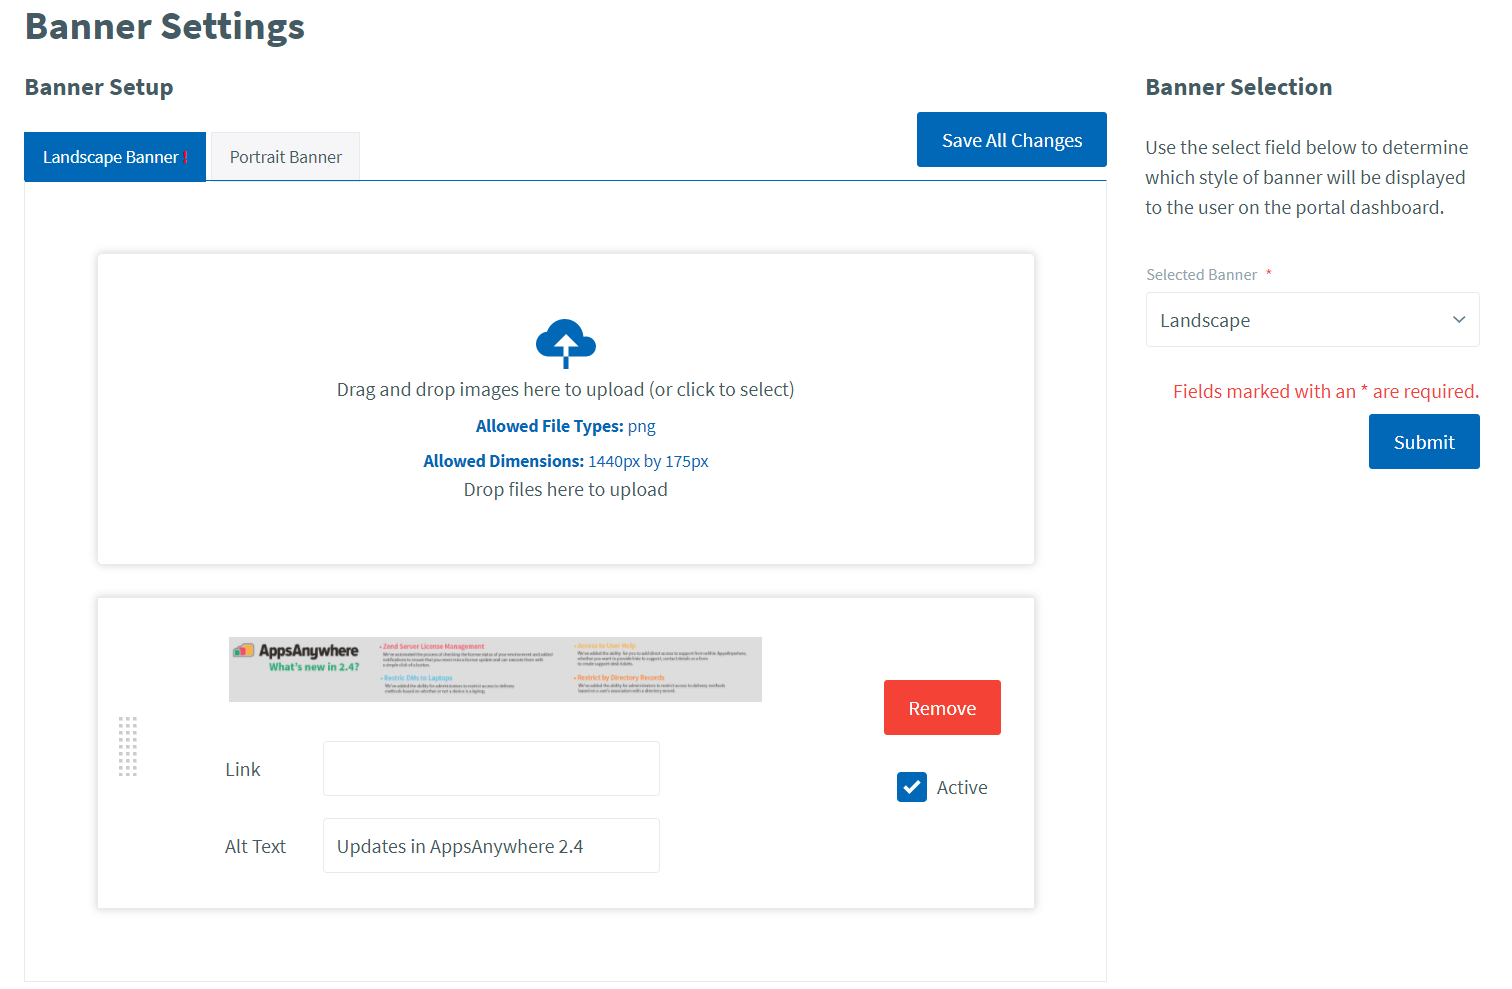
Adding a link to a banner image
Adding a link to a banner image will cause the user to be redirected to the specified URL upon clicking on the banner image in the portal. We strongly recommend only https is used.
To add a link to your banner image, follow these steps:
Locate the Link text field on the banner configuration with the placeholder text and enter the desired URL into this field, including http or https.
Click the Save All Changes button at the top of the banner settings page.
Changing the order of banner images
To change the order in which banner images appear to the user within the carousel, follow these steps:
Use the area to the far left of the landscape banner, or top of the portrait banner, to drag and drop the banner image into the desired position within the list.
Repeat this process until all images are in the correct order.
Click the Save All Changes button at the top of the banner settings page.
Removing a banner image
To remove a banner image simply click the ‘Remove’ button on the banner image configuration. The banner will be removed from the list and will no longer be presented to the user.