Patching a Cloudpaging application
Introduction
If an application has a new version of patch available, then patching an appset can be considered. Patching is best used when there are minor changes to be made to an appset and it is desired to maintain the previous version.
For example, a patch or hot-fix for an application can be added to an existing appset as a patch (e.g. Photoshop 5.5.1 updates Photoshop 5.5.0).
To avoid confusion, it is always recommended to not use patching, but instead create a new appset for each new version of an application.
Especially if the application update contains major of a large number of changes, then a new appset is recommended.
Refer to the Cloudpaging Studio User Guide for details on the patching process in Cloudpaging Studio.
Enabling the Patch via Cloudpaging Server
The patched appset retains all versioning information. Users will be unaffected during this stage.
After testing the appset locally, copy the new .stp file into the Cloudpaging repository, overwriting the existing published .stp file.
Log in to the Cloudpaging admin portal (https://cloudpaging.uni.edu/jukeboxserver) and navigate to Deployments > Applications.
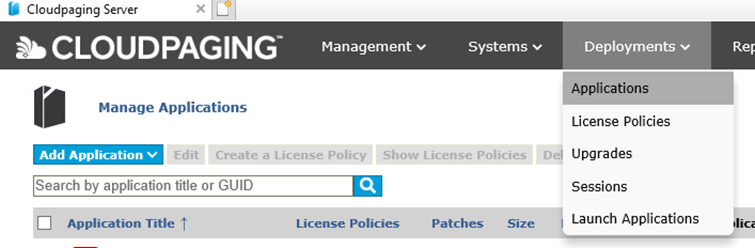
Click on Add Application and select Import from server repository
Check the “Search existing applications” and click on the Search symbol on the Appset File Name box
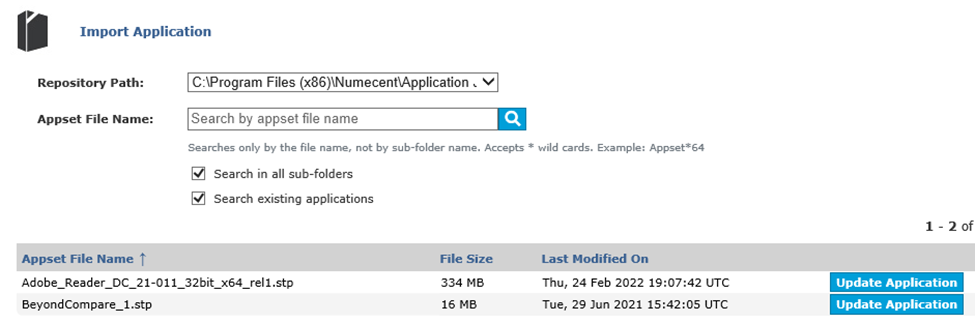
Find the appset you patched and click Update Application and Update on the next screen.
Patch Deployment to New Users
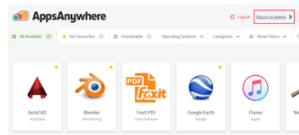
Open AppsAnywhere and Return to Admin.
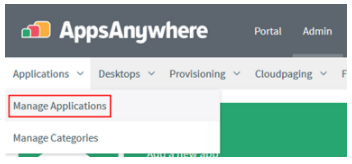
Select Applications | Manage Applications.
Click Edit next to the app that you have patched.

Select Delivery Methods, and click Add Delivery Method to create a new delivery method for the patched application.
Note: Current Delivery Method shows the existing Cloudpaged delivery methods in use by the patched application. These should not be changed, a new delivery method must be added.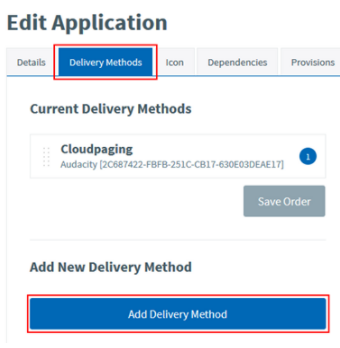
Select the Cloudpaging delivery method.

From the Deploy Version dropdown list, choose the patched version to deploy. If Deploy Version is not visible, click on Show Advanced Settings,
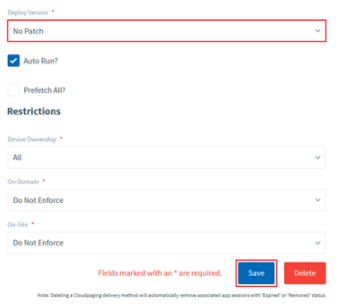
Configure the Restrictions and Operating System Compatibilities to match the settings for the original unpatched delivery method.
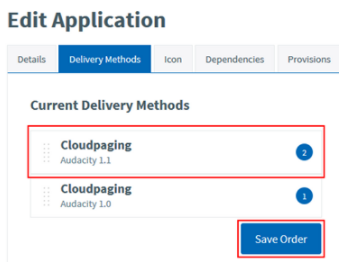
Click Save to publish the new version. The new delivery method will be listed in the Current Delivery Methods section.
Move the new delivery method above the old delivery method to give it a higher priority, then click Save Order.
The patched version will now be delivered to new users of the application.
Patch Deployment to Existing Users
Open AppsAnywhere and click Return to Admin.
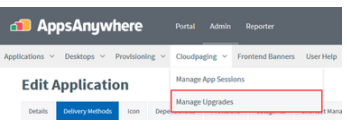
Select Cloudpaging | Manage Upgrades.
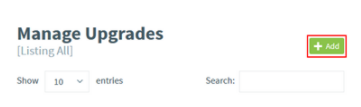
Click Add.
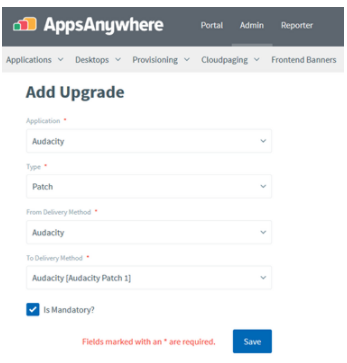
Select the patched Application and set the Type of upgrade to Patch.
Under From Delivery Method select the original Delivery Method.
Under To Delivery Method select the new Delivery Method (for the patched version).
Ensure that Is Mandatory is selected.
Then click Save to apply the upgrade.
The patched version will now be delivered to existing users of the application.
User Experience
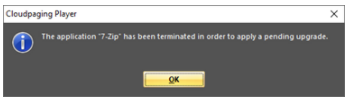
The next time that an existing user launches the original app, they will be prompted that a minor upgrade is available.
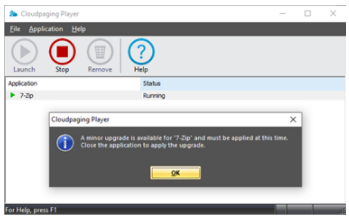
The user must close the app to initiate the upgrade to the patched version.
If the user does not close the app they will see a 2-minute warning, and a subsequent 1-minute warning.
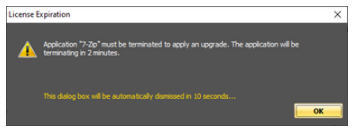
After 2 minutes the user is forced to close the app by clicking OK.
The app is then removed automatically, and the patched version virtualized and launched instead.