
SAML 2.0 Common
Overview
This article will cover the configuration required for AppsAnywhere to use a SAML 2.0 provider for single sign-on.
Please read Single Sign-On Settings before proceeding
Security Assertion Markup Language 2.0 (SAML 2.0) is a version of the SAML standard for exchanging authentication and authorization information between services and providers. It is an XML-based protocol that uses security tokens to pass information about an end user between an identity provider and service provider. These security tokens contain assertions which are formed from multiple attributes holding the information about the end user; AppsAnywhere currently supports only a single assertion, but this assertion may have more than one attribute which are then traversed by name. The attributes that are part of this assertion will then typically contain the identity information required to authenticate the user and authorize them for use of AppsAnywhere.
AppsAnywhere currently supports quick set up for two identity providers:
Shibboleth 2
Active Directory Federation Services
If an identity provider that supports SAML 2.0 is required and not listed above, use “Custom" setup
It is recommended you ensure set up is complete on the provider side first, so that you have the XML metadata necessary to make configuration of the SSO method within AppsAnywhere much easier.
It is worth noting that AppsAnywhere does not support SAML 1.x or Shibboleth 1.x.
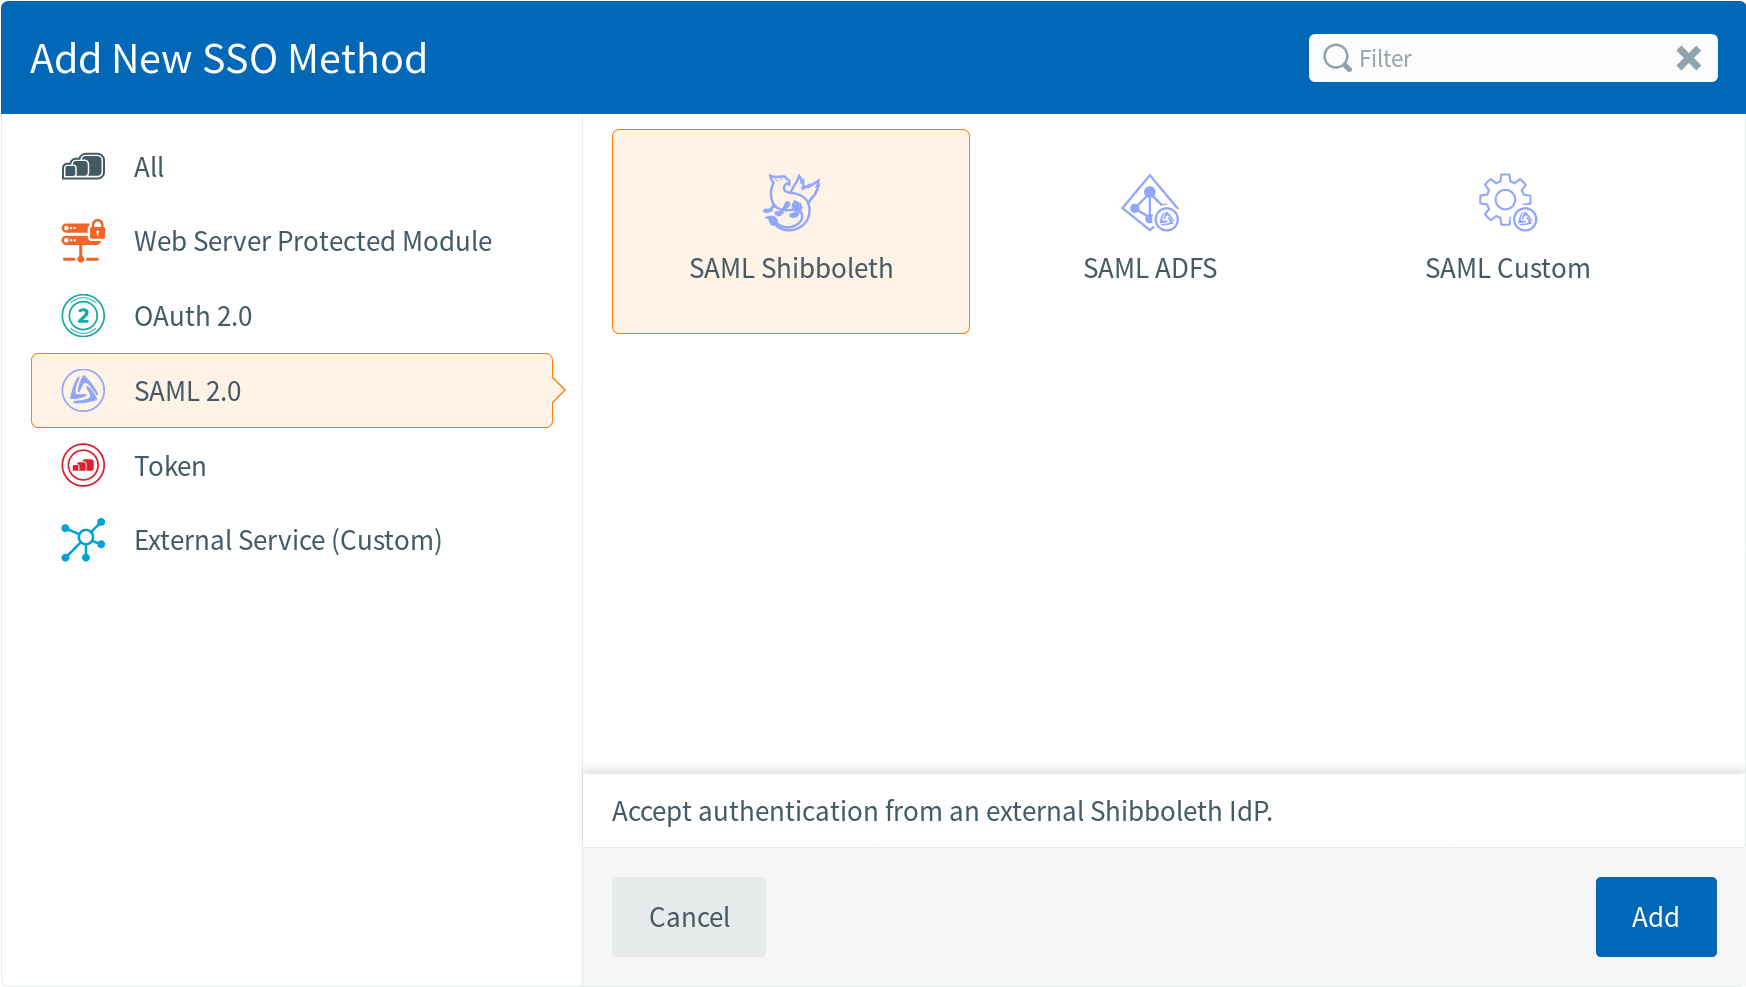
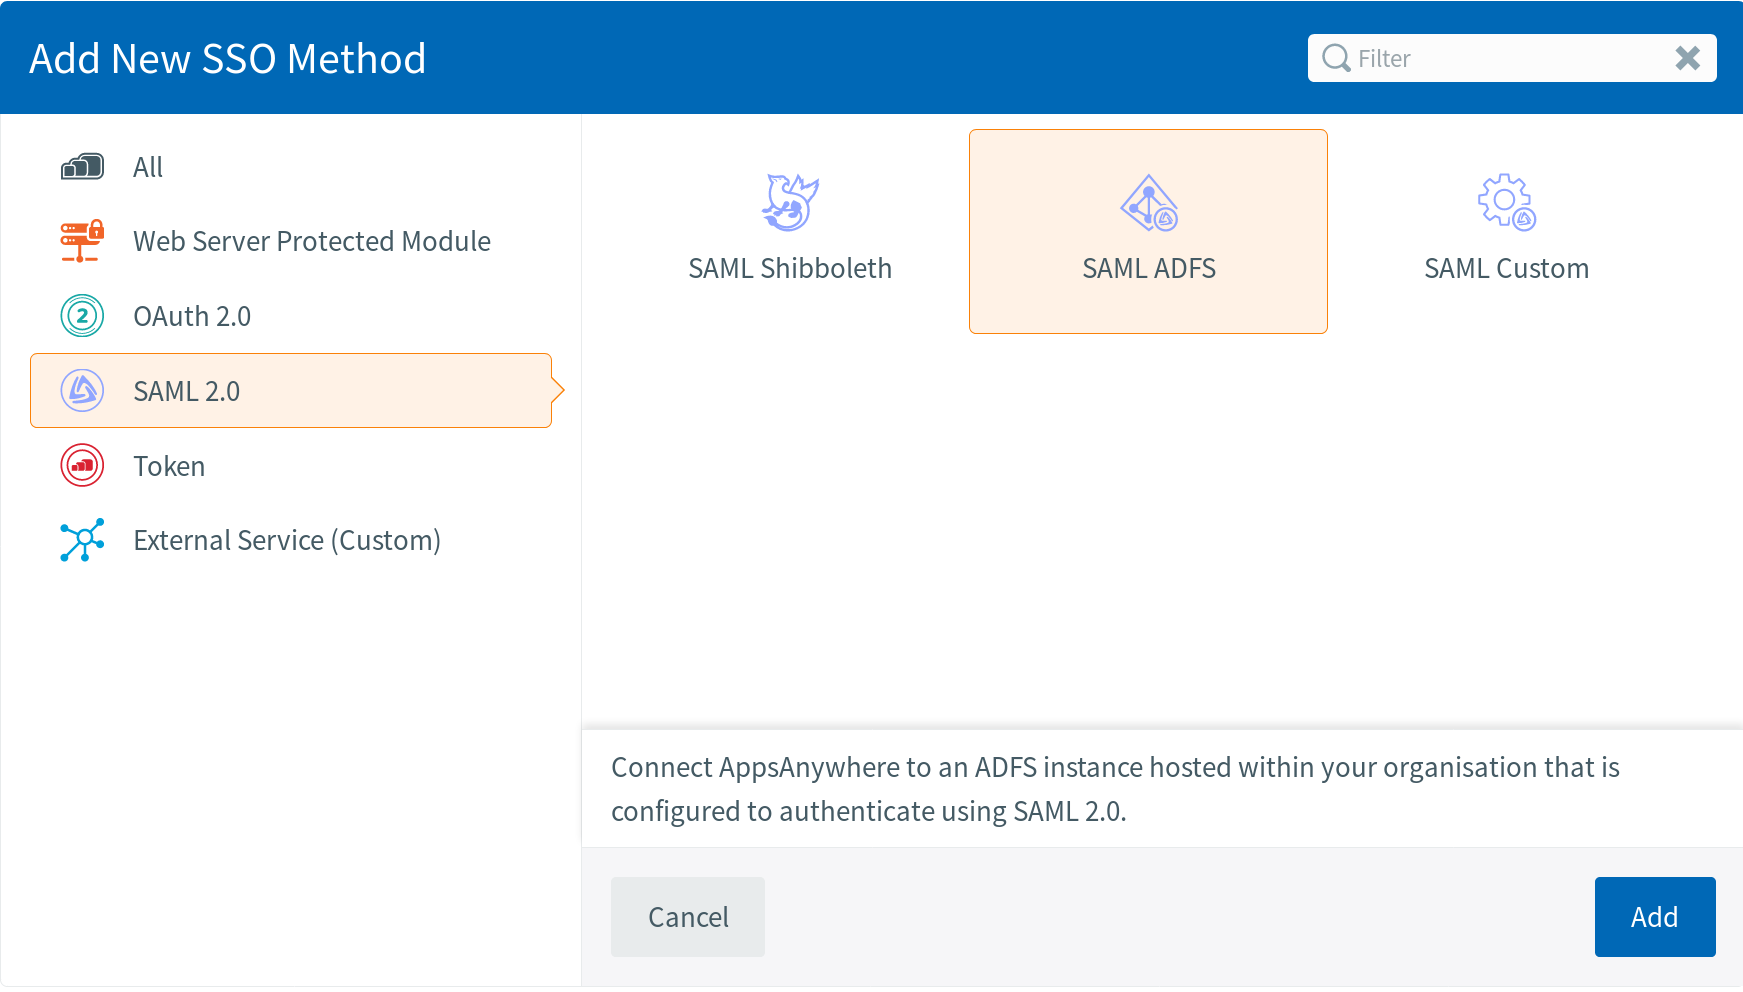
Adding SAML 2.0 Methods
If you are unfamiliar with the process for adding new SSO methods, steps for doing this and information about common settings associated with all SSO methods can be found on the Single Sign-On Settings page. When selecting which method to add however, be sure to pick from the SAML 2.0 category, and select the one that corresponds to the identity provider you are planning to use.
For Shibboleth 2, select the following:
Or for Active Directory Federation Services, select:
If neither of the above are suitable, select:

SAML 2.0 Specific Settings
In addition to the common settings mentioned on the Single Sign-On Settings page, SAML 2.0 methods include a number of others which can be broken down into two sections: the service provider and the identity provider.
In the case of SAML it is possible to not use any LDAP connection - in this scenario the Disable Provision Checks setting should be set in Cloudpaging Settings.
Service Provider Settings
These are the settings pertaining to AppsAnywhere as a SAML service provider. You will have relative freedom with the configuration here but you should make sure that the signature and digest algorithms are supported by your identity provider.
By far the easiest way to configure the majority of these settings is by using the XML metadata obtained from your identity provider, and importing it into AppsAnywhere. See the section below for more information.
Field Name | Description | Intended Value |
|---|---|---|
Entity ID | A globally unique identifier within your SAML environment. | This will typically be a standard well-formed URL (although not limited to), e.g. https://myappsanywhere.com You should not need to change this from the default unless you are adding multiple SAML 2.0 SSO methods. |
Certificate (X.509) | Allows you to provide text representing a X.509 certificate. The certificate should be associated with the private key you plan on using (see below). This is presented in the exported service provider metadata as the certificate (in conjunction with the key) used by AppsAnywhere to sign SAML AuthnRequests sent to the identity provider. If you are unsure about certificates, private keys and certificate signing requests, DigitalOcean has a great guide about using OpenSSL to perform related procedures. | A valid X.509 certificate in base64 format. This should begin and end with the "-----BEGIN CERTIFICATE-----" and "-----END CERTIFICATE-----" lines, respectively, and without double quotes. |
Upload Private Key | This allows you to select a file from your local machine which will be used as the private key. This key should be associated with the certificate you plan on using (see above). AppsAnywhere uses the key in conjunction with the certificate to sign SAML AuthnRequests sent to the identity provider. If you are unsure about certificates, private keys and certificate signing requests, DigitalOcean has a great guide about using OpenSSL to perform related procedures. | A valid RSA private key in base64 format. This should begin and end with the "-----BEGIN PRIVATE KEY-----" and "-----END PRIVATE KEY-----" lines, respectively, and without double quotes. |
Private Key Requirements | Whether or not the private key is protected by a pass phrase. This will determine the visibility of the field used to enter the pass phrase, and will also clear any currently set value when the pass phrase is set as not required. | Whether the private key requires a pass phrase is determined during its creation, so if you are unsure if one has been configured, set as not required. When you attempt to export the service provider XML metadata after completing and saving the configuration, you will receive an error in the event the private key does require a pass phrase. |
Private Key Pass Phrase | The pass phrase for the private key. On subsequent edits, this value will be hidden to the user. Note: this field is hidden in the event it is not required. | The pass phrase either provided to you, or the one set by you during creation of the private key. |
Signature Algorithm | The algorithm used to encrypt the SAML assertion and response. This needs to be an algorithm supported by the identity provider. | RSA SHA-256 is one of the more commonly available methods, so if you are unsure then use this. RSA SHA-1 should be avoided if at all possible. |
Digest Algorithm | The algorithm used to produce the hash of the message contents, and used by the receiving side to verify the integrity of the sent data. This needs to be an algorithm supported by the identity provider. | SHA-256 is one of the more commonly available methods, so if you are unsure then use this. SHA-1 should be avoided if at all possible. |
Identity Provider Settings
These are the settings pertaining to your identity provider. You will have limited freedom in the configuration of this section as each part will need to reflect how your identity provider is configured.
Feel free to skip to the metadata section below, but note that not all of these settings are covered by metadata!
Field Name | Description | Intended Value |
|---|---|---|
Entity ID | The globally unique identifier within your SAML environment for the identity provider you are planning to connect to. | This will typically be a standard well-formed URL (although not limited to), e.g. https://mysaml2endpoint.com |
Authentication Base URL | The base URL of your chosen identity provider, which the Single Sign-On Path is appended to when determining the full URL. Example: https://mysaml2endpoint.com[path-appended-here] | A standard well-formed URL, ideally with no trailing slash, e.g. https://mysaml2endpoint.com |
Single Sign-On Path | The path which will be appended to the Authentication Base URL, forming the complete HTTP redirect binding URL used by AppsAnywhere when performing SAML single sign-on. Example: https://mysaml2endpoint.com/example | A URL-compliant URI, ideally with no trailing slash (unless only "/"), e.g. /example |
Certificate (X.509) | The public X.509 certificate used by the identity provider you are planning to connect to. AppsAnywhere requires signing of SAML AuthnResponses by the identity provider, so make sure the correct certificate used for signing is provided here. | A valid X.509 certificate in base64 format. This should begin and end with the "-----BEGIN CERTIFICATE-----" and "-----END CERTIFICATE-----" lines, respectively, and without double quotes. |
Configuring The Identity Provider Using Metadata
To make configuration of the identity provider easier, AppsAnywhere allows the importing of valid SAML 2.0 metadata in XML format. AppsAnywhere will attempt to deduce the correct values for the following fields:
Entity ID
Authentication Base URL
Single Sign-On Path
Certificate (X.509)
When configuring SAML ADFS, the following PowerShell Command should be run on the ADFS server to ensure responses are signed correctly as ADFS defaults to assertion only:
Set-ADFSRelyingPartyTrust -TargetName <sp_name> -SamlResponseSignature "MessageAndAssertion"
The value <sp_name> should be set to the name of the relying party trust object configured in ADFS. More details can be found on https://docs.microsoft.com/en-us/azure/active-directory/manage-apps/certificate-signing-options.If the identity provider exposes multiple certificates, you should confirm that the one selected by AppsAnywhere is correct for signing.
At the bottom of the form you will find a section that allows you to do this, labelled Importing MetaData.

If you have the metadata of the identity provider to hand, you can copy and paste this into the provided text area and click the "Add MetaData to form" button. If the metadata is valid, the fields mentioned above will be populated accordingly. If you do not have the metadata available and do not have control over your SAML infrastructure, the person(s) responsible should be more than happy to provide this for you.
Filling the form in by importing metadata is not required in any way however, if you know what the information should be you can simply put them in manually.
Importing the metadata will not automatically save the SSO method for you, it'll just give you a helping hand filling out some of the fields! Once you have completed the remainder of the configuration, you can click save as you would normally.
Exporting The Service Provider Metadata
Once the new method has been saved in the system, you can generate the SAML metadata in XML format for this service provider. If the information contained in this saved method is valid, a text area will populated for you containing the metadata in its entirety; you will then be able to copy this and import it into your identity provider, or pass it to someone who can.
At the bottom of the form you will find a section that allows you to do this, labelled Exporting MetaData.
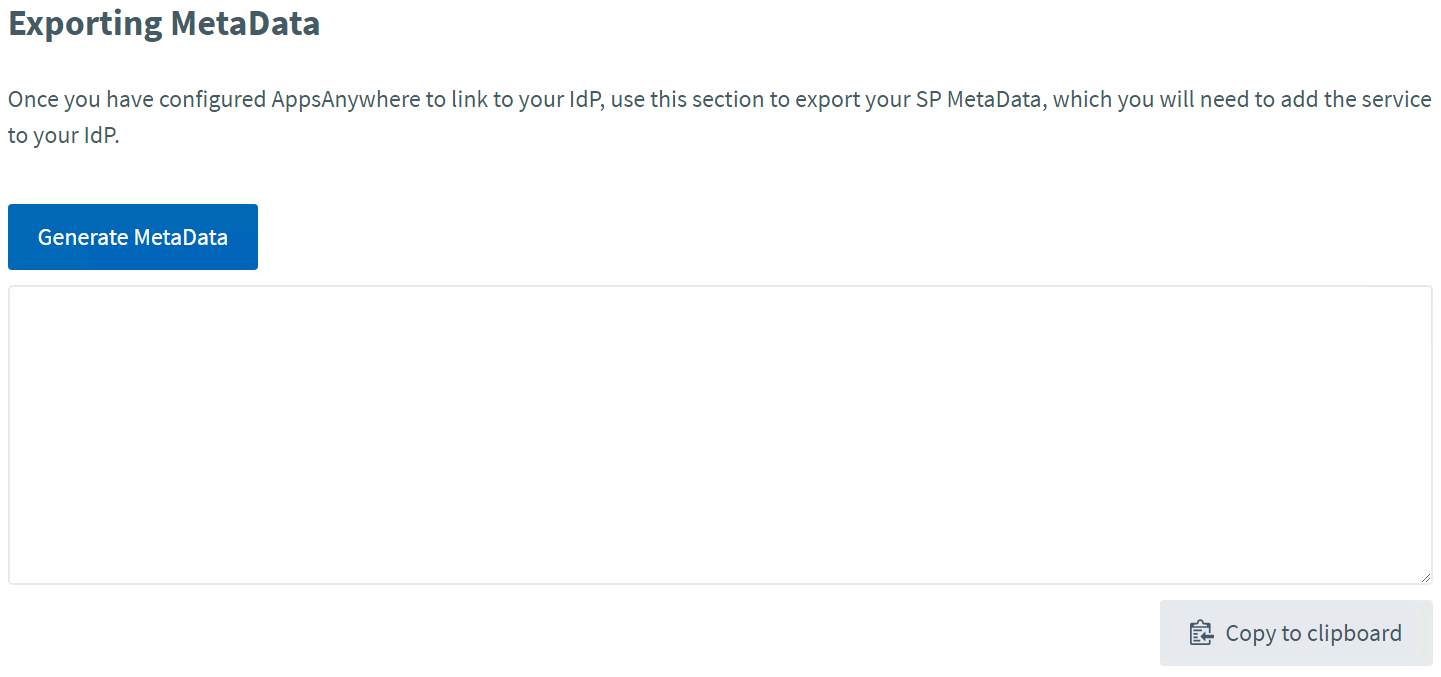
A button for automatically copying the metadata to your clipboard has been provided to make this easier, as can be seen in the image above.
Once configuration is complete, the next steps are SAML Attribute Mapping and/or Importing directory entities then Provisioning