Adding an icon
Overview
To make your AppsAnywhere instance truly stand out and help your users quickly find the app they are looking for, you really want to add a good quality icon for each of your apps. Luckily, we've made this really simple to do.
Introduction
When it comes to finding the app they need, most users will be looking for a familiar icon, rather than the correct title in much the same way you look for the familiar packaging on the shelf in the shop, rather than reading every label.
Applying a good quality, relevant icon is key to making your AppsAnywhere portal look its best and helping your users find the app they need as quickly as possible.
Adding an icon
Whilst Editing an application, you should see the Icon tab along the top, next to Delivery Methods.
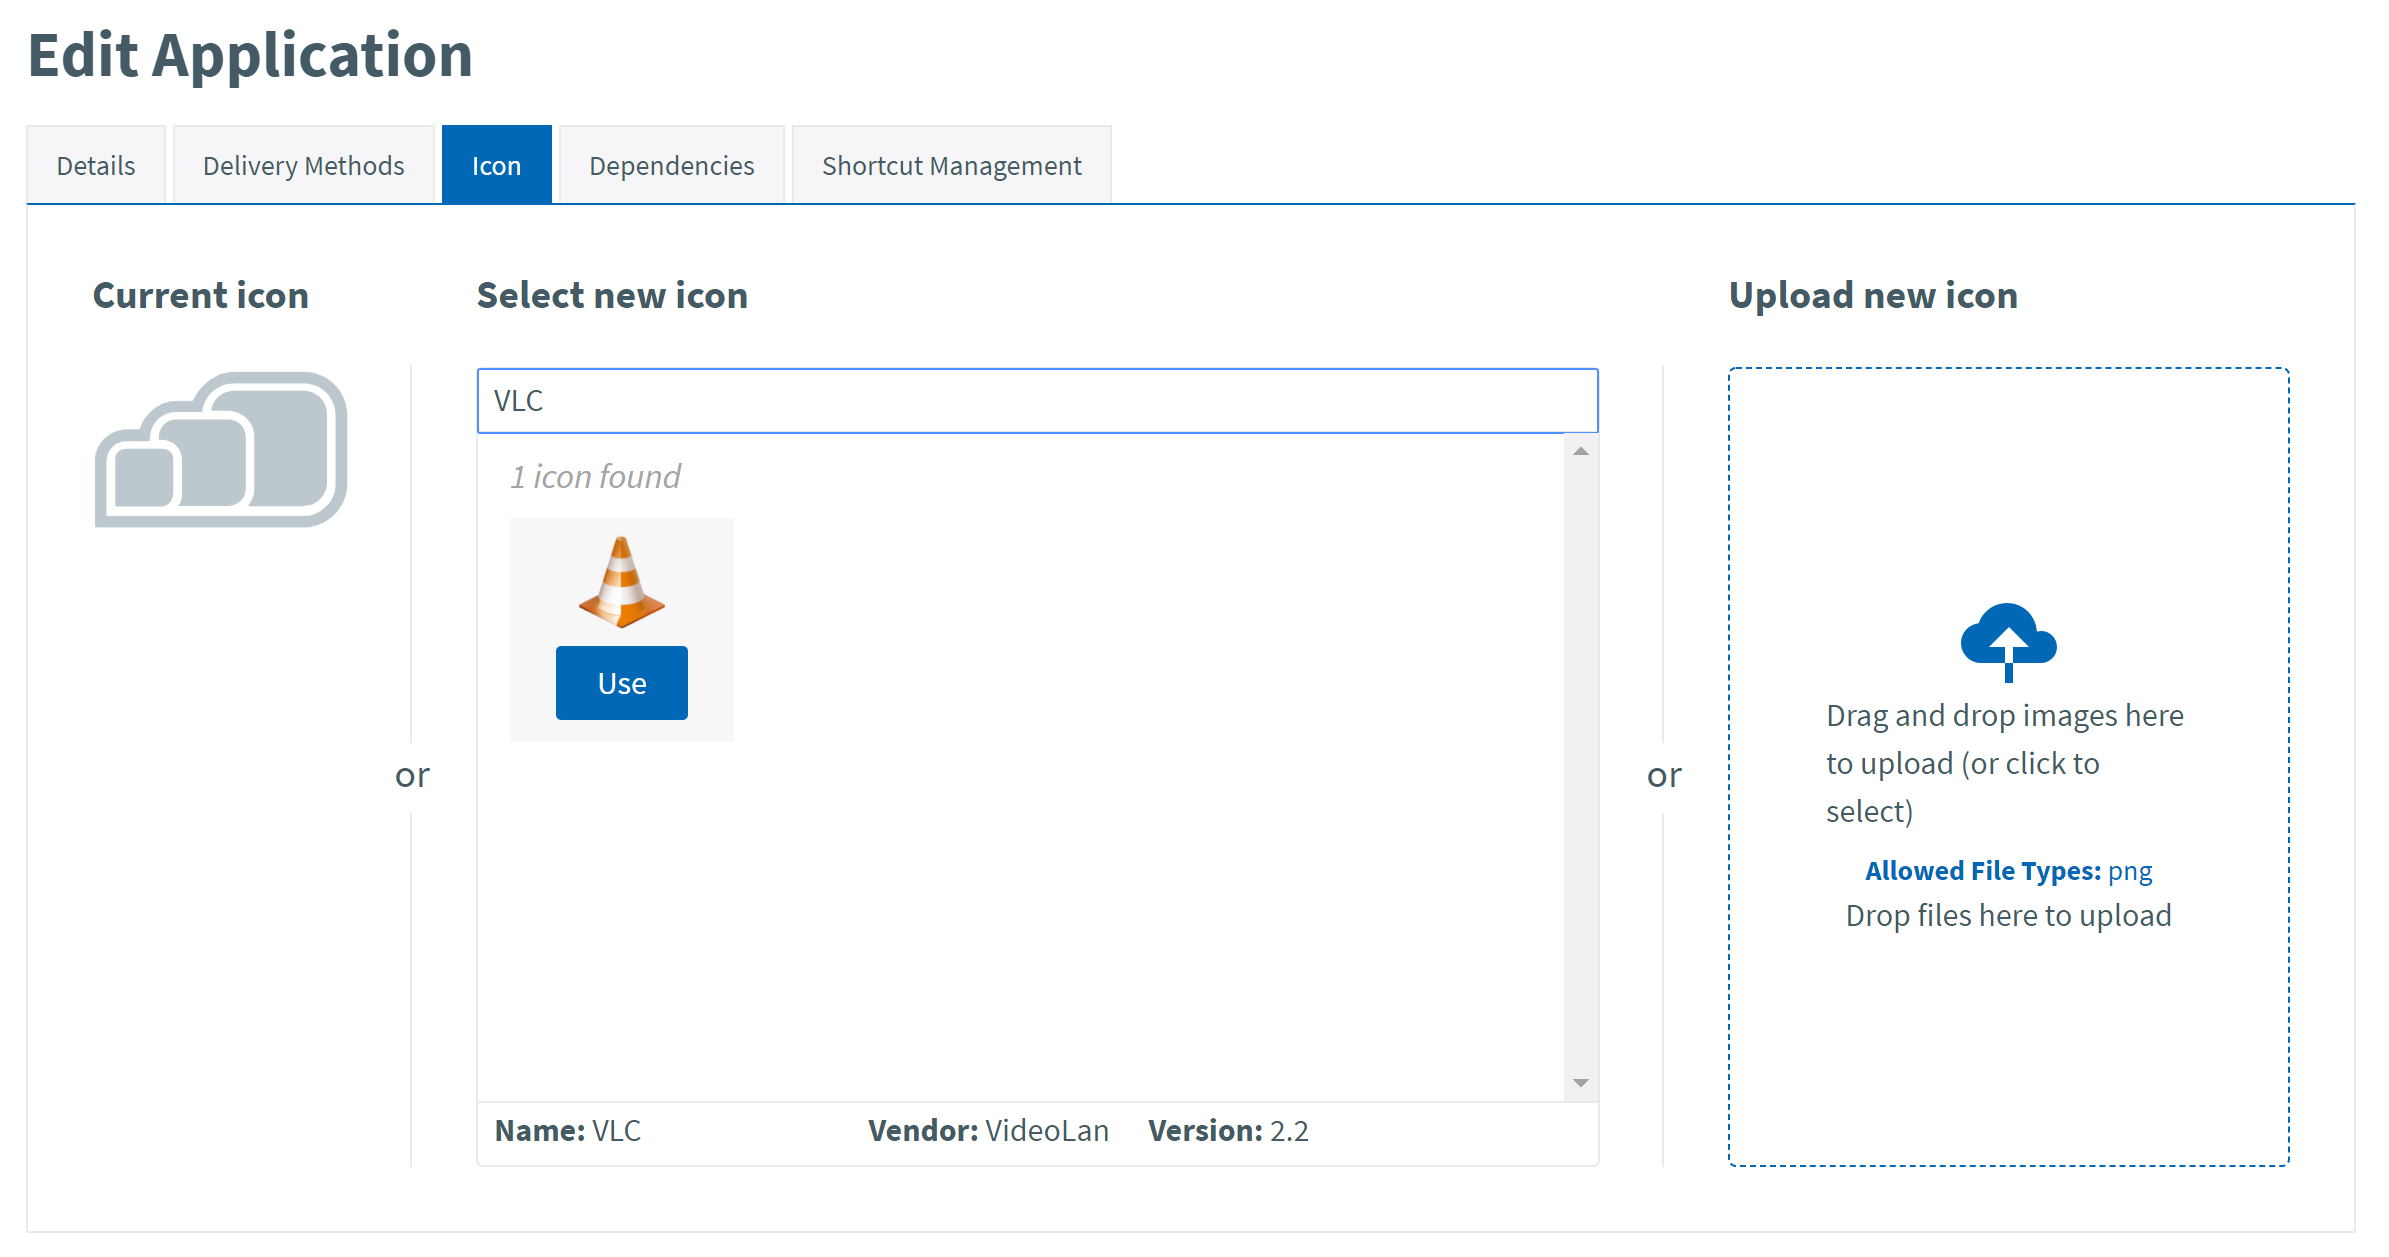
When you select the Icon tab you will see three areas;
On the left, the icon that is currently being used
In the middle, you will see an area that allows you search for an icon in our icon repository
On the right, an area to upload your own custom icon
Selecting an icon from our repository
AppsAnywhere centrally manages a repository of high quality icons of commonly used apps. These are accessible via the Select new icon section on the Icon tab.
Each icon has a name, vendor and version associated within it, the version refers to the version of the vendor's application the icon is associated with.
The search bar will be pre-populated with the name of the application you are editing, so with any luck you will already see the icon you are looking for in the results pane. If you do not see the icon you need, try changing the search term. You can search for icons by name, vendor and version name.
Once you have located a suitable icon, hovering over the icon reveals the name, vendor and version of the icon at the bottom of the selection area.
To use the icon for your app, hover over the icon in the results pane and click the Use button.

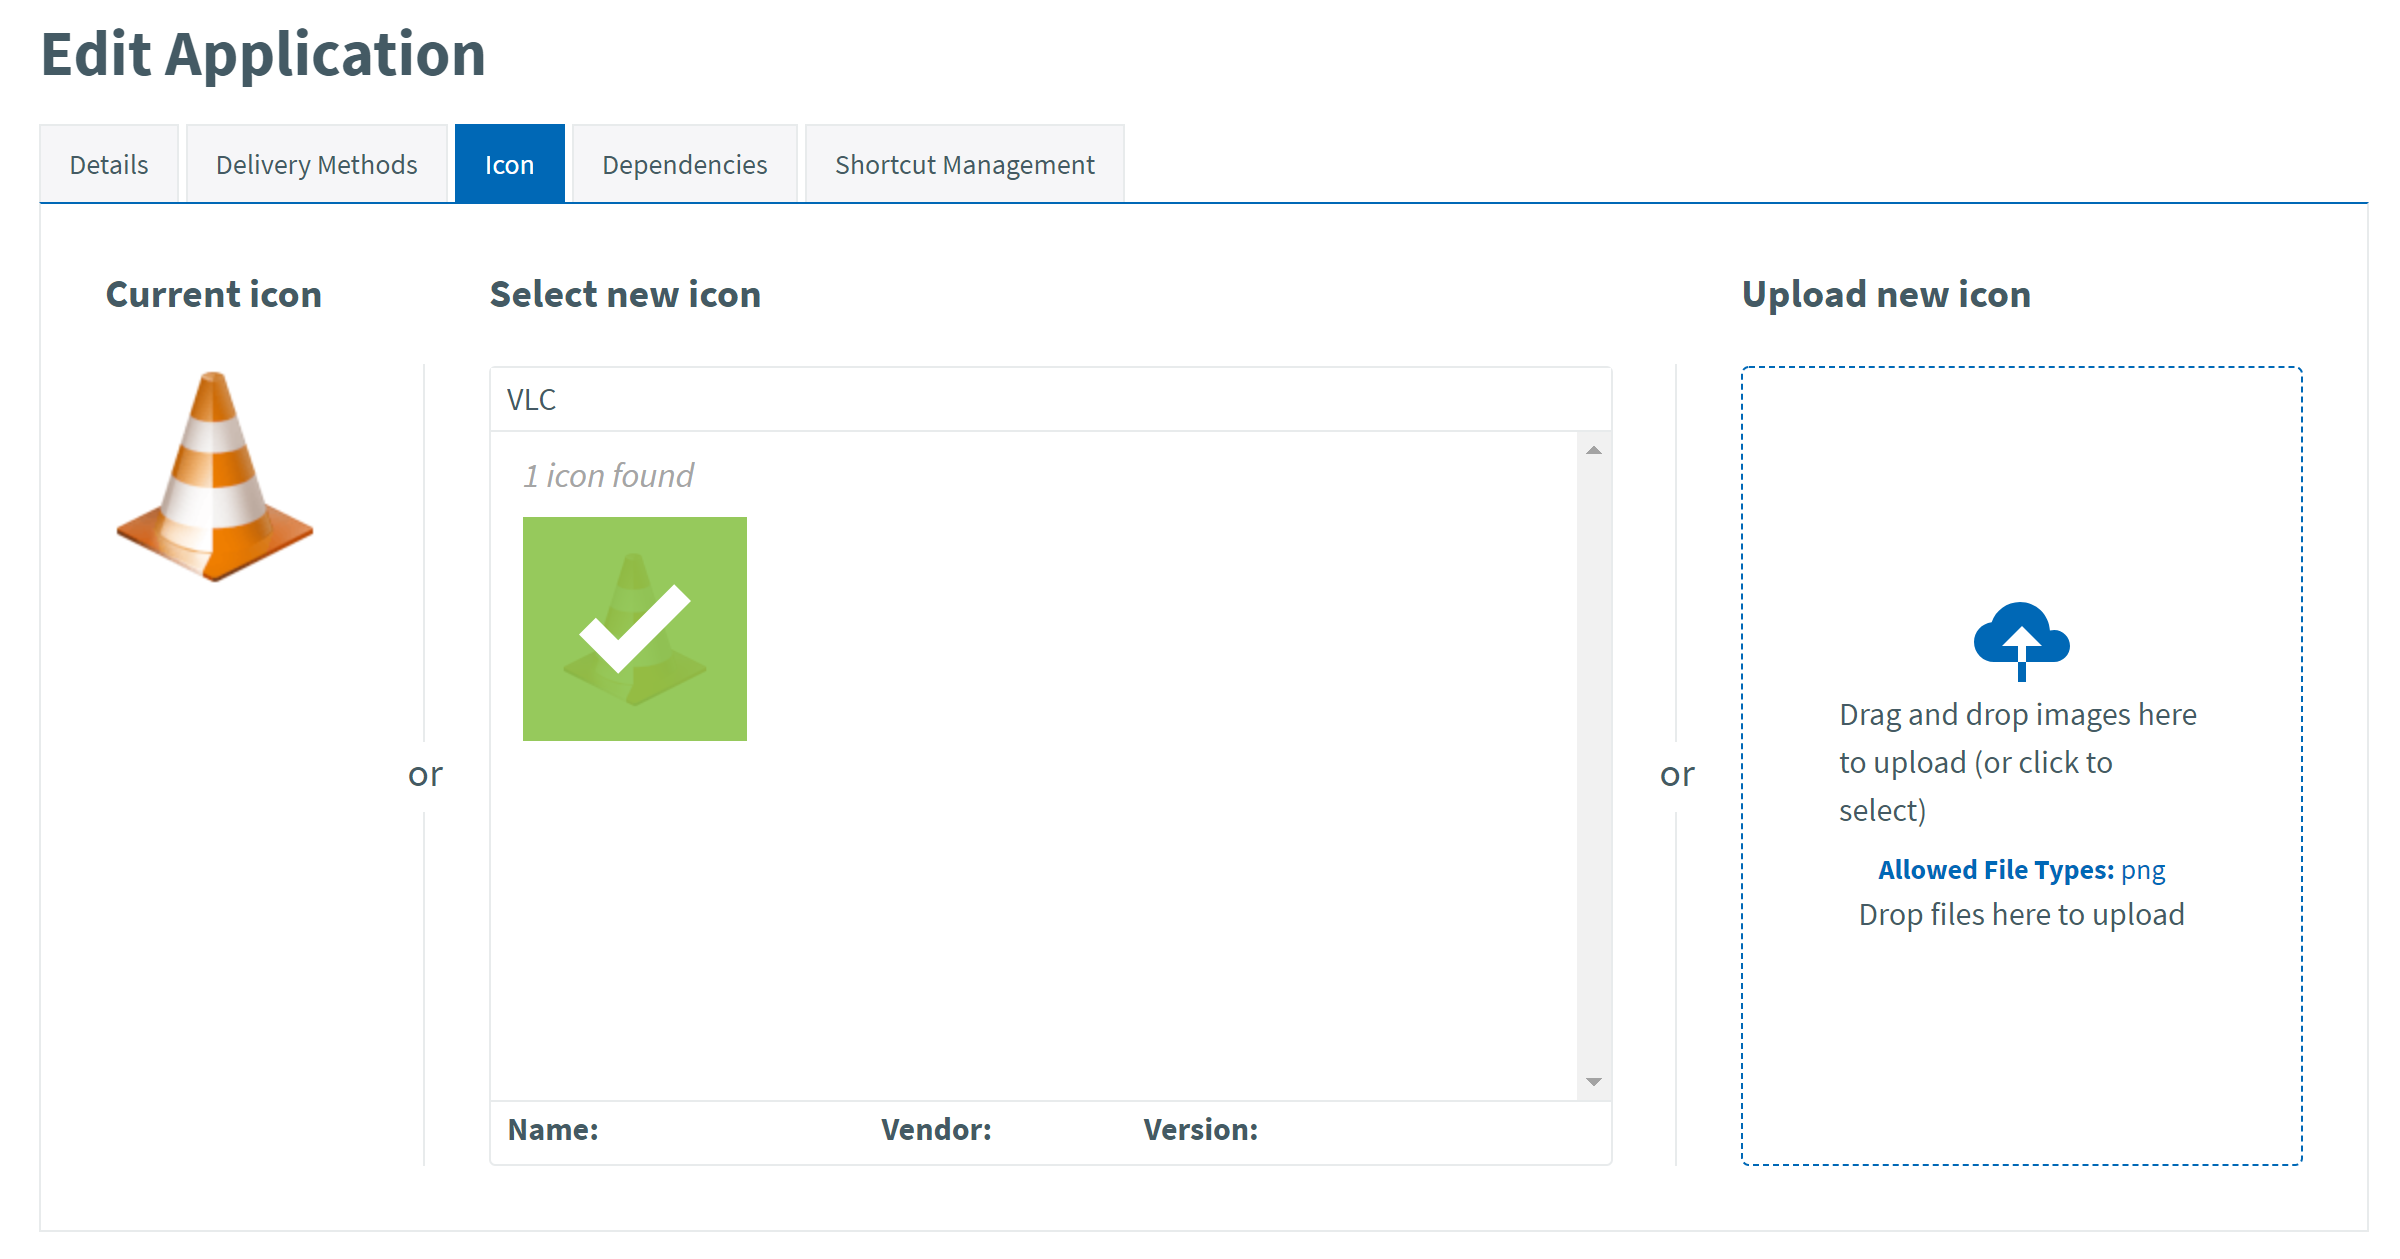
Once the icon has been successfully associated with the app, a green tick will appear over the icon. The icon will also be displayed in the Current icon area.

Uploading your own icon
Finding an icon
First of all, you will need to find an icon to use. Try to use the official icon from the vendor. Typically the easiest way to source an image is using Google Image search.
We recommend starting with the link below which sets up an advanced search for icon-sized images of the correct type (png) with transparent backgrounds:
Files you upload must have a .png extension and we strongly recommend finding images with a transparent background.
Once you have found an icon that you like, save it to your device.
To upload the icon, either click anywhere in the upload area on the right hand side of the page (shown below) and browse to the location where you saved the file, or simply drag the file into the area.
Uploading an icon will not add it to the icon repository; the icon repository is managed centrally by AppsAnywhere.
Once your icon has been uploaded, it is saved straight away and you will see it displayed below the upload area for a short while, as shown below.
Future icon updates
The next time you visit the Icon tab, you will see the icon you uploaded earlier set as the current icon.
You can replace it simply by following either of the processes above.
