
Overview
AppsAnywhere currently supports OAuth 2.0 with two providers:
-
Azure Active Directory (this page)
-
Active Directory Federation Services (described by OAuth 2.0 ADFS)
The method you use will depend on the system you are trying to link AppsAnywhere to. This guide will take you through setting up OAuth 2.0 within Azure AD.
The OAuth Azure AD SSO method will not work if the SamAccountName does not match the first part of the UPN (e.g. the firstname.lastname part of firstname.lastname@domain.org) attribute for users. In this instance, use the SAML Azure SSO method which allows the attributes (claims) to be configured so the SamAccountName can be used in the response returned to AppsAnywhere from the identity provider.
Before You Begin
-
Log into your institution's Azure Portal as a system administrator
-
On the left hand menu, click Azure Active Directory
-
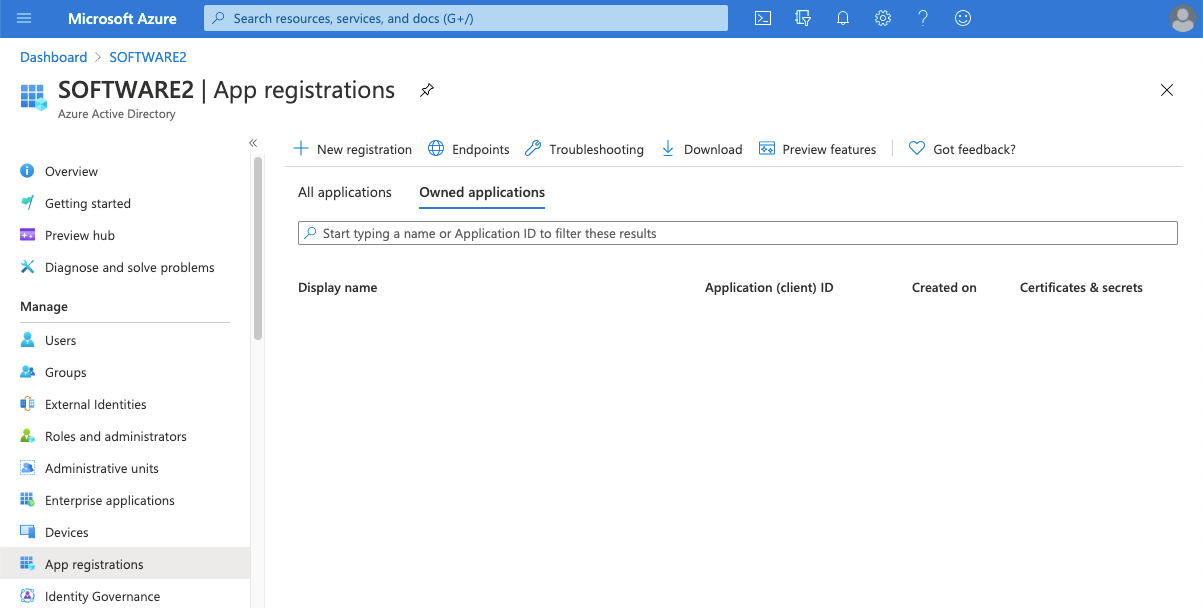
On the Azure AD sub menu, click App registrations
-
Click New registration
-
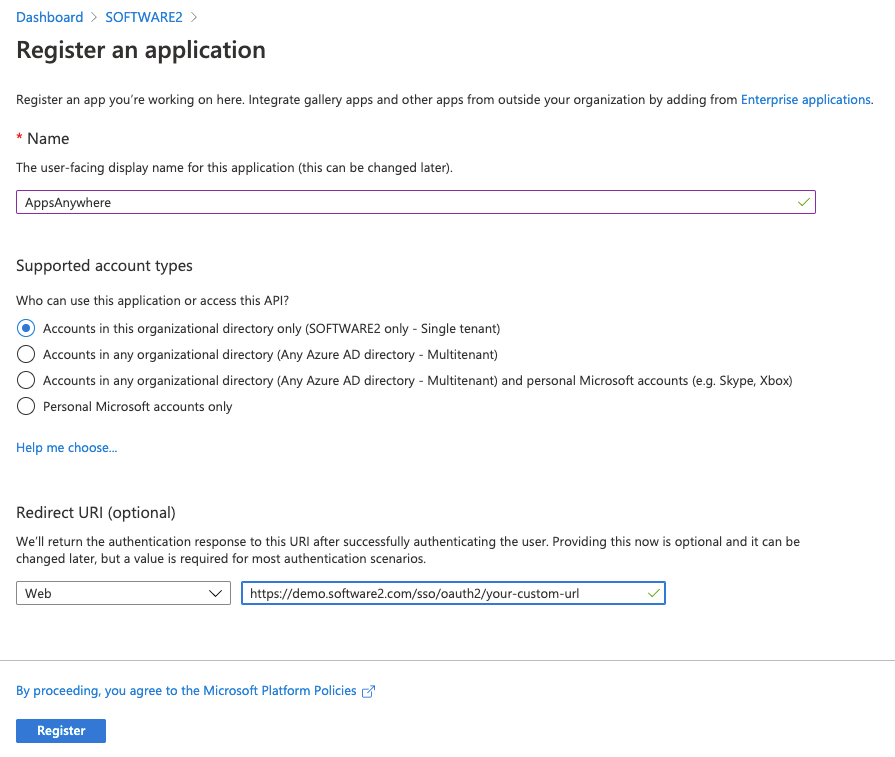
Enter a name for the new app (we recommend AppsAnywhere)
-
Enter the address of your AppsAnywhere site, including the /sso/oauth2/your-custom-url path in the Redirect URI box. Leave the type as Web.
-
Click Register
Ensure that the your-custom-url portion of the Sign-on URL matches the "URL Identifier" you are using/planning on using for the OAuth 2.0 method within AppsAnywhere.
You should only be setting up Azure AD SSO with a production environment, so be sure to use your secure, certified, load balanced address for the Sign-on URL.
Note: Single tenant vs. Multitenant
If Single tenant is selected you MUST also enter the correct tenant ID in the ‘Tenent’ field when configurating the oAuth 2.0 connection on AppsAnywhere.
If Multitenant is selected you MUST NOT enter a value in the ‘Tenent’ field when configurating the oAuth 2.0 connection on AppsAnywhere.
-
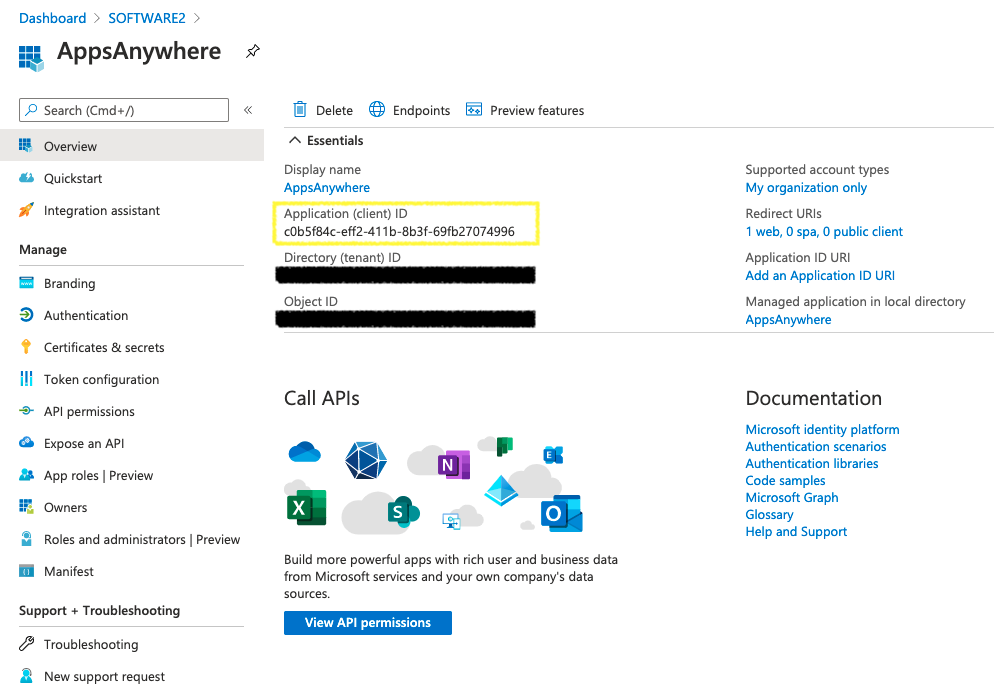
Make a note of the Application ID displayed in the main pane
-
On the right-hand menu, click Certificates & Secrets
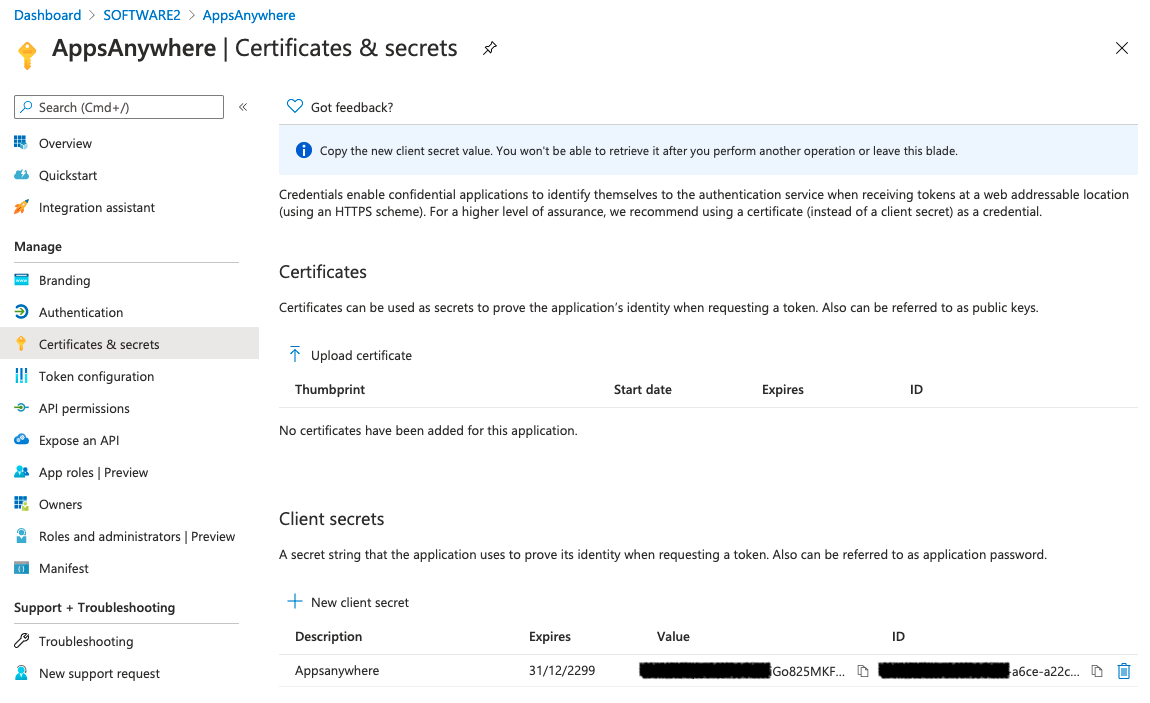
Another pane will then open where you can create a Secret that AppsAnywhere will use to authenticate with Azure.
-
To create a new Secret, click New client secret.
-
Type appsanywhere into the Description field.
-
Change the Expires value to Never
-
Click Add
-
Make a note of the Value displayed. This will not be available once you leave this screen.
Optional configuration
While not required, it is recommended to also include the upn claim as part of the ID token configuration. This can be configured via the following process:
-
On the left-hand menu, click Token configuration
-
Ensure the
upnclaim is not already included in the list of Optional claims -
To add a new claim, click Add optional claim
-
On the right-hand menu that appears, select ID for the Token type
-
From the list of claims that is then displayed, find the upn claim and click the box next to it
-
Once done, click Add
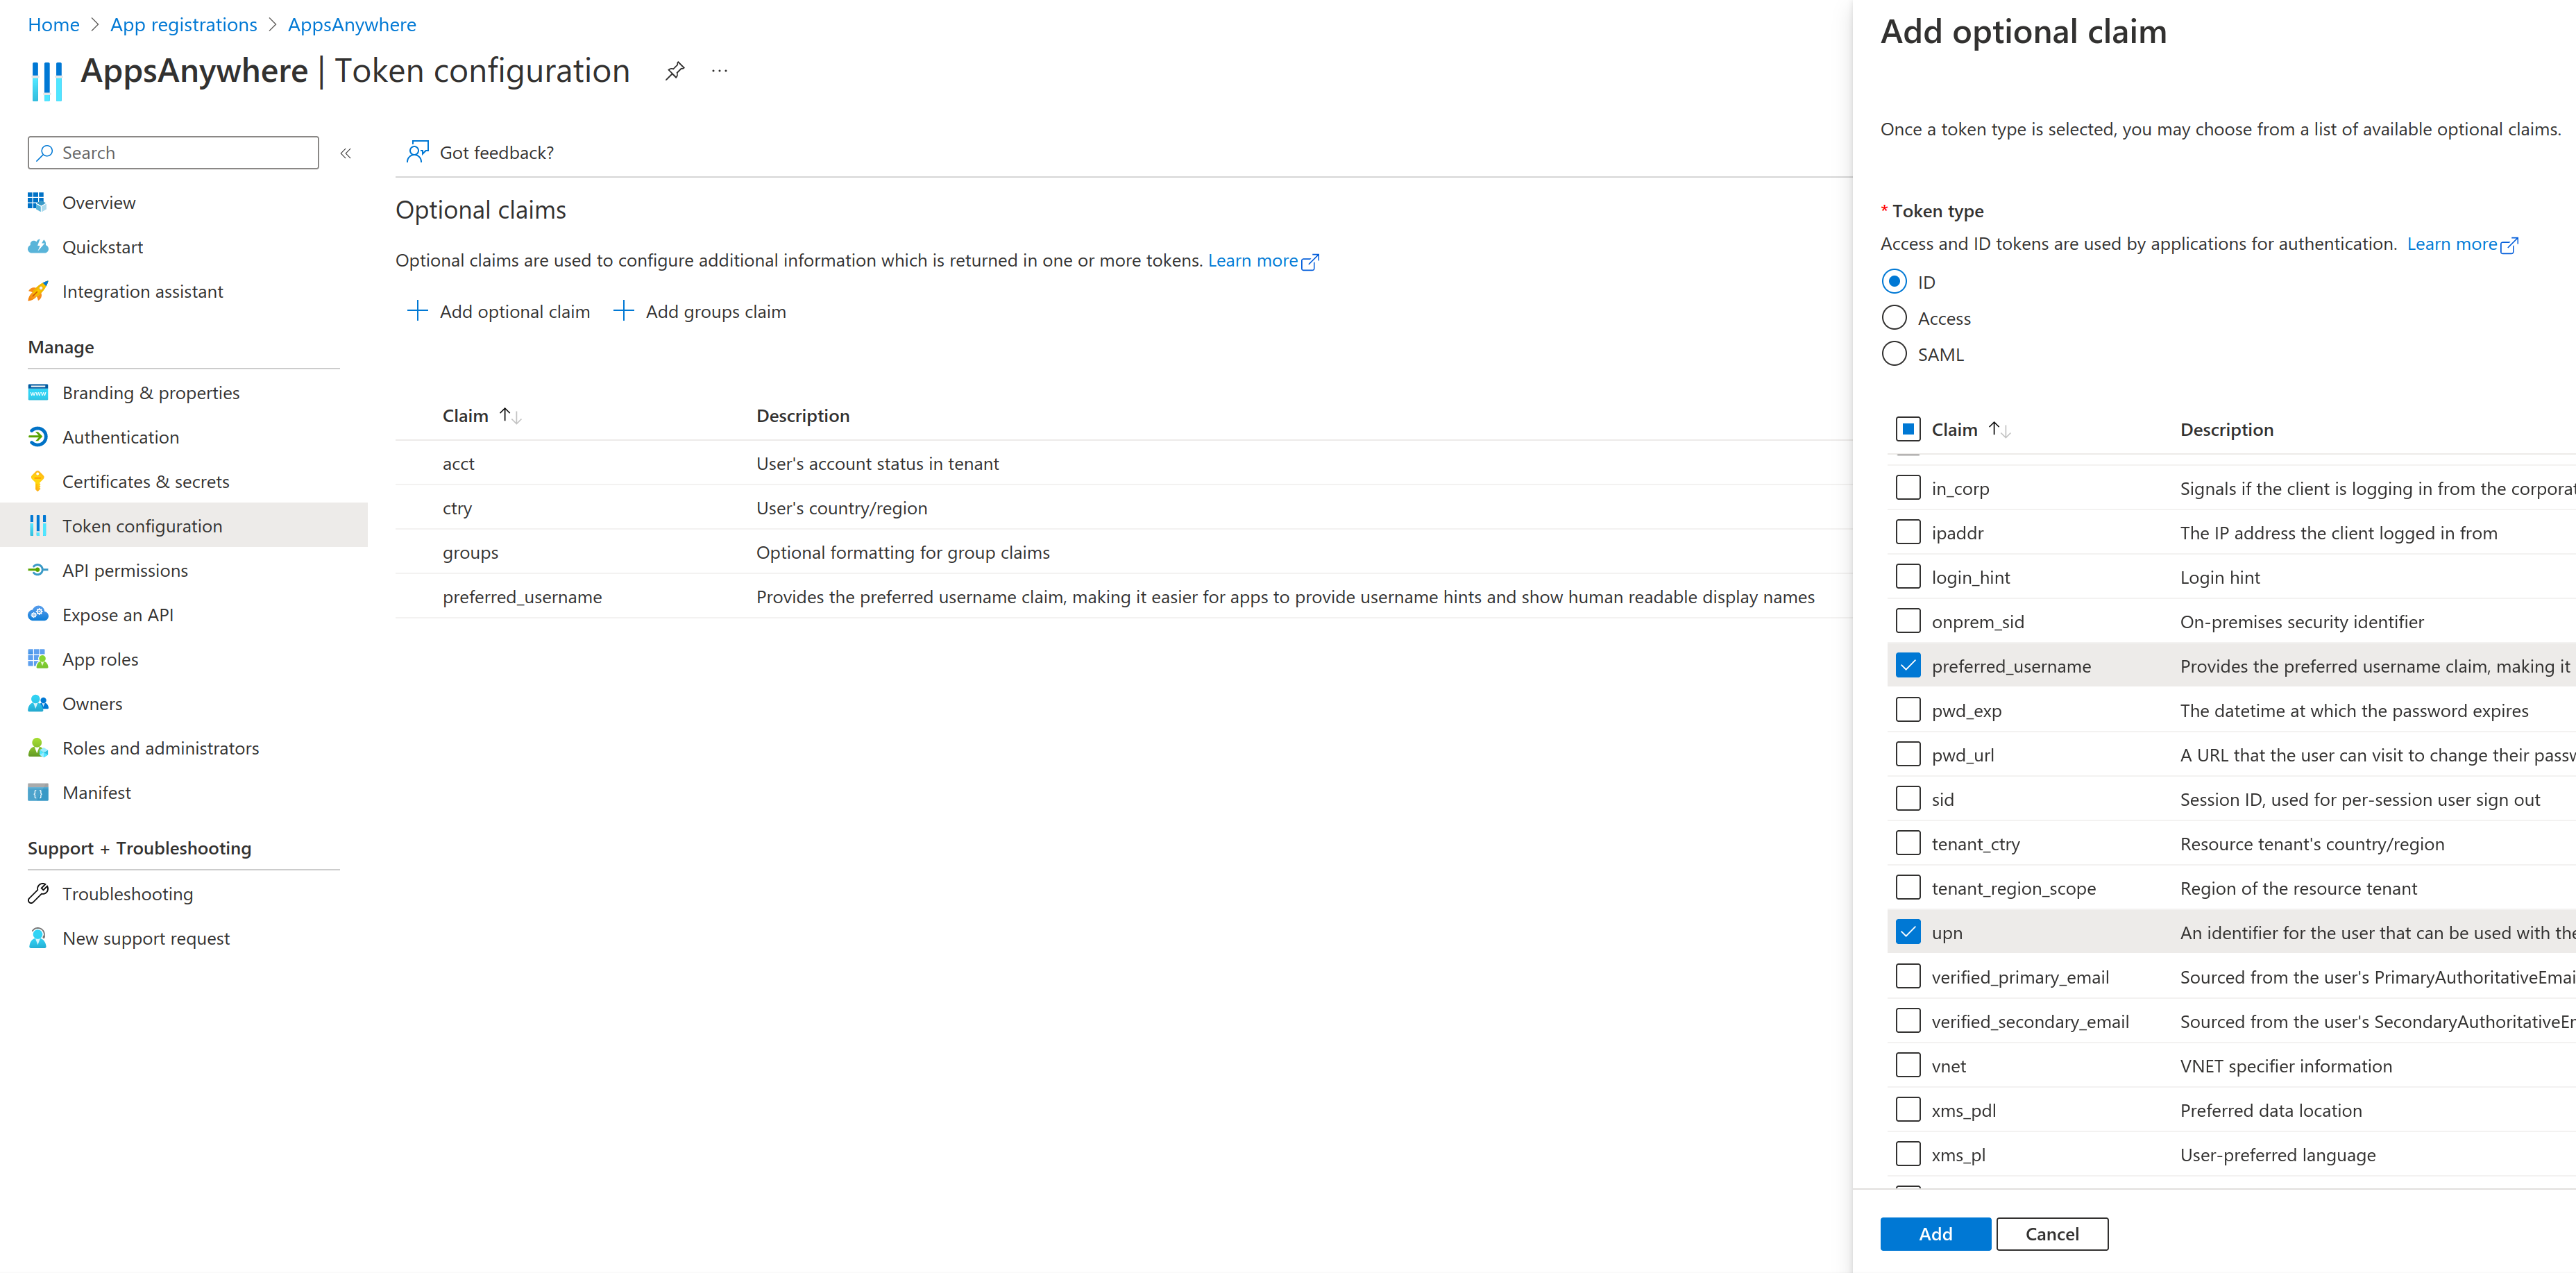
You may be warned that the upn claim requires additional permissions to be configured before it will add the claim; this is perfectly safe to do, though you can read more information about this here: Provide optional claims to your app.
Configuring AppsAnywhere
Now that you have set up Azure to accept communications from AppsAnywhere, you are ready to configure AppsAnywhere to authenticate with Azure.
The OAuth 2.0 page provides details on how you can do this - just make sure to pick OAuth Azure!
Creating an Office 365 Tile
One of the big benefits of having Azure AD SSO is that you can now advertise your AppsAnywhere portal as a tile on your institution's Office 365 menu.
Setting this up is incredibly simple if you follow the instructions below:
In order to enable Azure AD SSO access, you will first need to configure your Azure AD environment to permit AppsAnywhere access. To do this, follow the steps below:
-
Log into your institution's Azure Portal as a system administrator
-
On the left hand menu, click Azure Active Directory
-
On the Azure AD sub menu, click App registrations
-
Click New registration
-
Enter a name for the new app (we recommend AppsAnywhere)
-
Enter the address of your AppsAnywhere site, including the /sso/oauth2/your-custom-url path in the Redirect URI box. Leave the type as Web.
-
Click Register
You should only be setting up Azure AD SSO with a production environment, so be sure to use your secure, certified, load balanced address for the Sign-on URL
You will then be directed back to the App registrations screen where you should now see your app in the list.
-
Make a note of the Application ID displayed in the main pane
-
On the right-hand menu, click Certificates & Secrets
Another pane will then open where you can create a key that AppsAnywhere will use to authenticate with Azure.
-
To create a new Secret, click New client secret.
-
Type appsanywhere into the Description field.
-
Change the Expires value to Never
-
Click Add
-
Make a note of the Value displayed. This will not be available once you leave this screen.
-
Log into your Office 365 Admin interface as an administrator
-
On the left-hand menu go to Settings > Organization profile
-
Look for the (possibly 4th) section on the page titled Add customer tiles for your organization
-
Click Edit
A dialog box will open where any existing custom tiles are listed and you will have the ability to add a new tile.
-
Click Add a custom tile
You will now see a dialog that allows you to set up your new tile. Enter the information required as follows:
-
Enter AppsAnywhere as your Tile name
-
Enter the production-ready, secure, certificated, load-balanced URL of your AppsAnywhere portal in the URL box
-
Give the tile a Description that your users will see when they hover over the tile
-
Enter the public URL of an image you wish to use for the tile for the Image URL.
-
Click Save
Your users will now see the AppsAnywhere tile on their Office 365 menu and be able to move straight into AppsAnywhere without having to re-authenticate.
We have created a tile-sized version of the AppsAnywhere logo that you can use if you wish, the URL is:
or, there's a colored version at: