Overview
The Configure Networking section of the AAC allows you to manage network settings and assign an IP address to your virtual appliance.
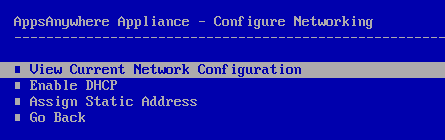
View Current Network Configuration
Selecting the View Current Network Configuration option will display the appliance current network status and configuration.
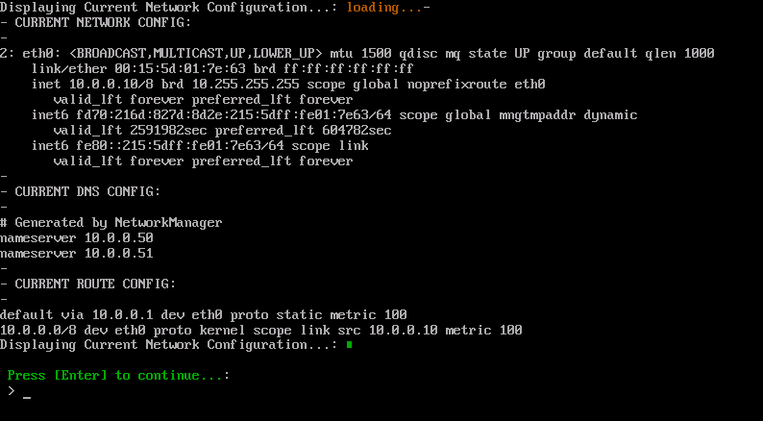
Press Enter to return to the ACC.
Enable DHCP
If the Enable DHCP option is selected, you will firstly be prompted to select the network interface that you wish to make the changes to:

By default the appliance is created with only one network adapter, so normally only the eth0 option will be presented. If additional network adapters have been added to the appliance, they will be displayed in the list.
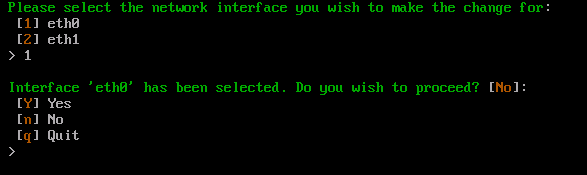
Enter Y and Enter to confirm the network adapter selection and continue. Press n and Enter to change the network adapter selection. Otherwise enter q and Enter to cancel this process.
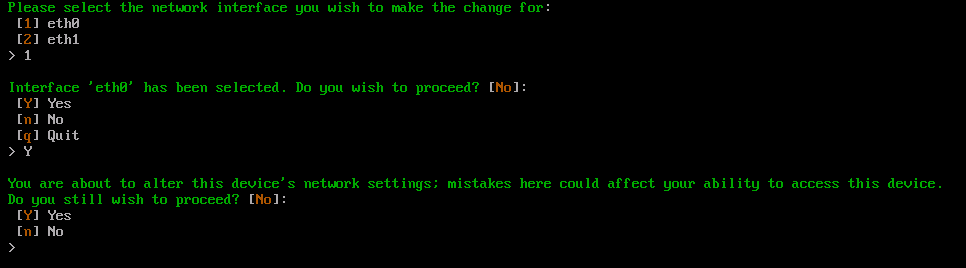
Enter Y and press Enter to confirm this action. Otherwise enter n and Enter to cancel this process.
Continuing with this action will configure the appliance network stack to use DHCP for address assignment:
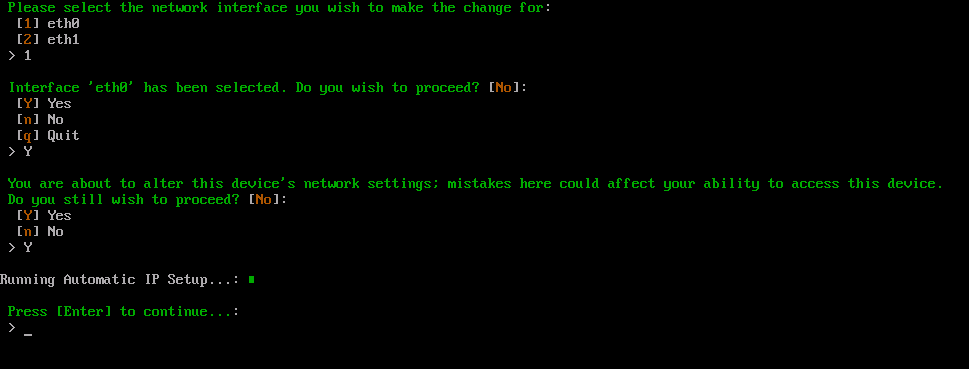
Once this process is complete press Enter to return to the ACC.
Assign Static Address
If the Assign Static Address option is selected, you will firstly be prompted to select the network interface that you wish to make the changes to:
By default the appliance is created with only one network adapter, so normally only the eth0 option will be presented. If additional network adapters have been added to the appliance, they will be displayed in the list.
Enter Y and Enter to confirm the network adapter selection and continue. Press n and Enter to change the network adapter selection. Otherwise enter q and Enter to cancel this process.
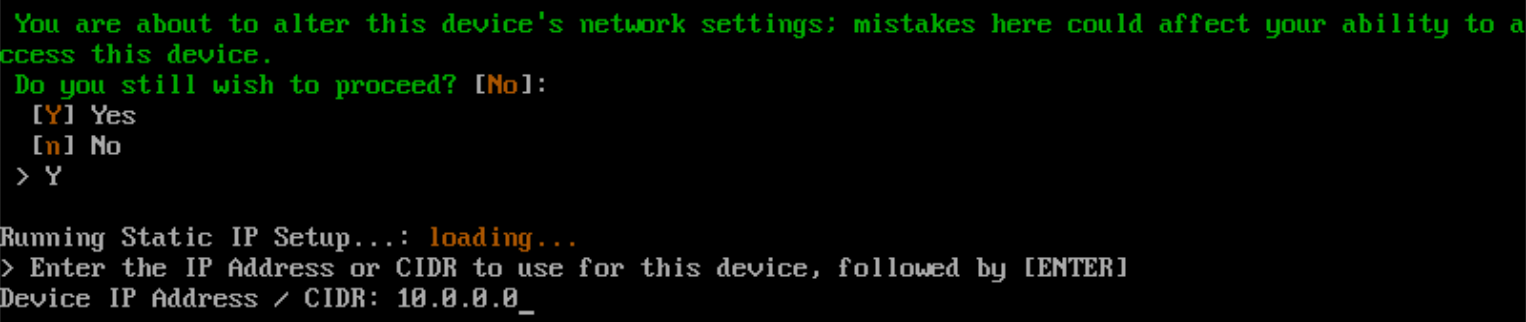
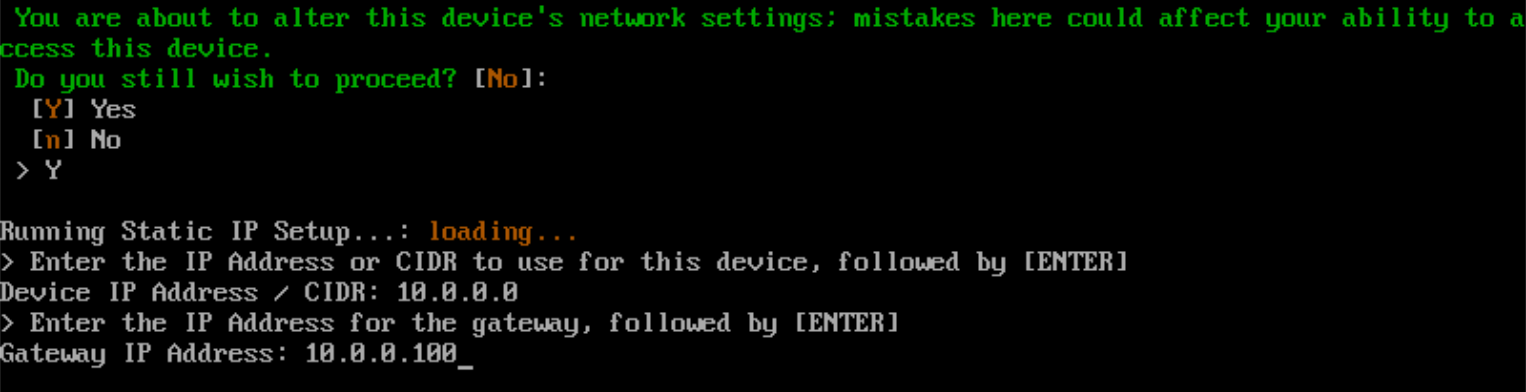
Enter Y and press Enter to confirm this action. Otherwise enter n and press Enter to cancel this process.
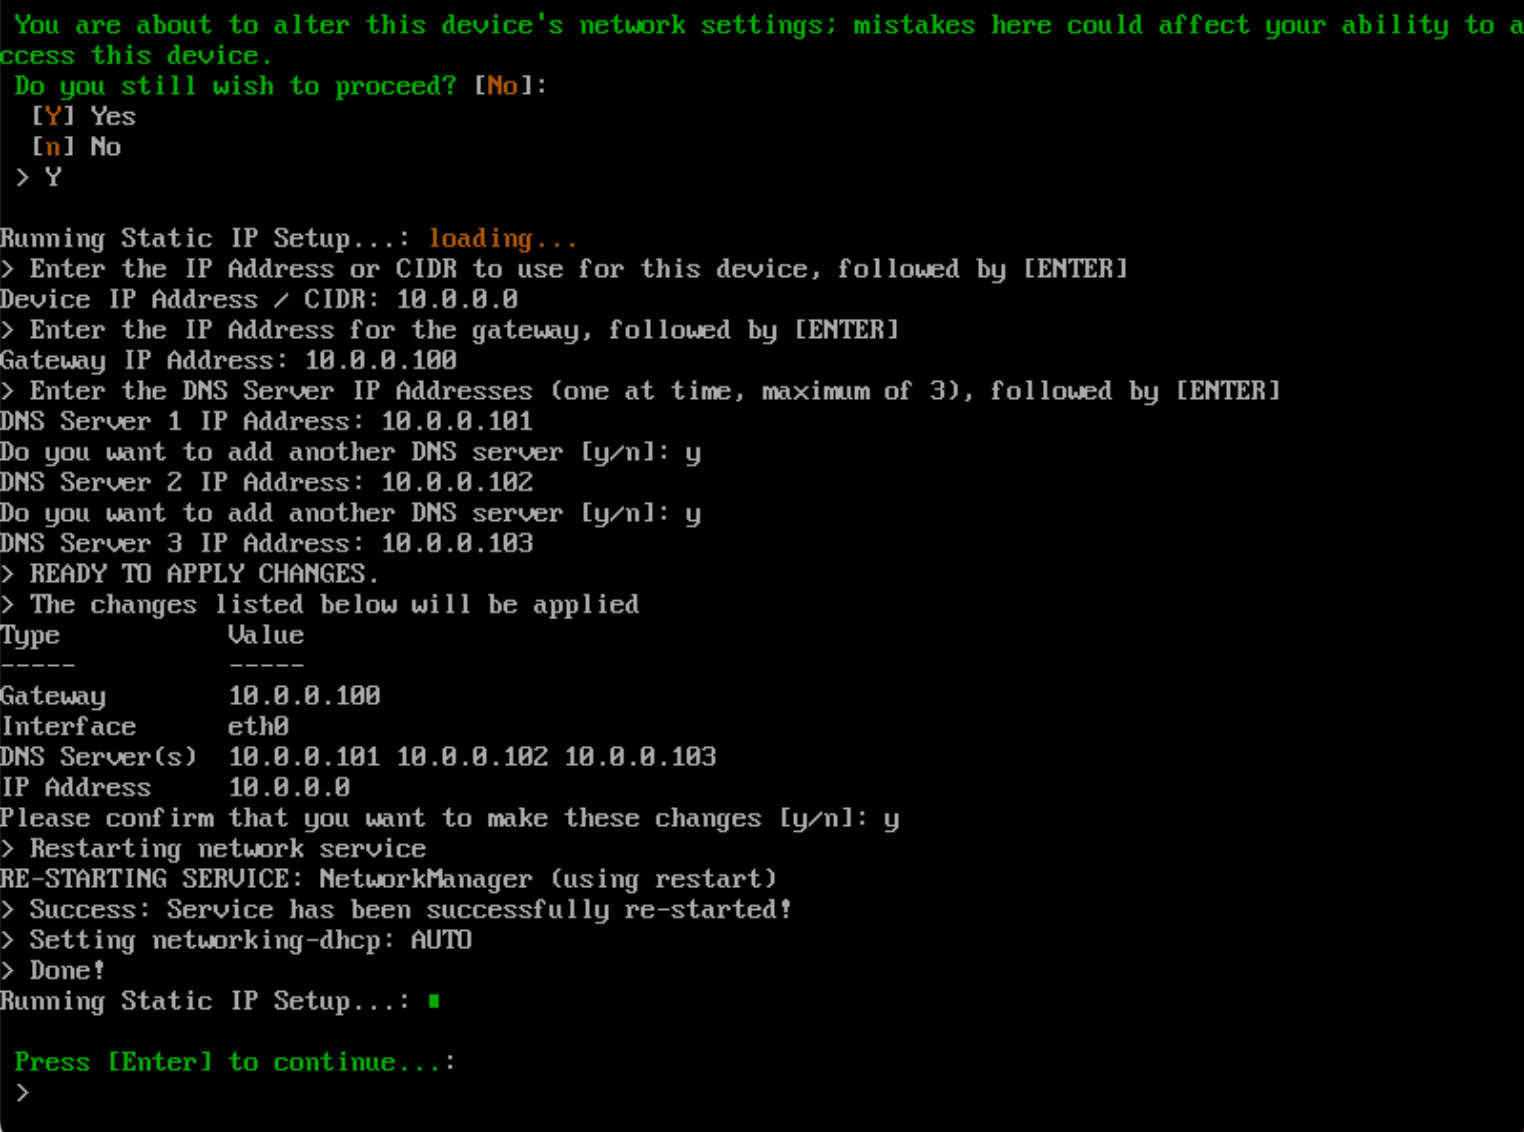
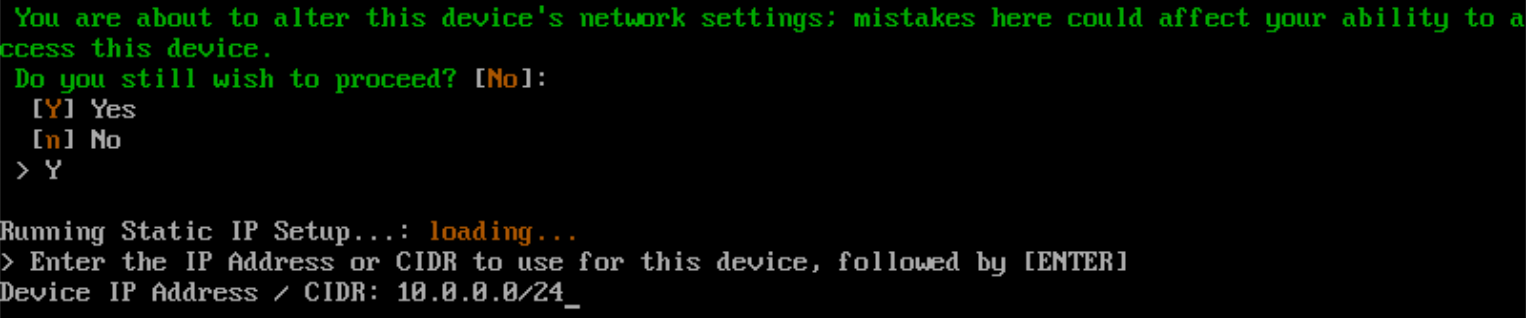
Continuing with this action will require you to enter the required IP address or CIDR range, a default gateway and DNS servers.
Enter the IP address or CIDR range you wish to assign and press Enter.
Enter the default gateway IP address and press Enter.
Enter the DNS server IP address and press Enter.
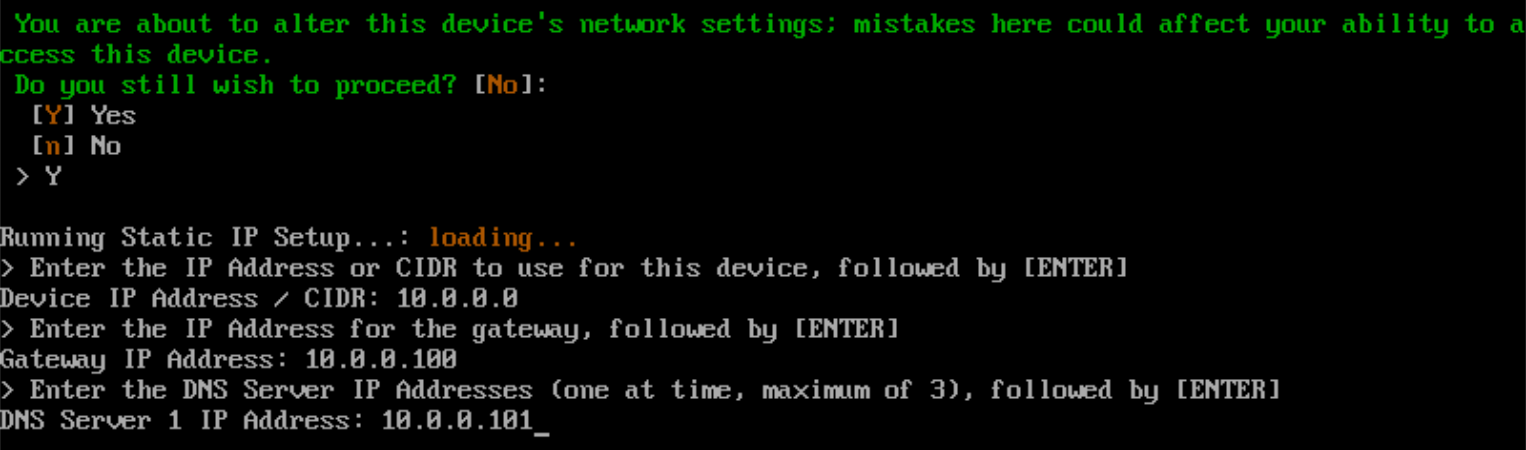
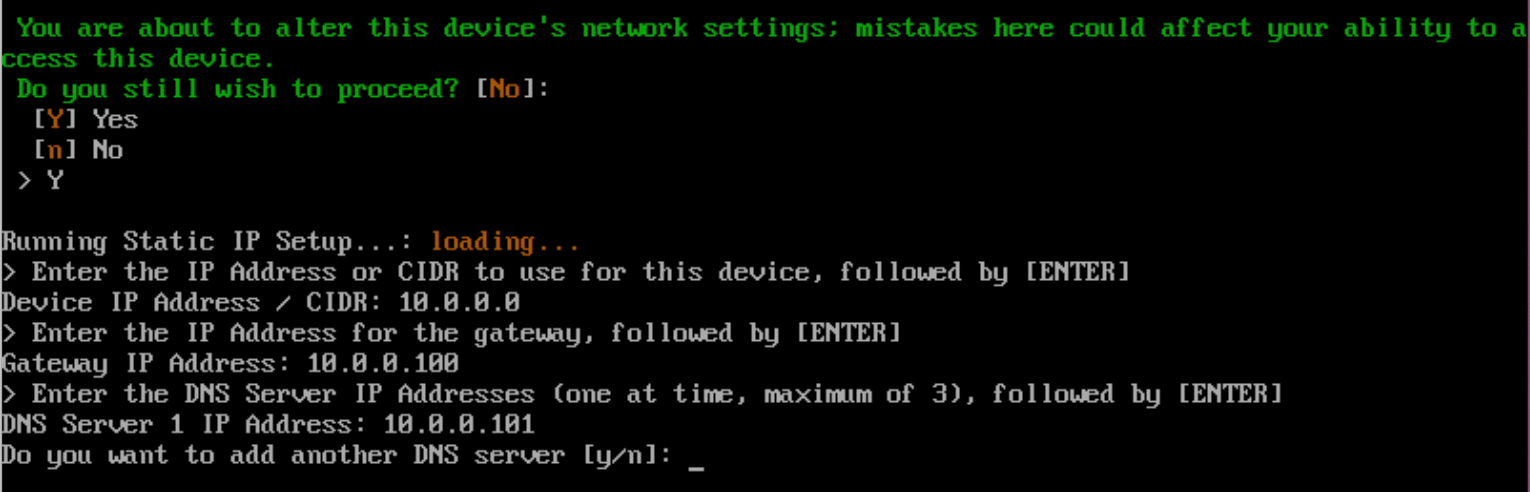
If you wish to enter additional DNS server addresses press y and Enter when asked ‘Do you want to add another DNS server’ and enter the IP address for that server. You can add up to three DNS server IP adresses.
Alternatively, if no further DNS servers entries are required press n and Enter to continue.
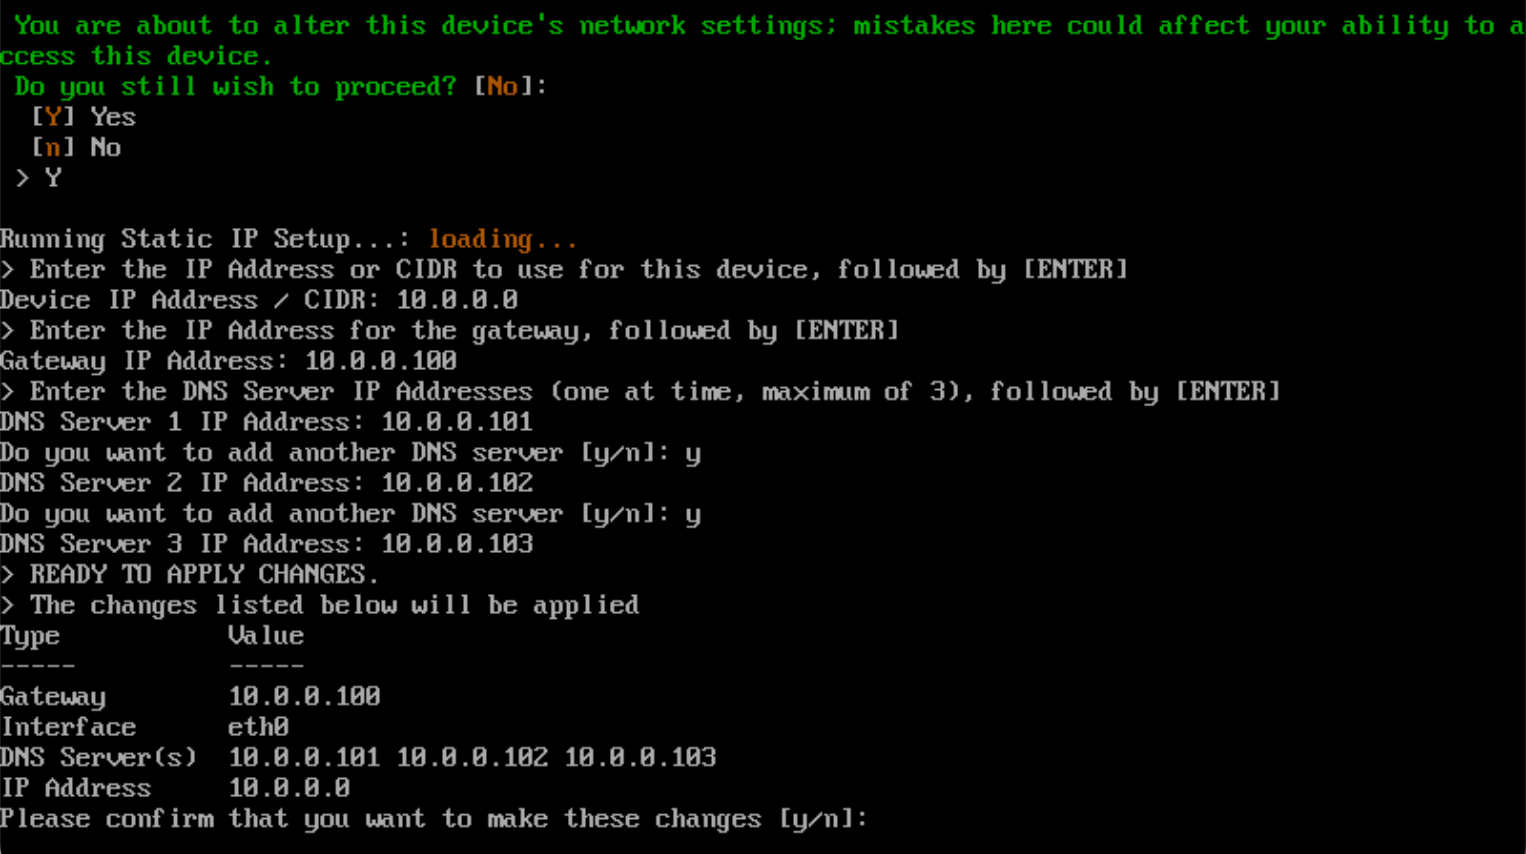
Once all required settings have been provided an overview of the configuration changes will be displayed.
Press y and Enter to confirm and apply the network configuration changes. Press n and Enter to cancel the changes.
Once the process is complete, press Enter to return to the ACC.